I wrote a tribute last week to my old team at VMware, the Hosted UI Group (aka HUG). These people were like family, and through their hard work and dedication, mutual respect and insane depth of knowledge, they built some amazing products, Workstation and Fusion being just two of them. I was so proud to be part of this team and so sad when I heard their group had been axed.
I shared my point of view on just a few of the things that made the team great. Tried to keep it short, and didn’t know who would read it, but as I write this, over 57,000 people have read my tribute, and many have shared their thoughts on the team.
Since then, our team, what we’ve been referring to as Ghosted-UI, has been out for a couple dinners, drinks, trying to figure out where everyone will end up, trying to figure out where poker’s going to be next, when the next good movies will be out, and, actually, still discussing bugs and thoughts around Workstation and Fusion. Okay, maybe we haven’t let go yet.
So here’s what I’d like to do now. I’d like to share some thoughts and pictures from a few people in our team about what made our team great, and share some comments from some of our users. Keeping it positive here.
Hosted UI Musings
Jocelyn Goldfein
Before Jocelyn left for Facebook in 2010, and then got to branch out on her own, she was the manager of Hosted UI. In fact, she’s the one who hired me back in 2004, and remained a mentor to me. My first job out of school (actually, hadn’t finished yet), and she took a chance on me, bringing me on board and helping me learn the ropes, learn to build myself up. Even paid for some driving lessons (I didn’t have a license back then).
There was a part of that that I never thought she’d have remembered, which she shared with us on Facebook:
Ok, I can add *one* thing. What Christian doesn’t mention about his aforementioned first day of work is that he anxiously showed up at 8am, in a collared shirt and slacks, nervous for his first, grown-up, corporate job.
He then got to cool his heels in the lobby for an hour waiting for the next person on his team to arrive (which was probably me around 9 or 9:30).
He immediately bonded with the team, came back the next day in jeans at a reasonable hour like 10am, and the rest, as we say, is history. 🙂
Jocelyn, with a real family of her own, shared her thoughts on what made us a family.
I 100% experienced the team as family.
To me, video games were the least of it. We were united by our shared sense of mission and care for what we were building and the community of developers and admins who used it. Our commitment to the kind of software we wanted to build and the way we would build it. Gamely celebrating each other’s lifecycle events whether that was a 21st birthday or a surprise baby shower for me which was the first event of its kind for most of the attendees. 🙂 while I haven’t stayed in close touch with everyone in the 7-8 years since I became less involved w/ the team, I’ve attended weddings, doled out career advice, helped with job hunting, new parent advice, you name it. IOW, I haven’t been there all the time, but I’ll absolutely be there when I’m needed.
For me, this team emphatically represents the possibility that you *can* form very close and lasting relationships with work colleagues, without them HAVING to also be social connections. For Christian it was both, but I don’t think I was the only one for whom it was not friendship… but still family.
When I asked for additional thoughts for this post, she brought up part of what made our products so consistently high quality, even 12 major versions in:
I feel like some of our long term rearchitecture/cleanup efforts deserve highlighting. It’s hard to have the discipline to do those. It’s not sexy or fun for the engineers, and marketing could care less b/c it doesn’t drive sales. But we pulled off some big ones b/c we had the team commitment and will to do it.
James Farwell
James (LinkedIn) joined Hosted UI in 2007, and spent most of his years since working on Fusion. He’s still with the company, just in another role, but is very much a part of our team. In a Facebook post, he shared some of his thoughts that kind of summed up our work days:
The simultaneous technical breadth and depth of this team was always stunning. You could walk past an office where 3 people were having a design discussion about how to do some complex asynchronous task while respecting the quirks of the OS X and GTK run loops and Win32 message loop. Or have a debate with someone about how best to model and manage modal dialogs in a generic fashion while still having the application “feel” like it was supposed to on each respective platform. I can’t stress that enough, so much love and care was put into having each application “feel” like a Windows app or “feel” like a Mac app despite having so much shared code. And as much ribbing as we gave each other about the other platforms, there was always so much respect.
And then you’d all go out to dinner and talk about video games.
Lee Ann Rucker
Lee Ann (LinkedIn) also joined Hosted UI in 2007, working on Fusion. I remember giving her an interview, poorly (that is, I sucked at it — I was pretty new to interviewing). She was a fantastic member of the team, really knew her stuff.
When I asked for thoughts on the team, she shared why she stayed with this product so long: Our users.
This is why I did it – because our users appreciate it. I dropped a line to the blind Fusion user [who she heard from after the news broke last week — Christian] and got this answer:
> “Hi Lee Ann. Thanks for taking the time to write, and I’m sorry to learn that you and others who have done such a good job with Fusion have been let go.
>
> It sounds like VMWare has lost a lot of institutional knowledge, and Fusion is the only accessible VM solution there is.
>
> Thanks for thinking of your blind users, many of us really appreciate all you have done.”
Jason Kasper
If you’ve used Unity on Linux or Mac, you’ve used Jason’s (LinkedIn) work. He was a remote employee, so we didn’t get to see him as often as we liked, but we chatted on IRC daily.
I did not grow up with nerd friends who were like me. I spent the first period of my life working whatever I could find in retail stores and then in corporate IT, and I definitely didn’t fit in there. But you guys… you’re all like me! Like, there’s no pretense and there’s no trying to fit in. It’s just always felt like home and family when I’ve been able to spend time with you guys.
I know it’s going to sound sad and sappy and whatever, but I just wanted to tell you guys how much you have meant to me and how much you continue to mean to me. You all have been the best 8 years of my life, personally and professionally. I love each and every one of you. And I’m going to miss being able to hang out with you in person immensely. *hug* =:)
We’ll miss it too, Jason, but are going to drag you out here kicking and screaming, one way or another.
Sujit Polpaya
Sujit (LinkedIn) was a newer member of the team, and moved to the team after I left. I’ve gotten to know him through team outings, and am glad I had that opportunity.
My tenure in the Hosted UI team is significantly less than many of you guys, but I share the pain. By far this is best team I have ever worked with – amazing people and products. I would have completed 4 years at VMware on April 30, which is just about a month after my termination date. I was looking forward to this 4-year milestone. Oh well…
Richard Bailey
Richard started off as an intern in Hosted UI, and then became a full member of the team. He left a few years back, but like many from Hosted UI, we still keep in touch on IRC, Facebook, and Twitter. He had some really nice thoughts to share with us:
The Hosted-UI Group set the gold standard by which I have judged all the teams I’ve worked with since I left (2012). We built an open environment that celebrated individuals’ strengths and supported each other’s weaknesses. We weren’t all hanging out on the weekend together (though many were) but it didn’t matter because we all cared for the product and wanted to see it succeed.
There was a dramatic breadth of technical skill (from deep kernel hacking to amazing UX intuition and user focus) and very little ego. It was an amazing place to learn post college and the best introduction to industry I could have imagined. I’m devastated to see the team disbanded but hope that the core of how that environment functioned follows each of the team as they spread out to whatever amazing things they decide to pursue.
On a more personal level I owe a lot of my adult life to the situations that arose from taking the full-time offer. Without coming to HUG I would have not met many of those who are now my closest friends, would not have started rock climbing (which was key for me to *finally* get healthy), and would not have made the connections necessary for my subsequent jobs which I have also loved. It would be an understatement to say that this team, and the internship that pulled me in, significantly altered the course of my life.
For those that were laid off you can pretty much call on me for anything and I’ll do what I can to help regardless of whether or not we overlap: that’s how family works. I’m sorry this happened but I trust you’ll be okay.
James Lin
James (LinkedIn) was one of the first people I met when I joined VMware. He’s a legend. The guy knew the codebase inside-and-out, probably better than most of us, and plowed through bugs and features like nobody’s business. He worked on the Windows side on Workstation and Player. He saw a lot of change in the company and even in the team, and I always pictured him single-handedly holding the products together until the very end, if it came down to it.
He shared his view of what made the team great and how he saw his work over his time at VMware.
I’ve been in VMware’s Hosted UI group (“HUG”; could there be a more appropriate name?) working on Workstation for almost 12 years. I’ve seen a lot of people in HUG come and go (although I think not quite as many as in other groups), and while some of them tried to pull me away to join other companies, I never really wanted to leave. I loved our product. Even after nearly 12 years, I never got tired of fixing bugs; I saw each bug as a usability problem for customers. Repetitive bugs challenged me to try to prevent future recurrences. At VMware, there was always something for me to work on and always something new for me to learn, and it never got boring.
And I loved my colleagues too. I tried my best to help them when possible (by answering questions, offloading bugs, reviewing their code, implementing helper functions they needed, writing scripts to simplify drudgery, buying unhealthy snacks for them from Costco) to make their lives a little bit easier and so that they’d have more time to work on things that they found interesting. I never wanted them to leave (and jokingly threatened to kill some of them if they ever tried).
People in HUG helped me buy a car for the first time. HUG filled two tables at my wedding. HUG was a family, and our products were our babies. I don’t know how I’m going to bear seeing them in the foster care of complete strangers.
Tony Fregoso
Tony (LinkedIn) was a member of our amazing QA team (a team that suffered its own layoffs a couple of years ago).He had both QA engineering and management roles during his time with us. QA was important to us on a personal and professional level. They kept the quality of our products high, and knew the products and their history inside-and-out.
Tony shared his memories and thoughts with us:
When I look back at my time at VMware the one word that always comes to mind is family. Beyond all of the incredible technical feats the teams achieved it is all dwarfed by the shear strength of the bonds that I formed and saw formed with the people that I worked with at VMware.
Even as the company grew and changed HUG, Desktop QA and the greater Desktop Business Unit retained much of its core identity because of the people who worked within it. The passions that were shared for the products was equally shared for the people. In the valley where it is the norm for people to change jobs ever 2 years we had a team that clearly pushed against this. Between the Dev and QA teams we had some of the most tenured members in the entire company. This happened for many reasons, a shared passion of quality, love and dedication to the products we worked on and the close bonds we had with each other.
I am thankful to VMware for bringing us all together in the way that it did, regardless of how things ended. The fact is that the strengths of the bonds that we formed are far greater and are something that will always exist.
Family
Our users had a lot to say
I was surprised by the outpouring of love from our users. I want to share a few select comments from my earlier blog post:
Bruno Kerouanton said:
I just wanted to congratulate you and all the team on the fabulous work you did. I bought my first license for VMware Workstation Linux 2.0, back in 2001 ! And use Workstation and Fusion on a daily basis (See my latest blog article on http://éé.net/ak6), it’s just a critical part of my infrastructure!
So I’m sad for you. And I just wanted to say I love you for what you made available for so many people worldwide 😉
jorgedlcruz said:
I’m a VMware vExpert because I did my Home Labs using Workstation, or even Fusion sometimes, you helped so many Companies out there, not just power users, I saw some environments using Workstation at really high scale, insane but working!
You guys did just amazing job all this time. I just can say, thank you and good luck!
Jeff:
Its really no wonder now, why apps like VMware Player and Fusion just worked so well despite doing really complicated things. Kudos to your team for really being the best champions of your product and making the computing world a much better place (this is what happens, for anyone else interested, when keeping developers happy and engaged takes precedence over keeping salesmen happy and engaged).
skimans:
Big thanks to you all 🙂 I was one of those early users. This software changed life of many people for better. Sorry to hear bad news. it’s bad move to shut down this products and your team. This software is living ad for whole company, for many of us first step into virtualisation.
R Warder:
Great product that changed the way the world works – testing and development was different before VMWare. So slow. This article was great insight into the team that made our lives better. A sad announcement but best wishes to a talented group of people.
velviavelvia:
Thanks for this tribute. I was also at VMware for 9 years, starting on the Vmkernel team that built one of the first releases of ESX, and saw it grow from a team of 200 in Stanford Research Park, with personal introductions of every new employee, and pool dunkings for folks getting married, to a big corporation of over 10k. Your team was one of the most dedicated and legendary teams at VMware. So sad to see it go.
Eddie:
I’ve been a loyal Fusion user since 2008. Fusion is what convinced several colleagues of mine to go to the Mac when they got fed up with Windows machines. I proudly buy each and every new-release license(s) because of the phenomenal quality and support that was given.
When I had problems with Fusion/Windows, the engineers actually invited me to their labs in Silicon Valley and sit next to them to work the problem out. That was support (to me) that was unheard of. I was in awe at their commitment and pride in what they did.
Gary Jones:
Absolute legends , such sad / infuriating / inexplicable / perplexing news. I’ve used VMware since day 1 and never ever looked back. Without this software I’d never have progressed anywhere near as far in my career as I did.
Kermit Vestal:
Ooooh nooo! Say it isn’t so. I was jaw droppingly amazed when I saw 1.0 and could see the VM of everything was the future of everything. Its been one of my mainstay tools ever since. Many similar free and not free tools have followed since, but none compares to the feature qualities and reliability of Workstation. Its always been ahead of its time and now we know why. So sad its been stripped of its culture and I fear its future. Thanks for telling us the rest of the story.
Thank you, everyone.
Pictures speak a thousand words
We dug around and found a bunch of pictures from our time at VMware that I thought would be fun to share.
We liked food. We had our own “Unhealthy Snack Program,” where we’d keep our group stocked with candy bars, beef jerky, sodas, etc. Sometimes you need a little sugar and caffeine when you’re battling some crazy bug. I wish I had a picture of this, but it was glorious.
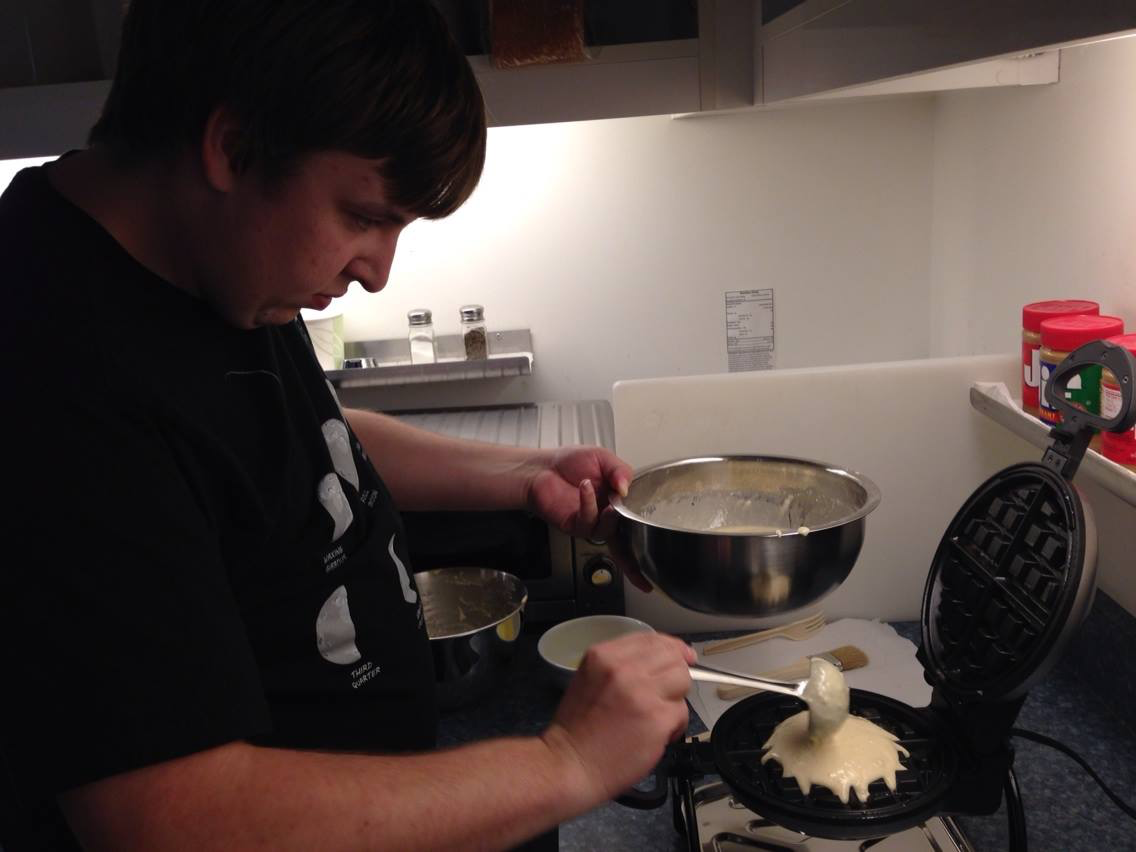
We once won a waffle maker at Dave & Busters, during a group outing. Here’s Keith, making some yummy waffles for breakfast. He never made me any…

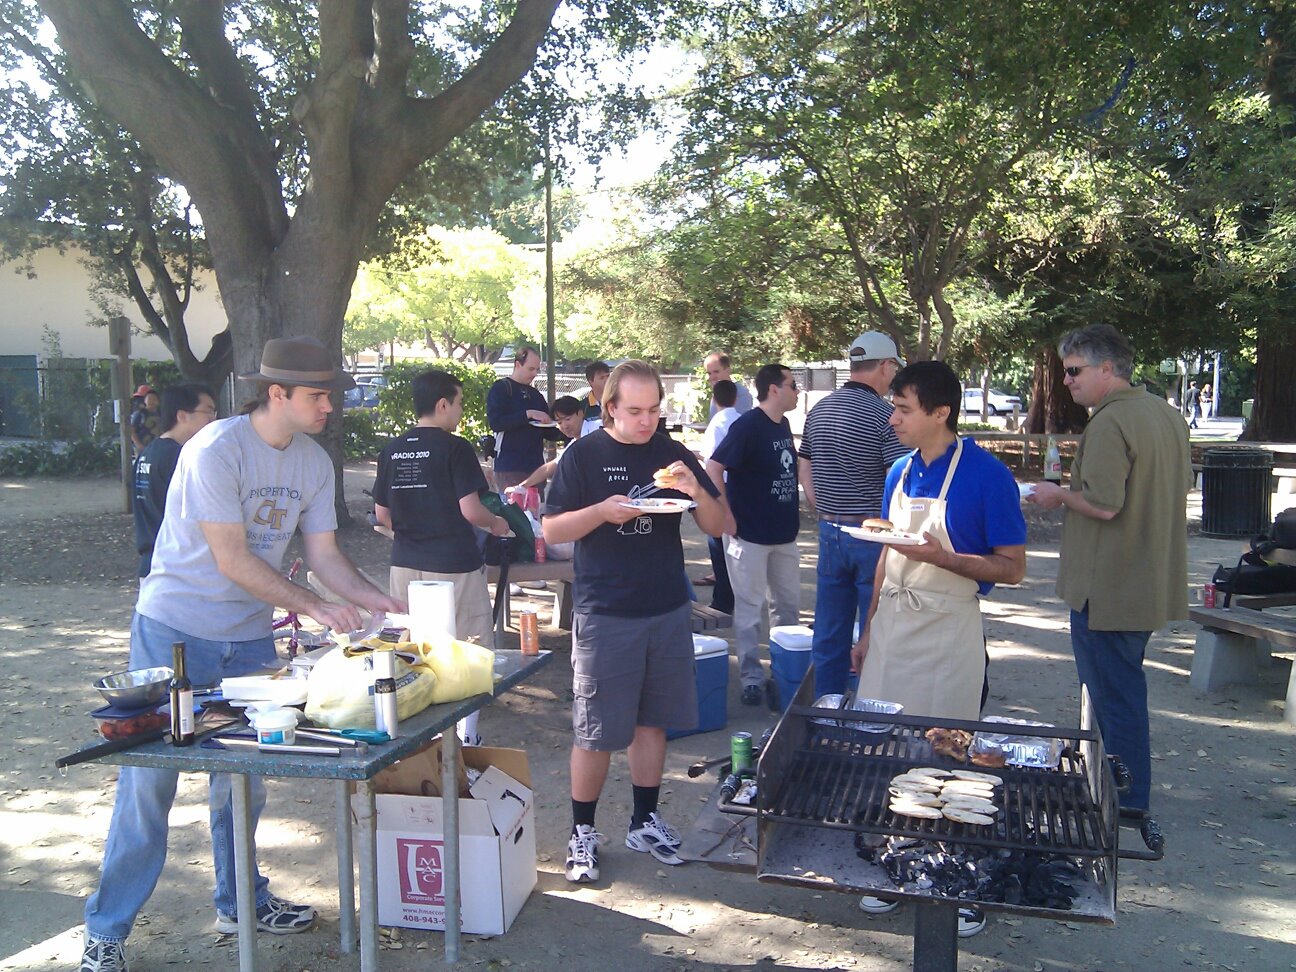
Picnics were always a fun way to bring the team together. Often, former members of Hosted UI would take the opportunity to show up, eat some hot dogs and catch up with the rest of us. Great way to spend a day, though we ended up talking shop more than we probably should (except for that one time we climbed trees for hours, just because we could).
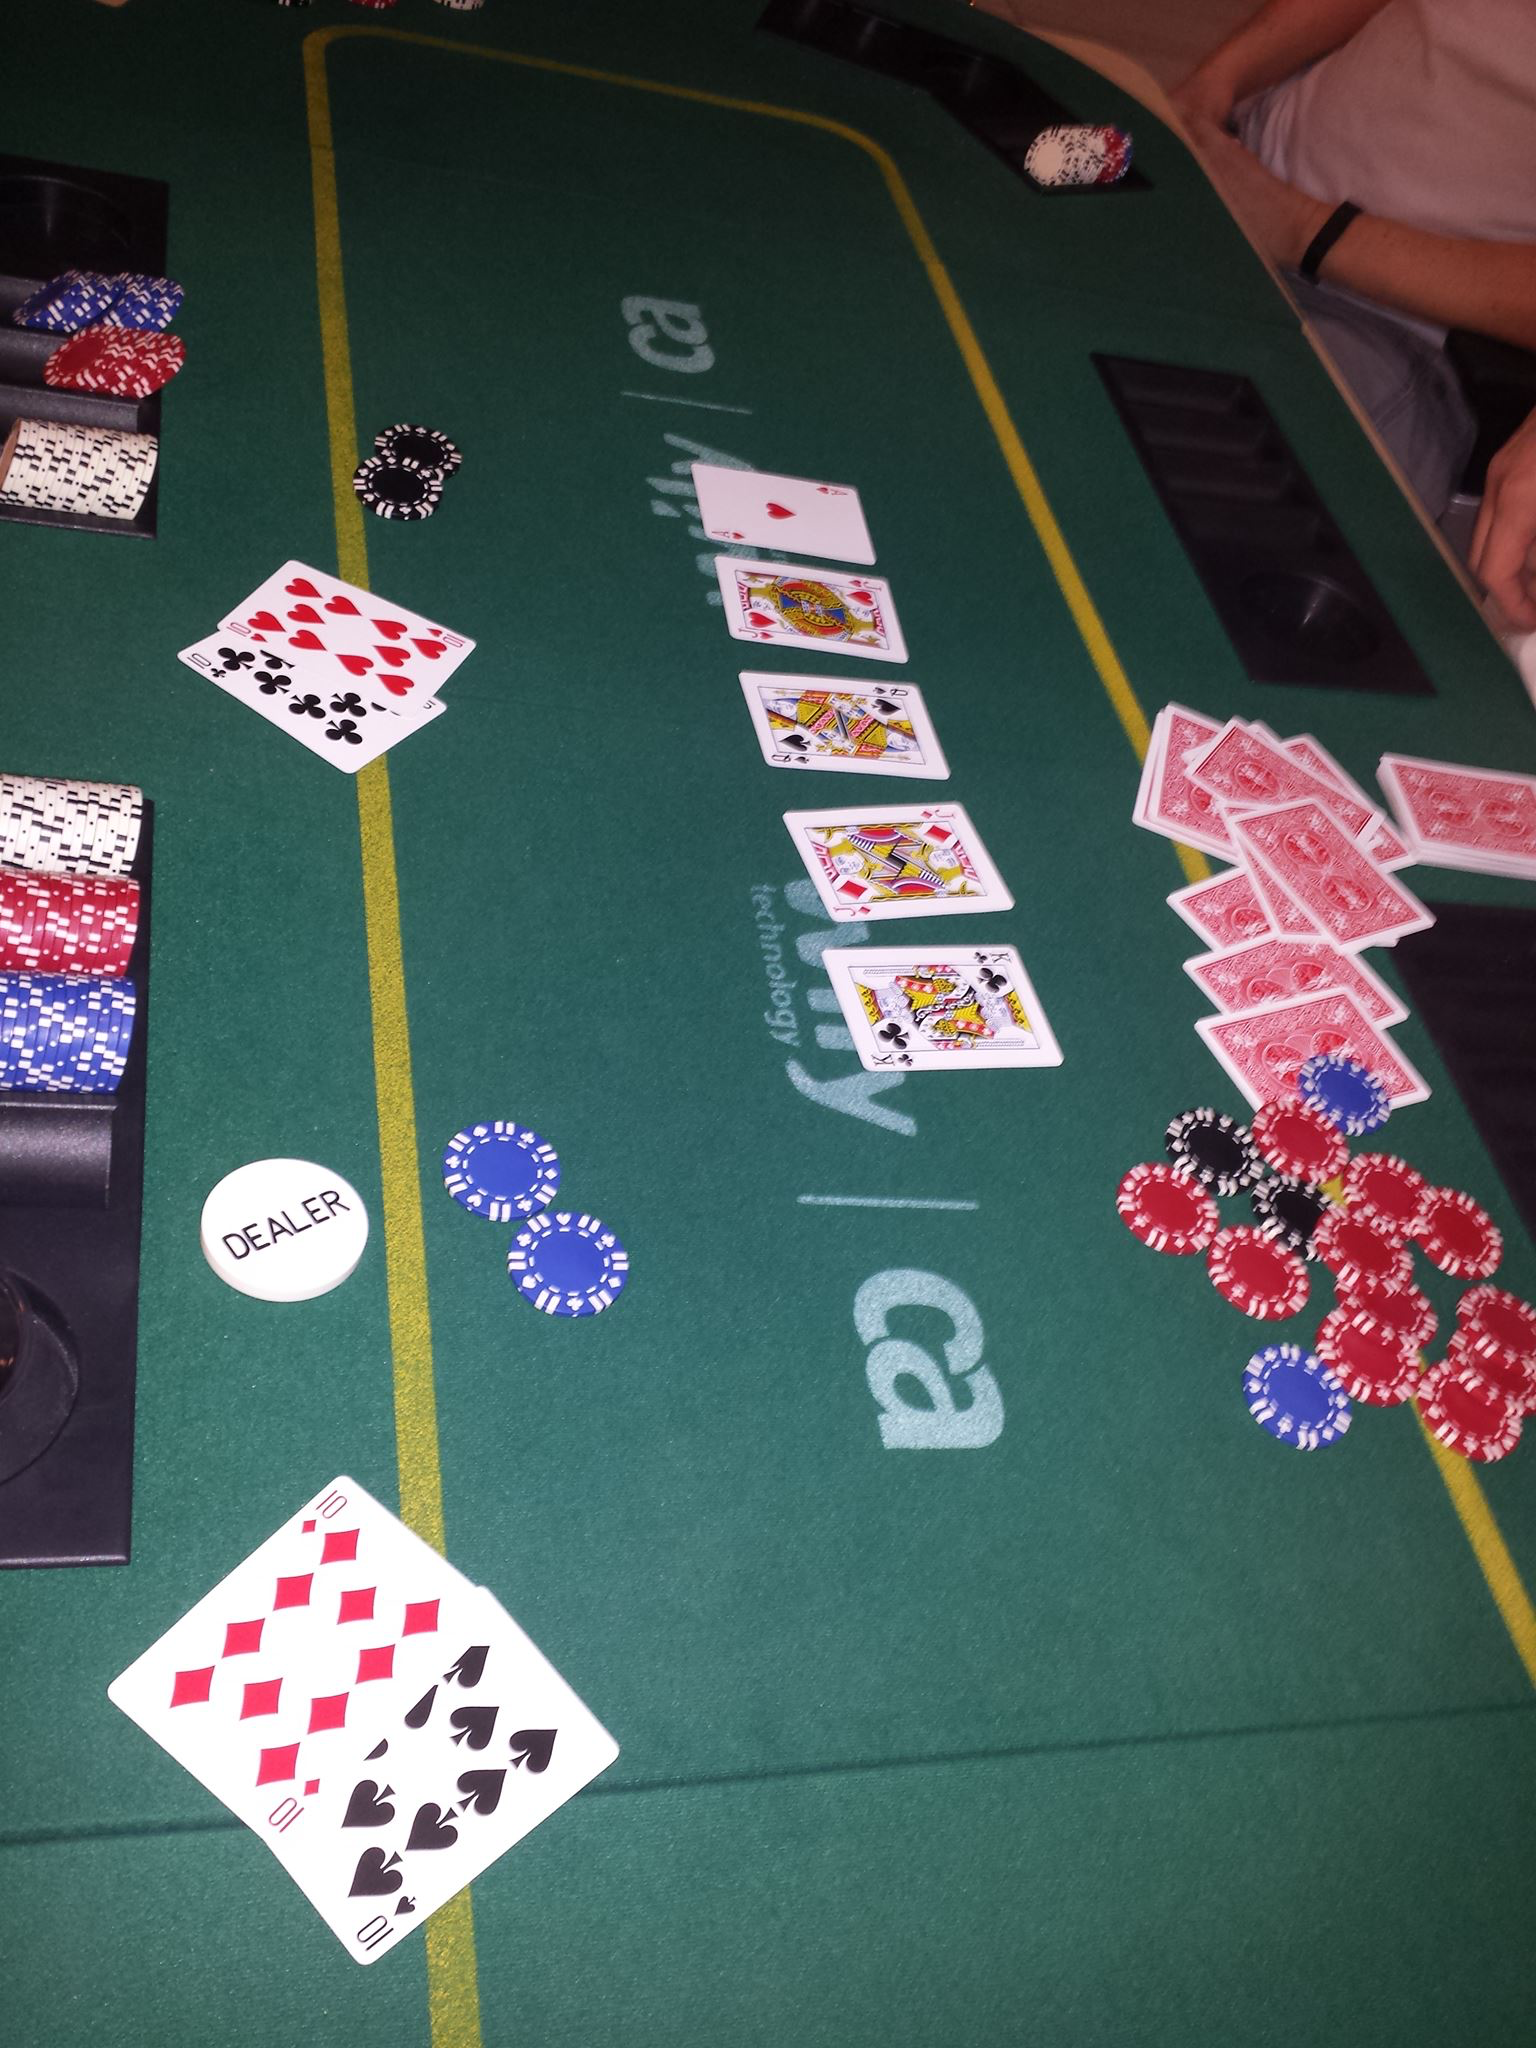
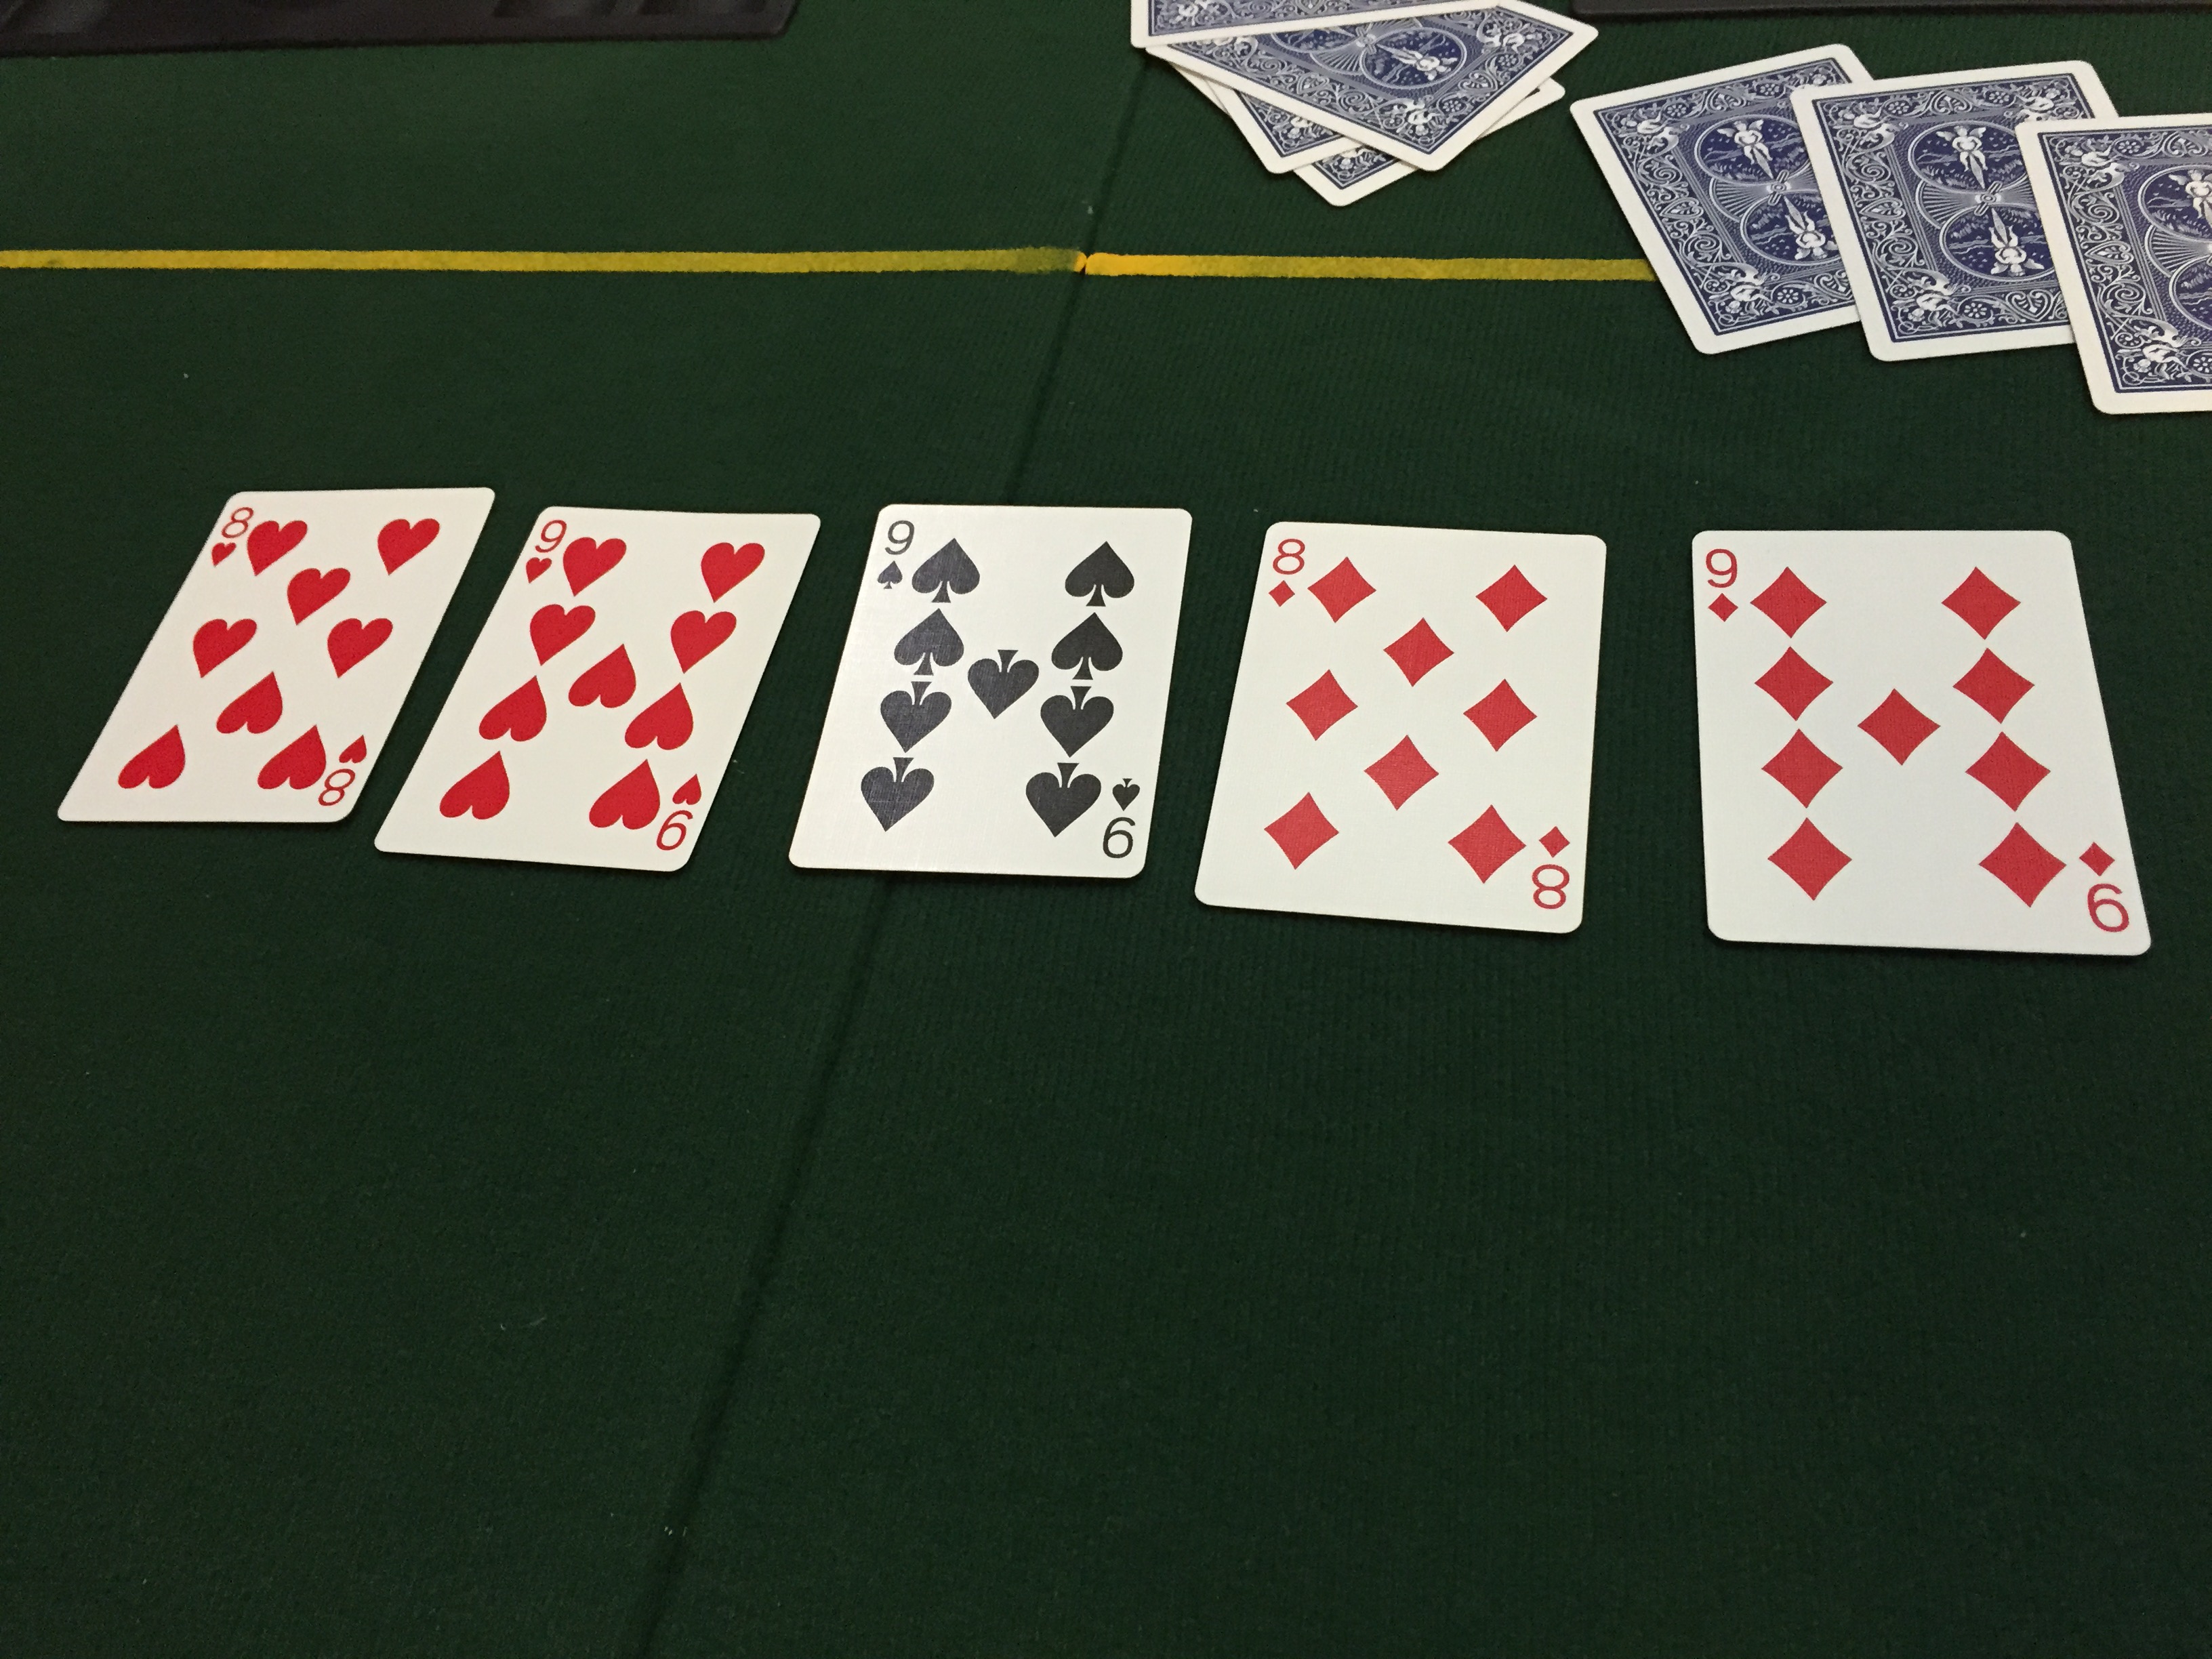
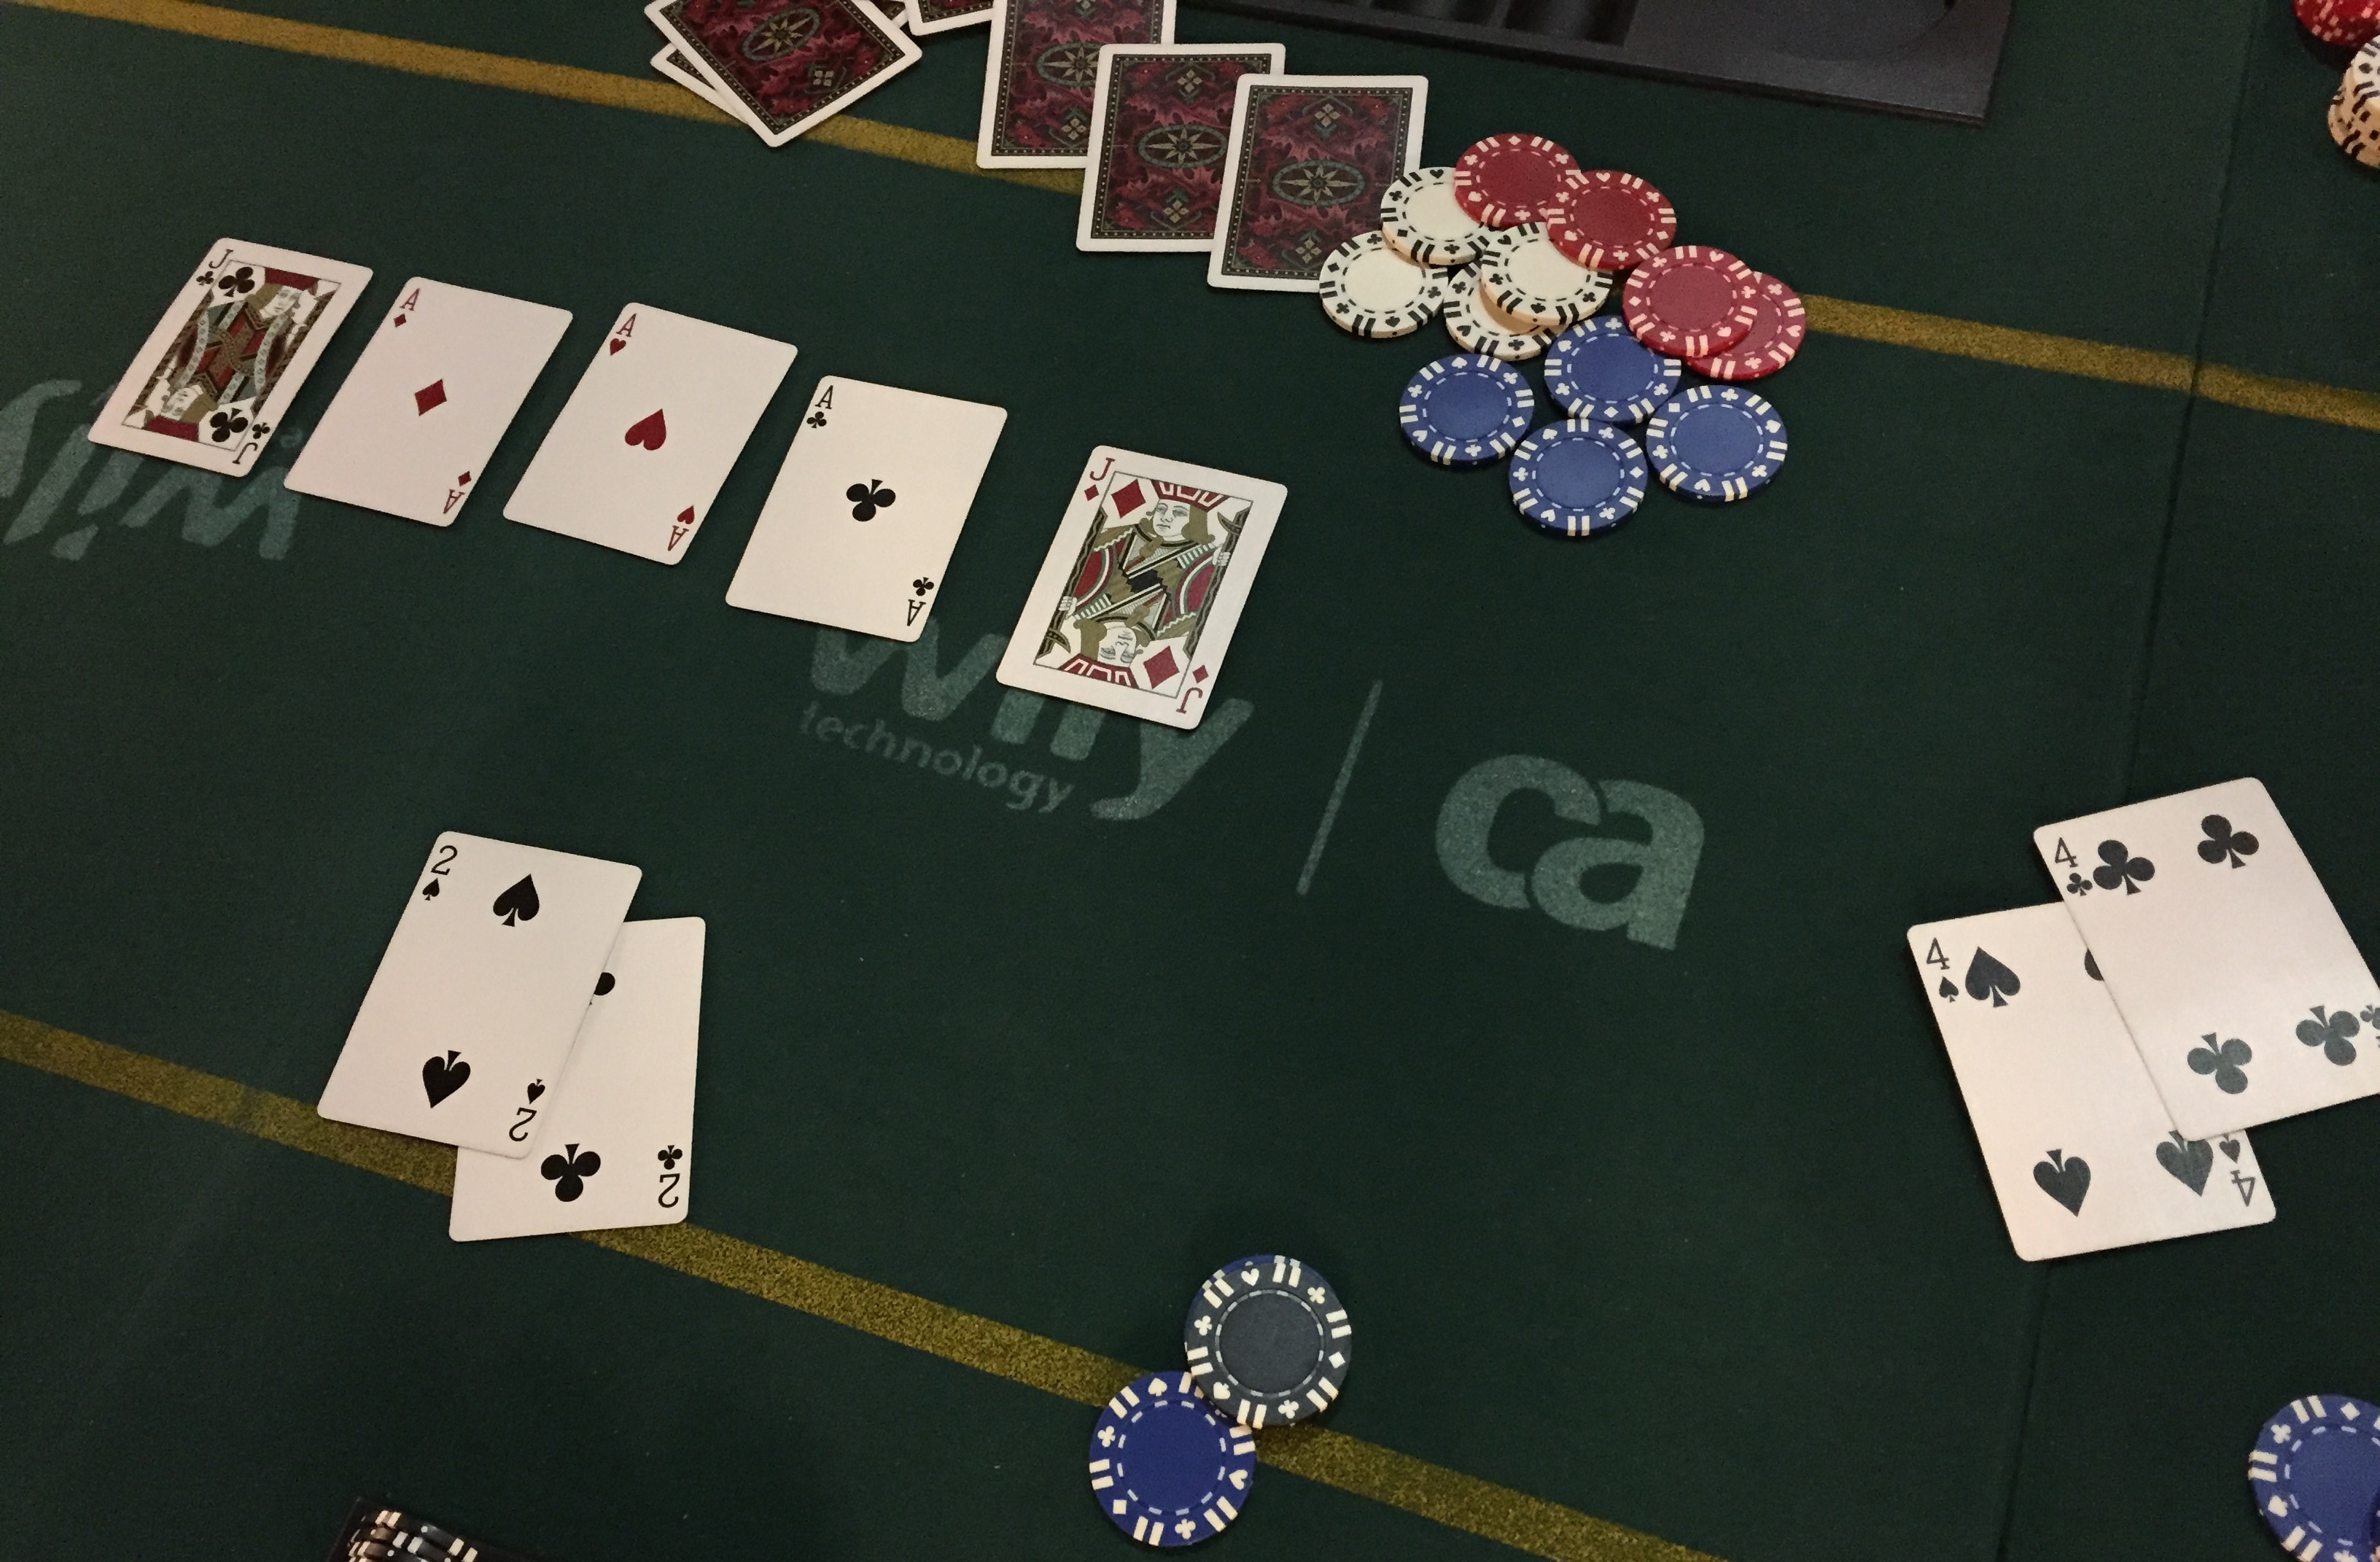
We’ve been playing poker for years. Just casual games, nothing fancy. We’d order a pizza and play for a few hours, share some laughs. Really, we were just like the pro poker players, except a 2/7 won way more often than it should have, and things like this kept happening:
The table won more than I did.
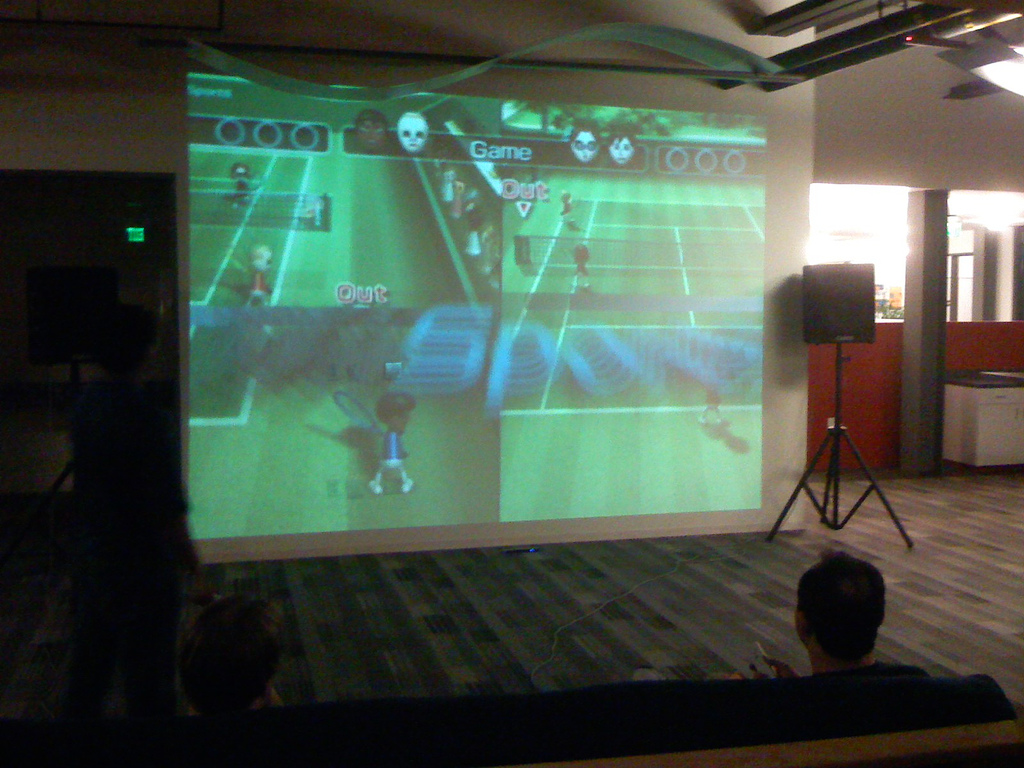
Not all of us were gamers, but a bunch of us got together most weeks to play games of some sort. Video games, card games, board games, what have you. Smash Bros, Mario Kart, Mario Wii U, Kirby, and the Rayman games were personal favorites of mine.
This was actually on the day we IPO’d! We just got a Wii and had set up the projector for some tennis action. Man, that was a long time ago…
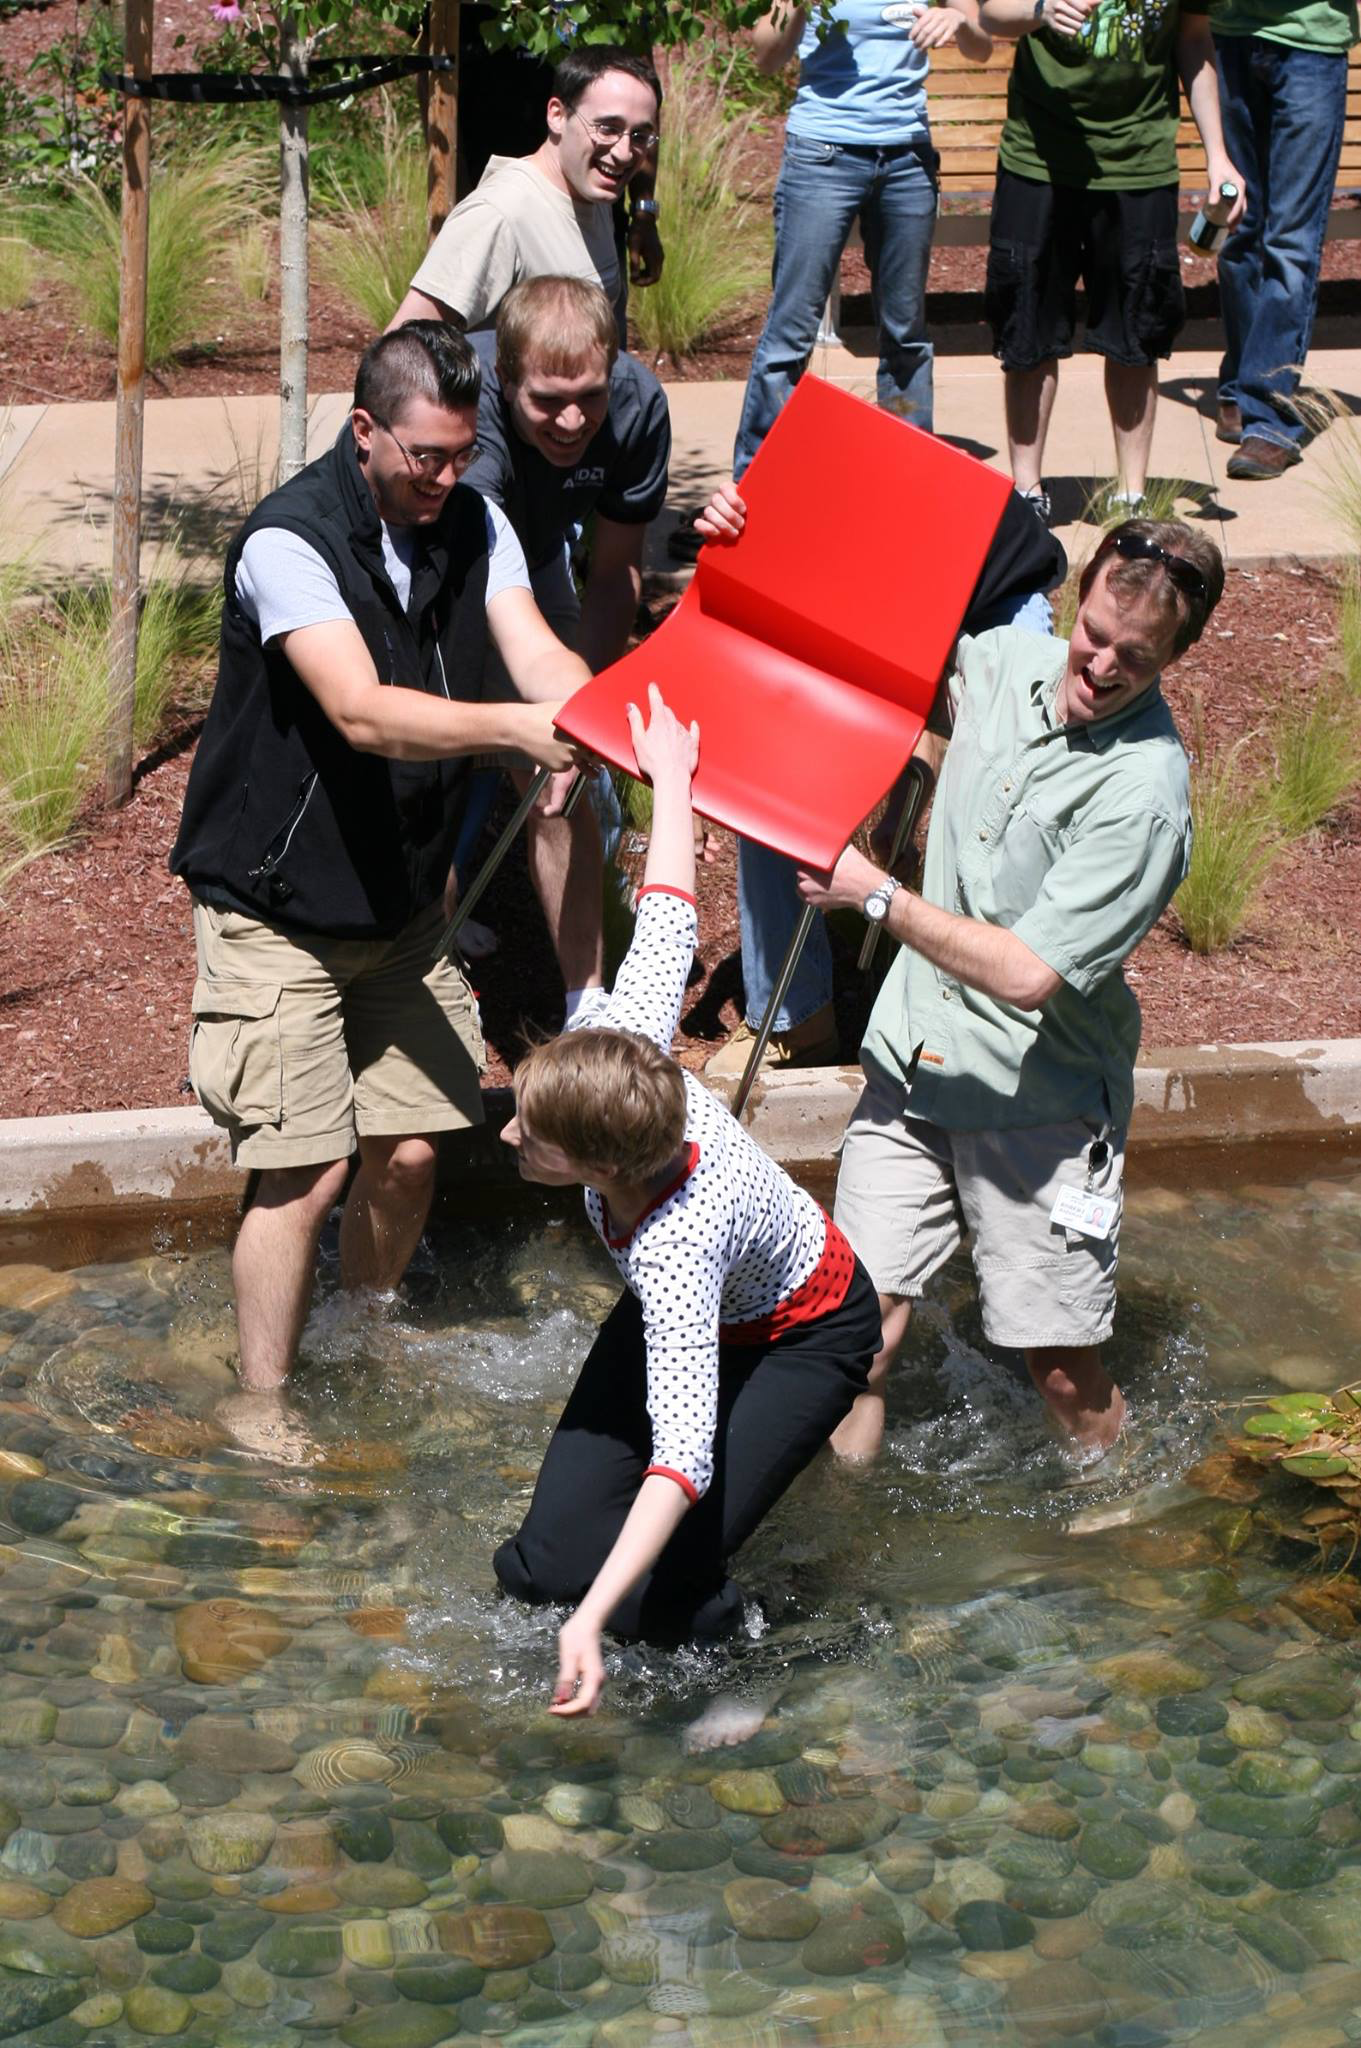
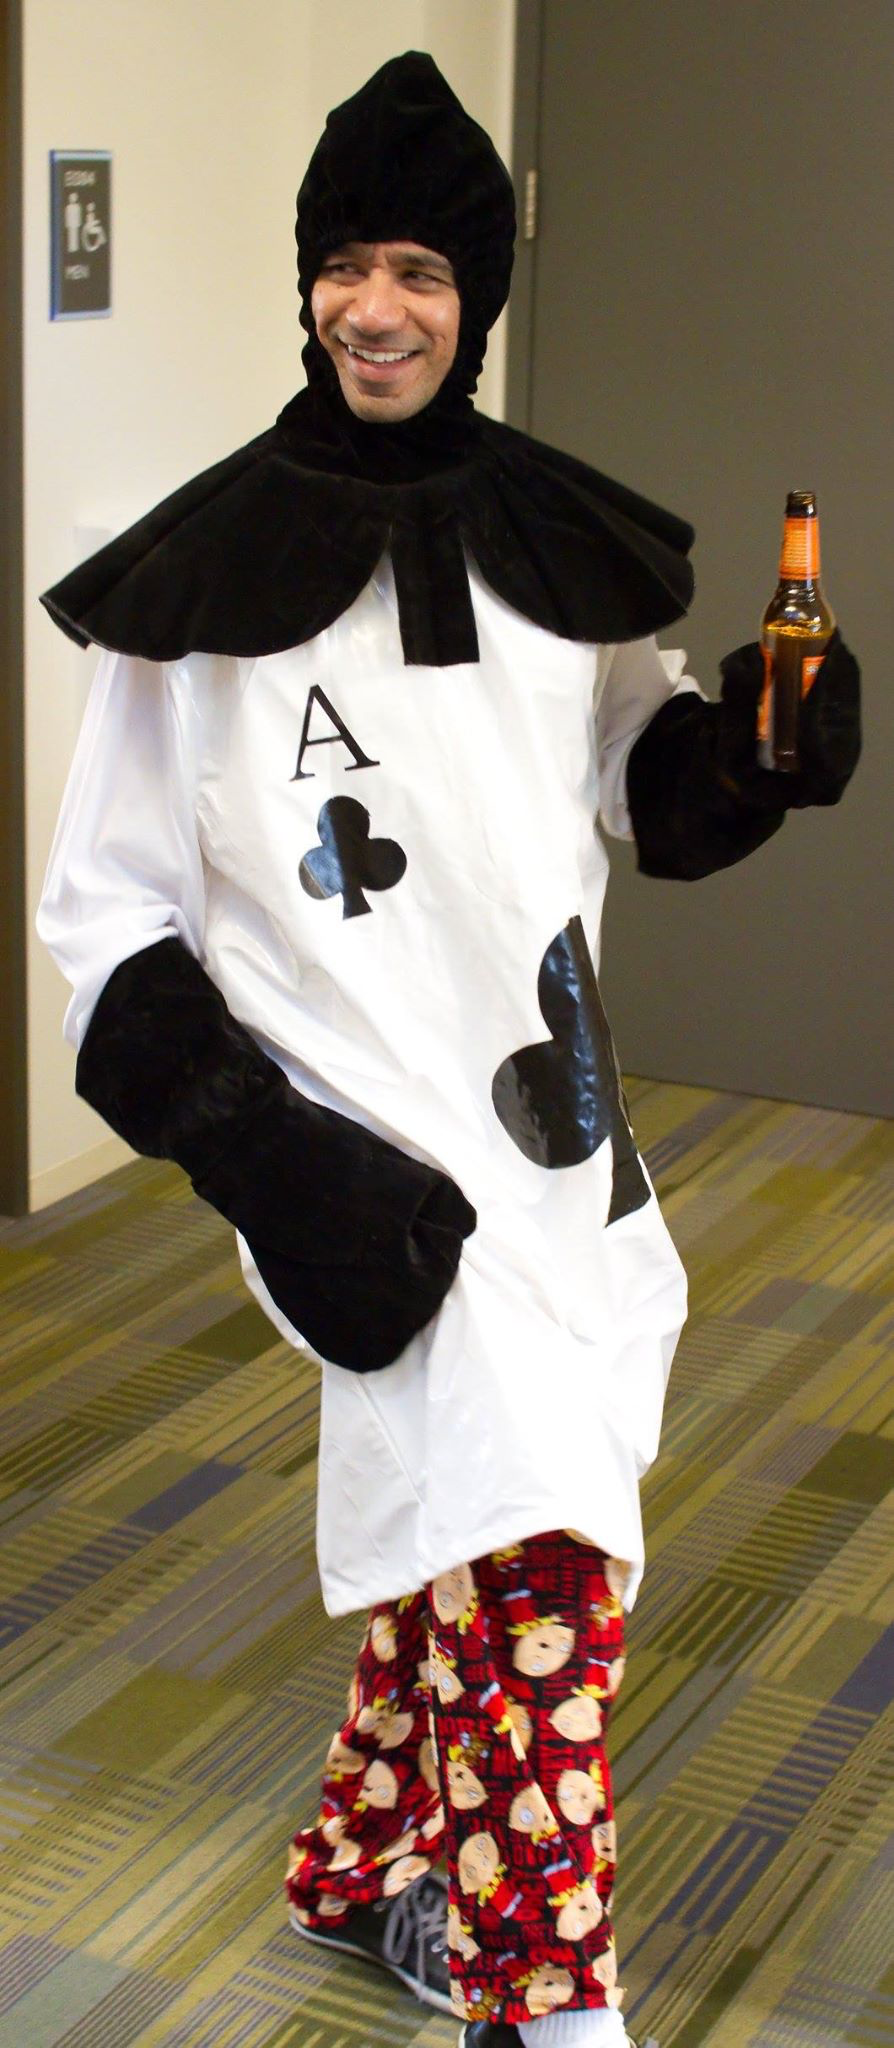
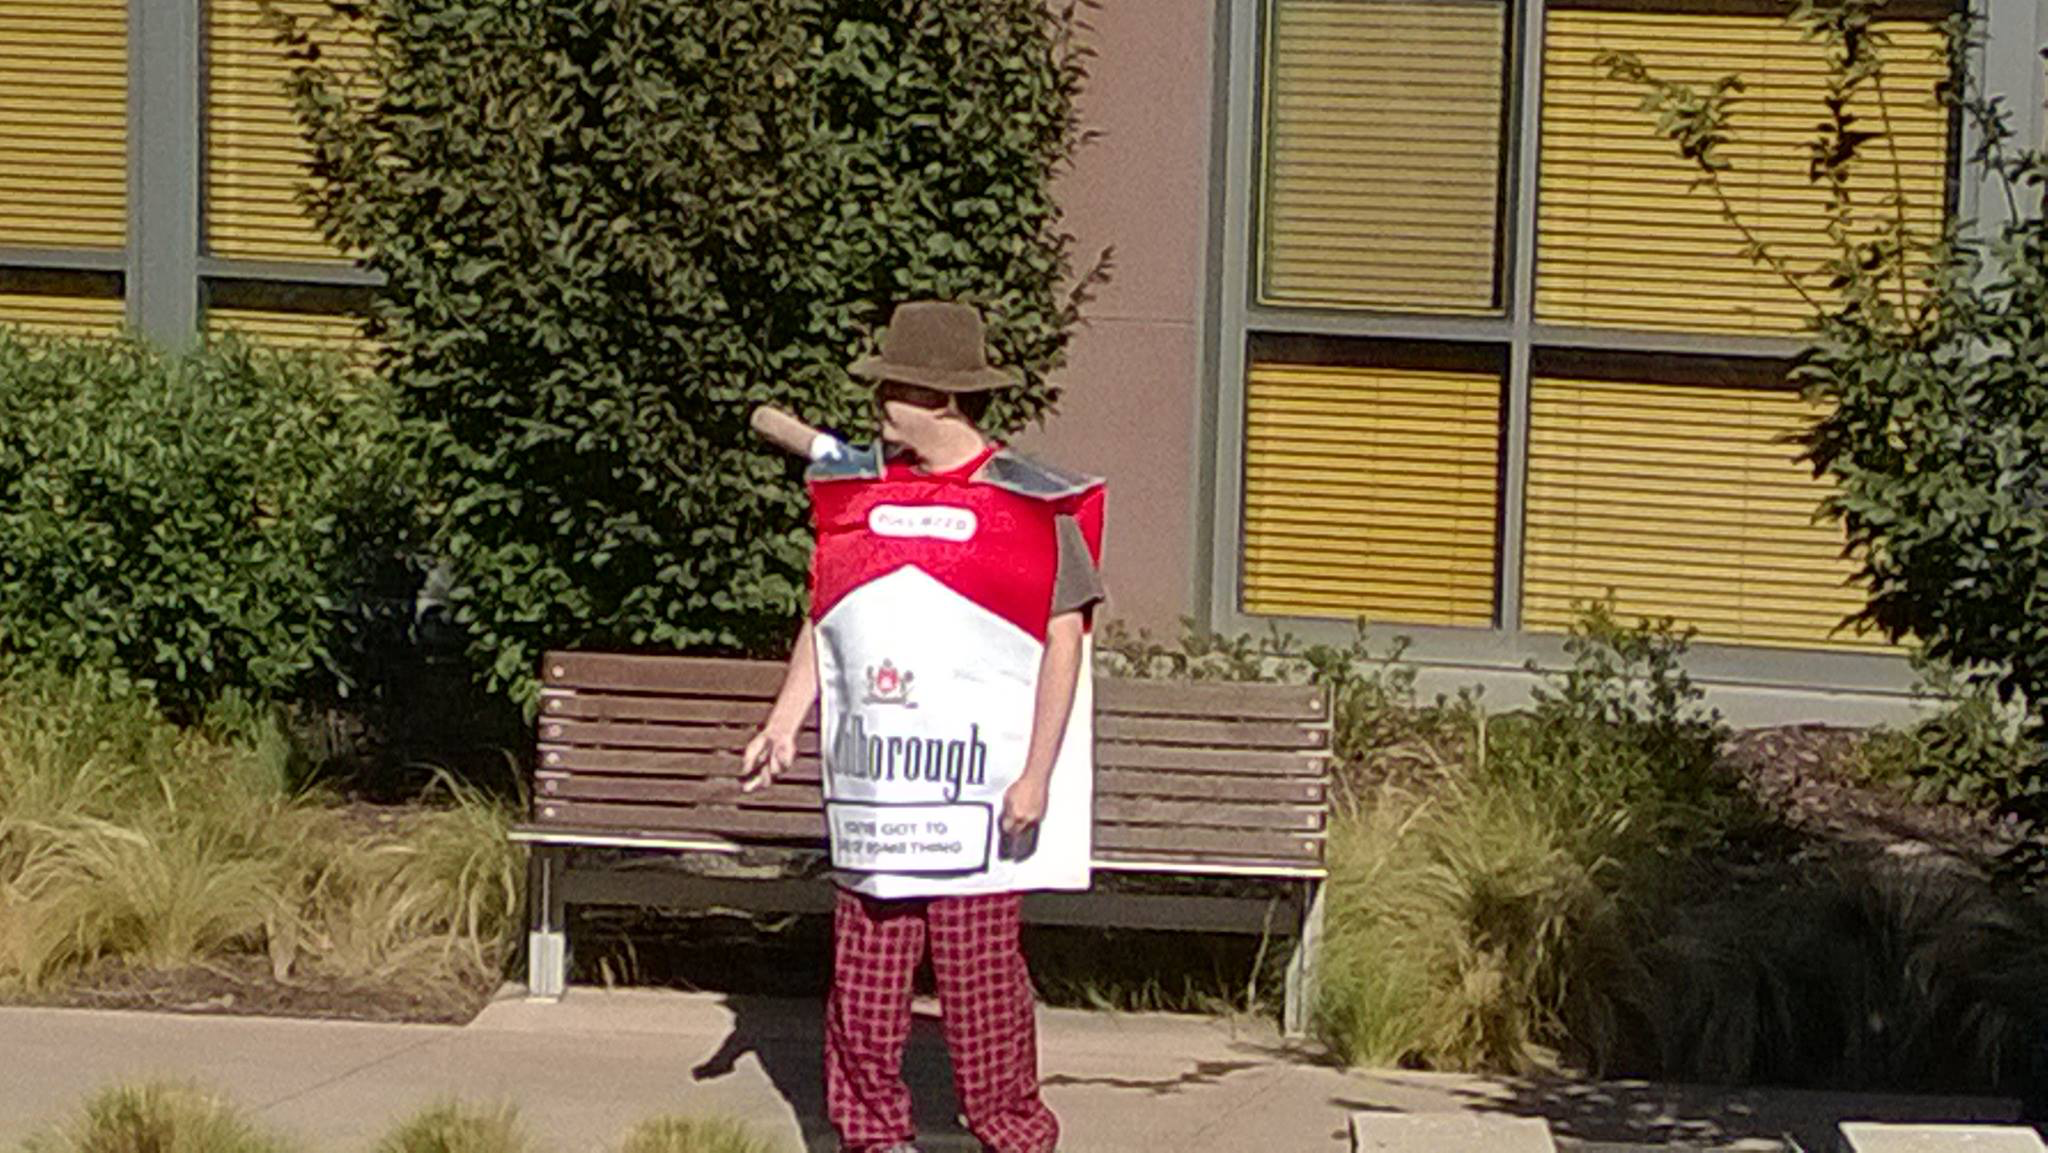
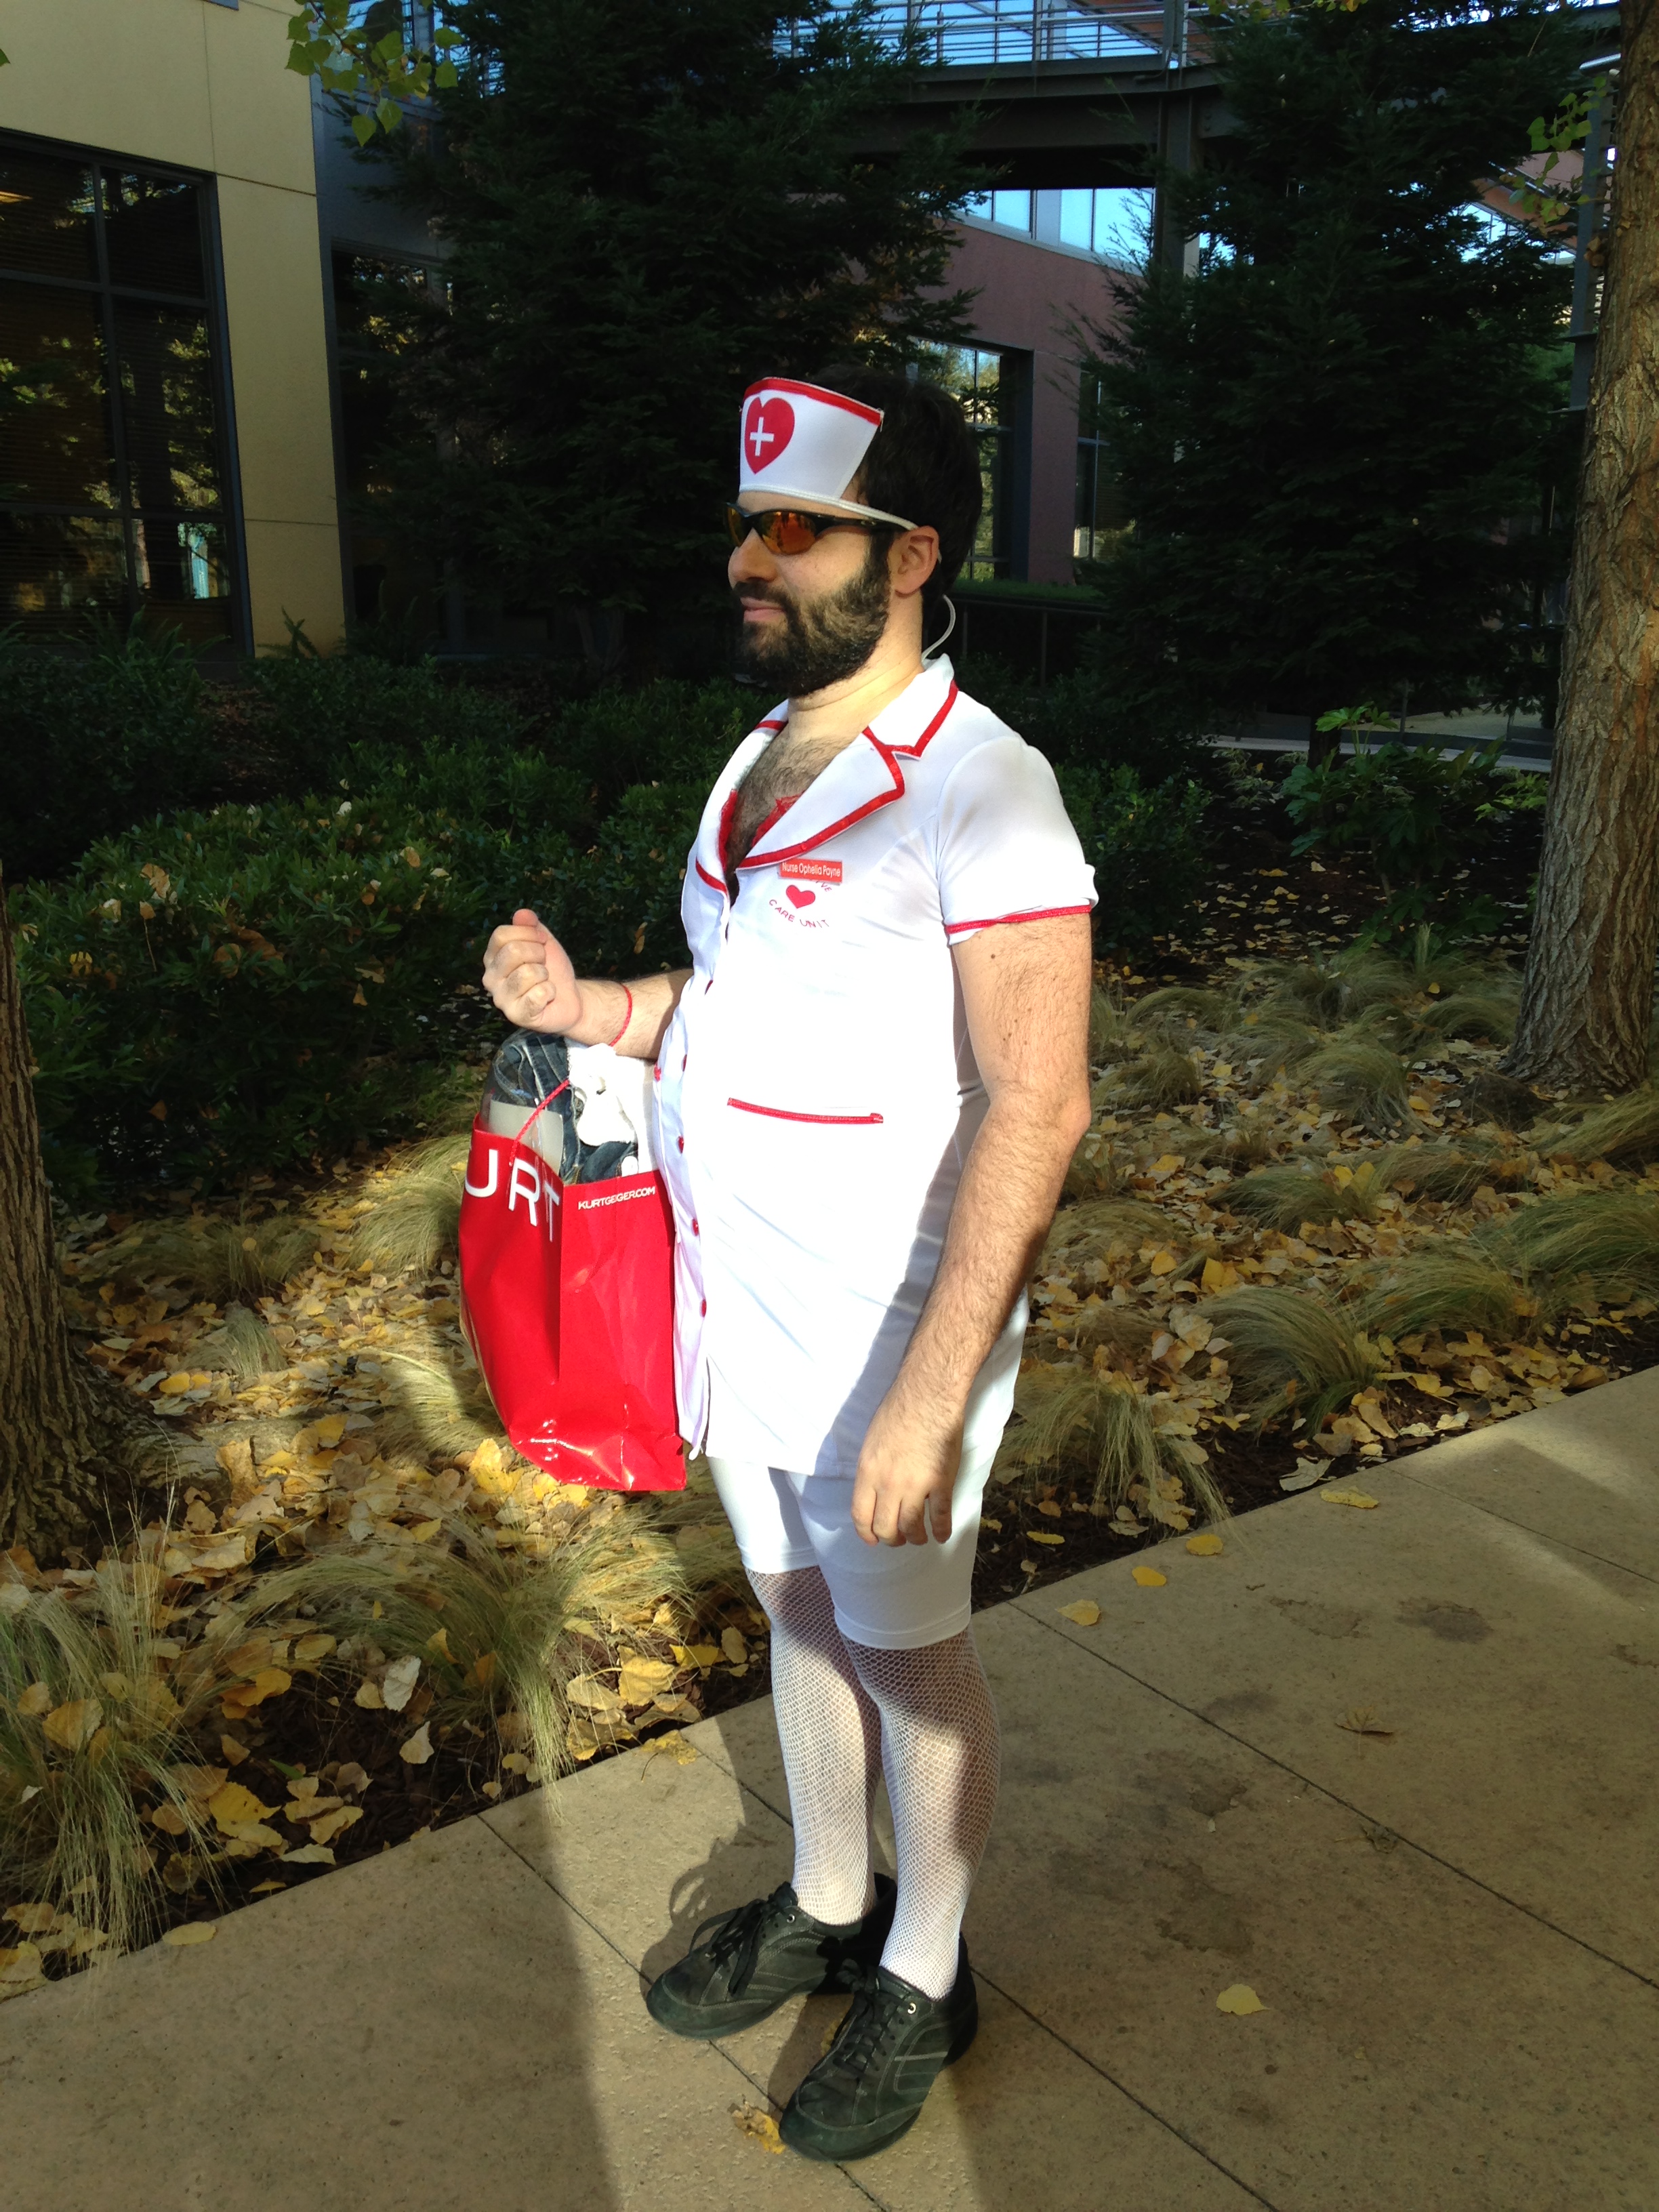
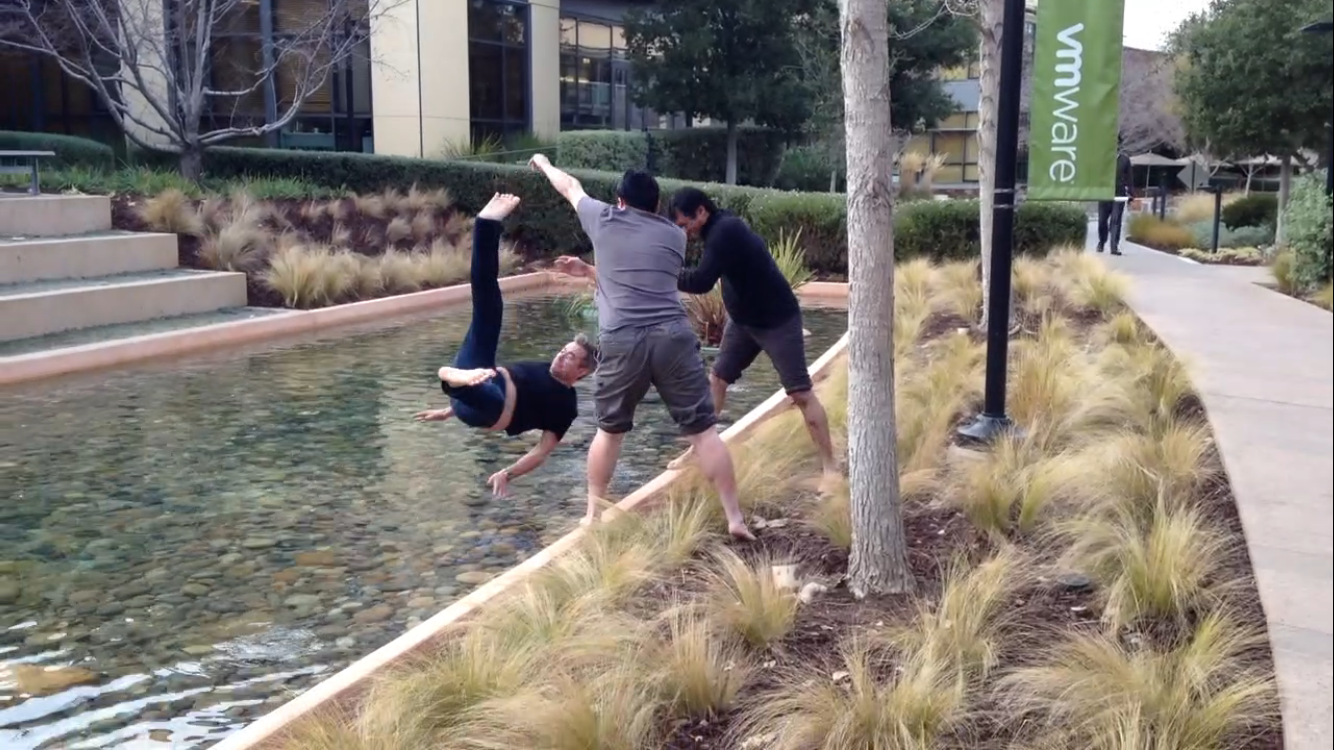
If you were getting married, or just got married, you were going in the pond. It was an old VMware tradition that we fully embraced. We amped it up a bit, though, with the introduction of costumes. You know, because your clothes were all wet, so we helpfully provided new clothes!


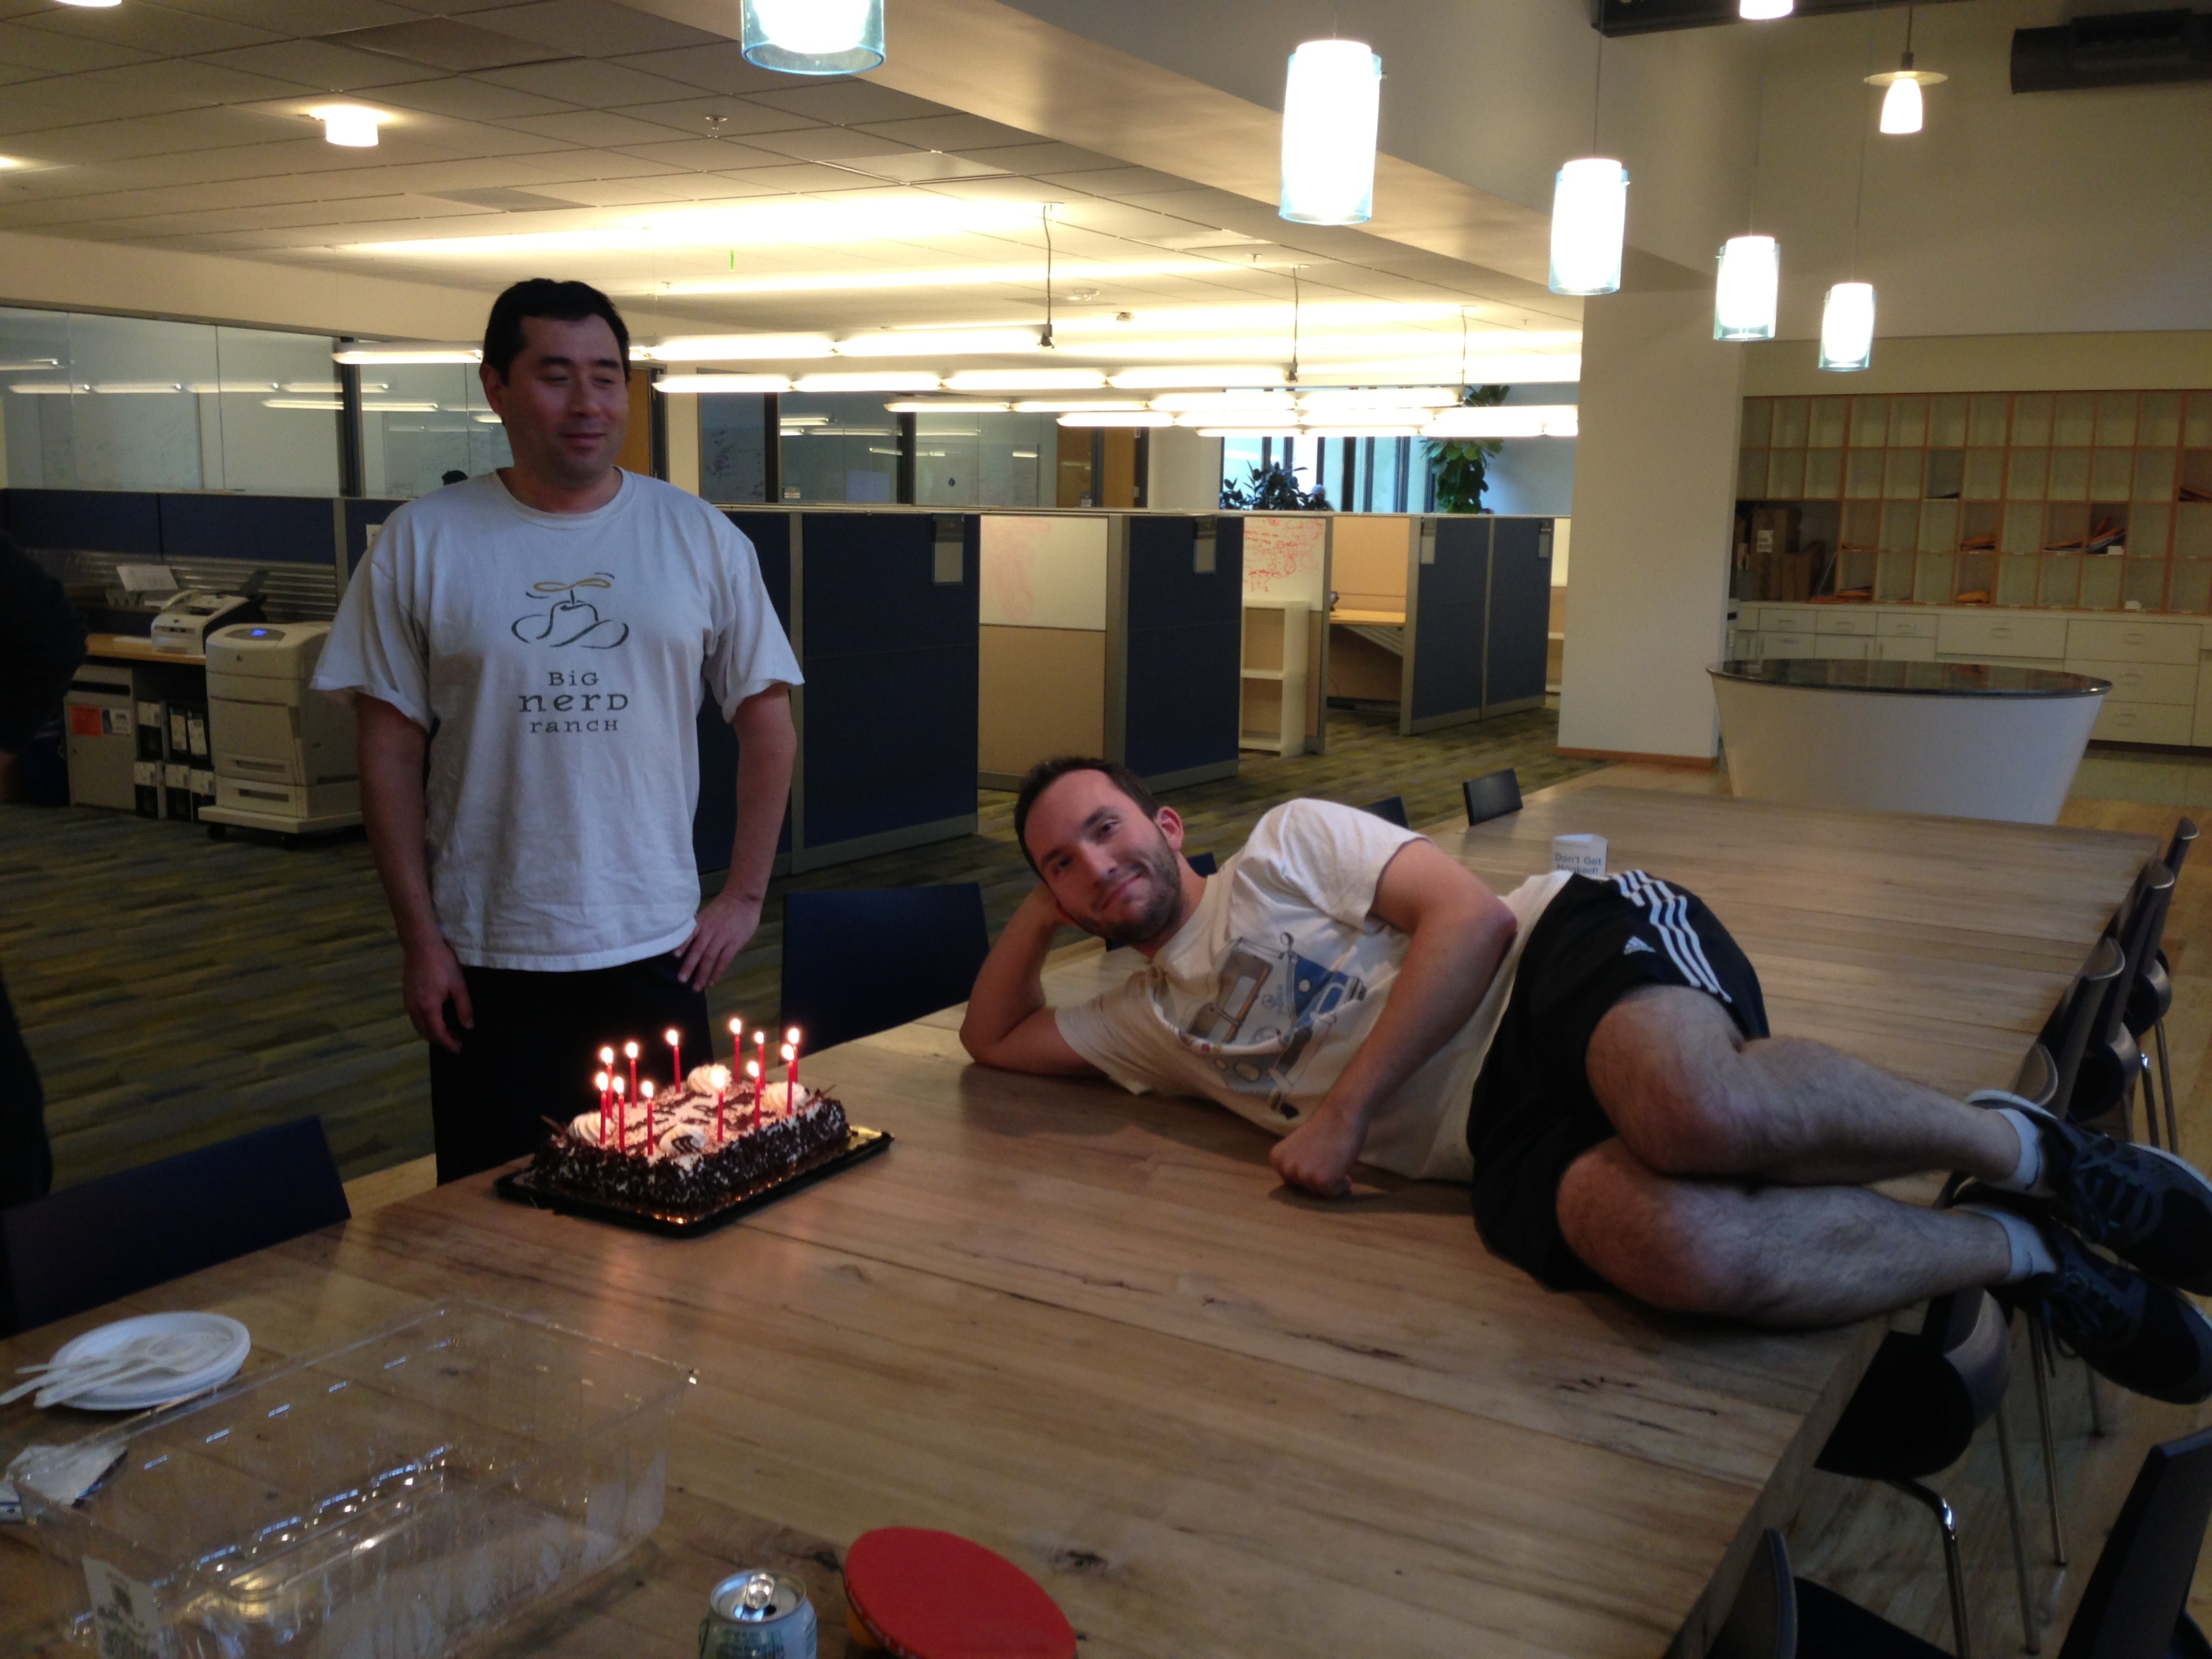
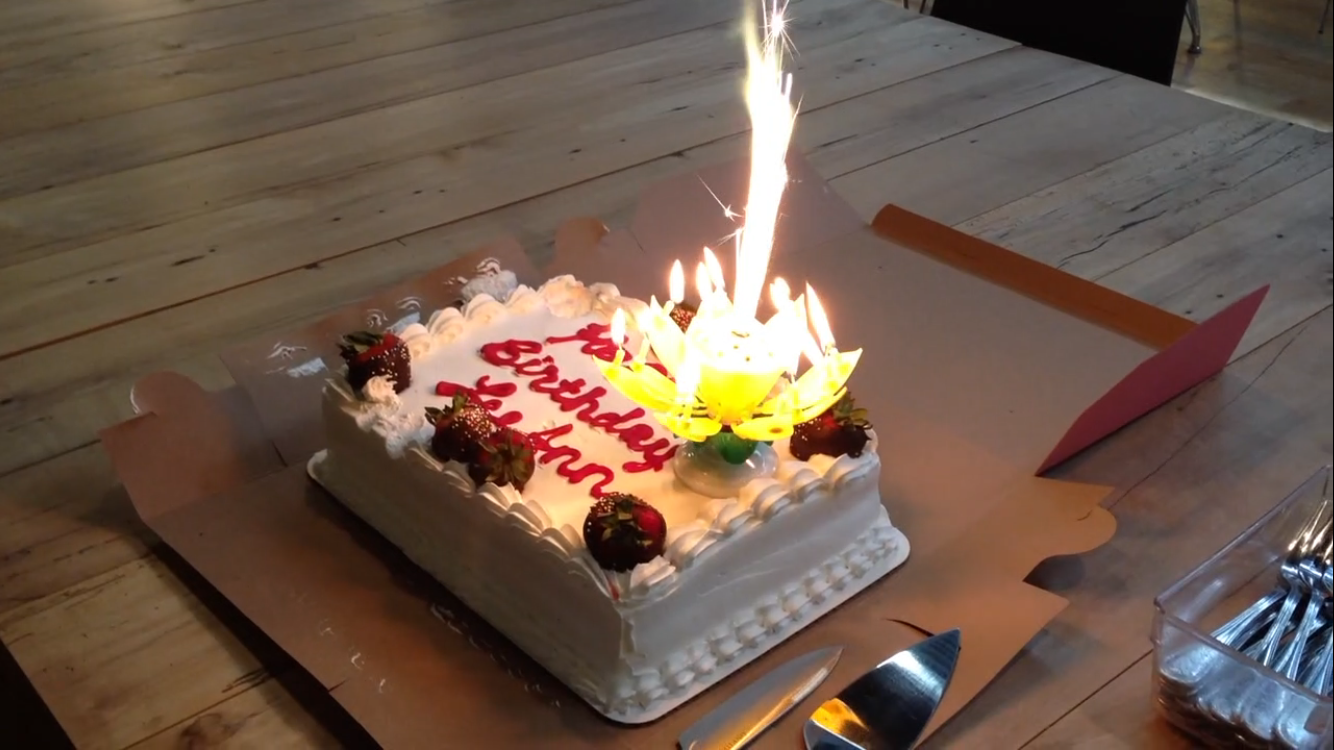
Birthdays are something to be celebrated! Back in the day, we’d trick people by inviting them to a meeting and surprising them with cake. Eventually people came to expect it, so then it just became cake. Oh, and an amazing birthday candle that would shoot up fire like a torch for a minute, spin around, and sing.


True story: I had my first drink at VMware, in a surprise birthday meeting. And then my second. Jocelyn insisted. I’d never been so much as buzzed before. I remember Jocelyn coming in, asking me to do something, I don’t even remember, thoroughly enjoying watching me struggle to even understand what was going on. Good times.
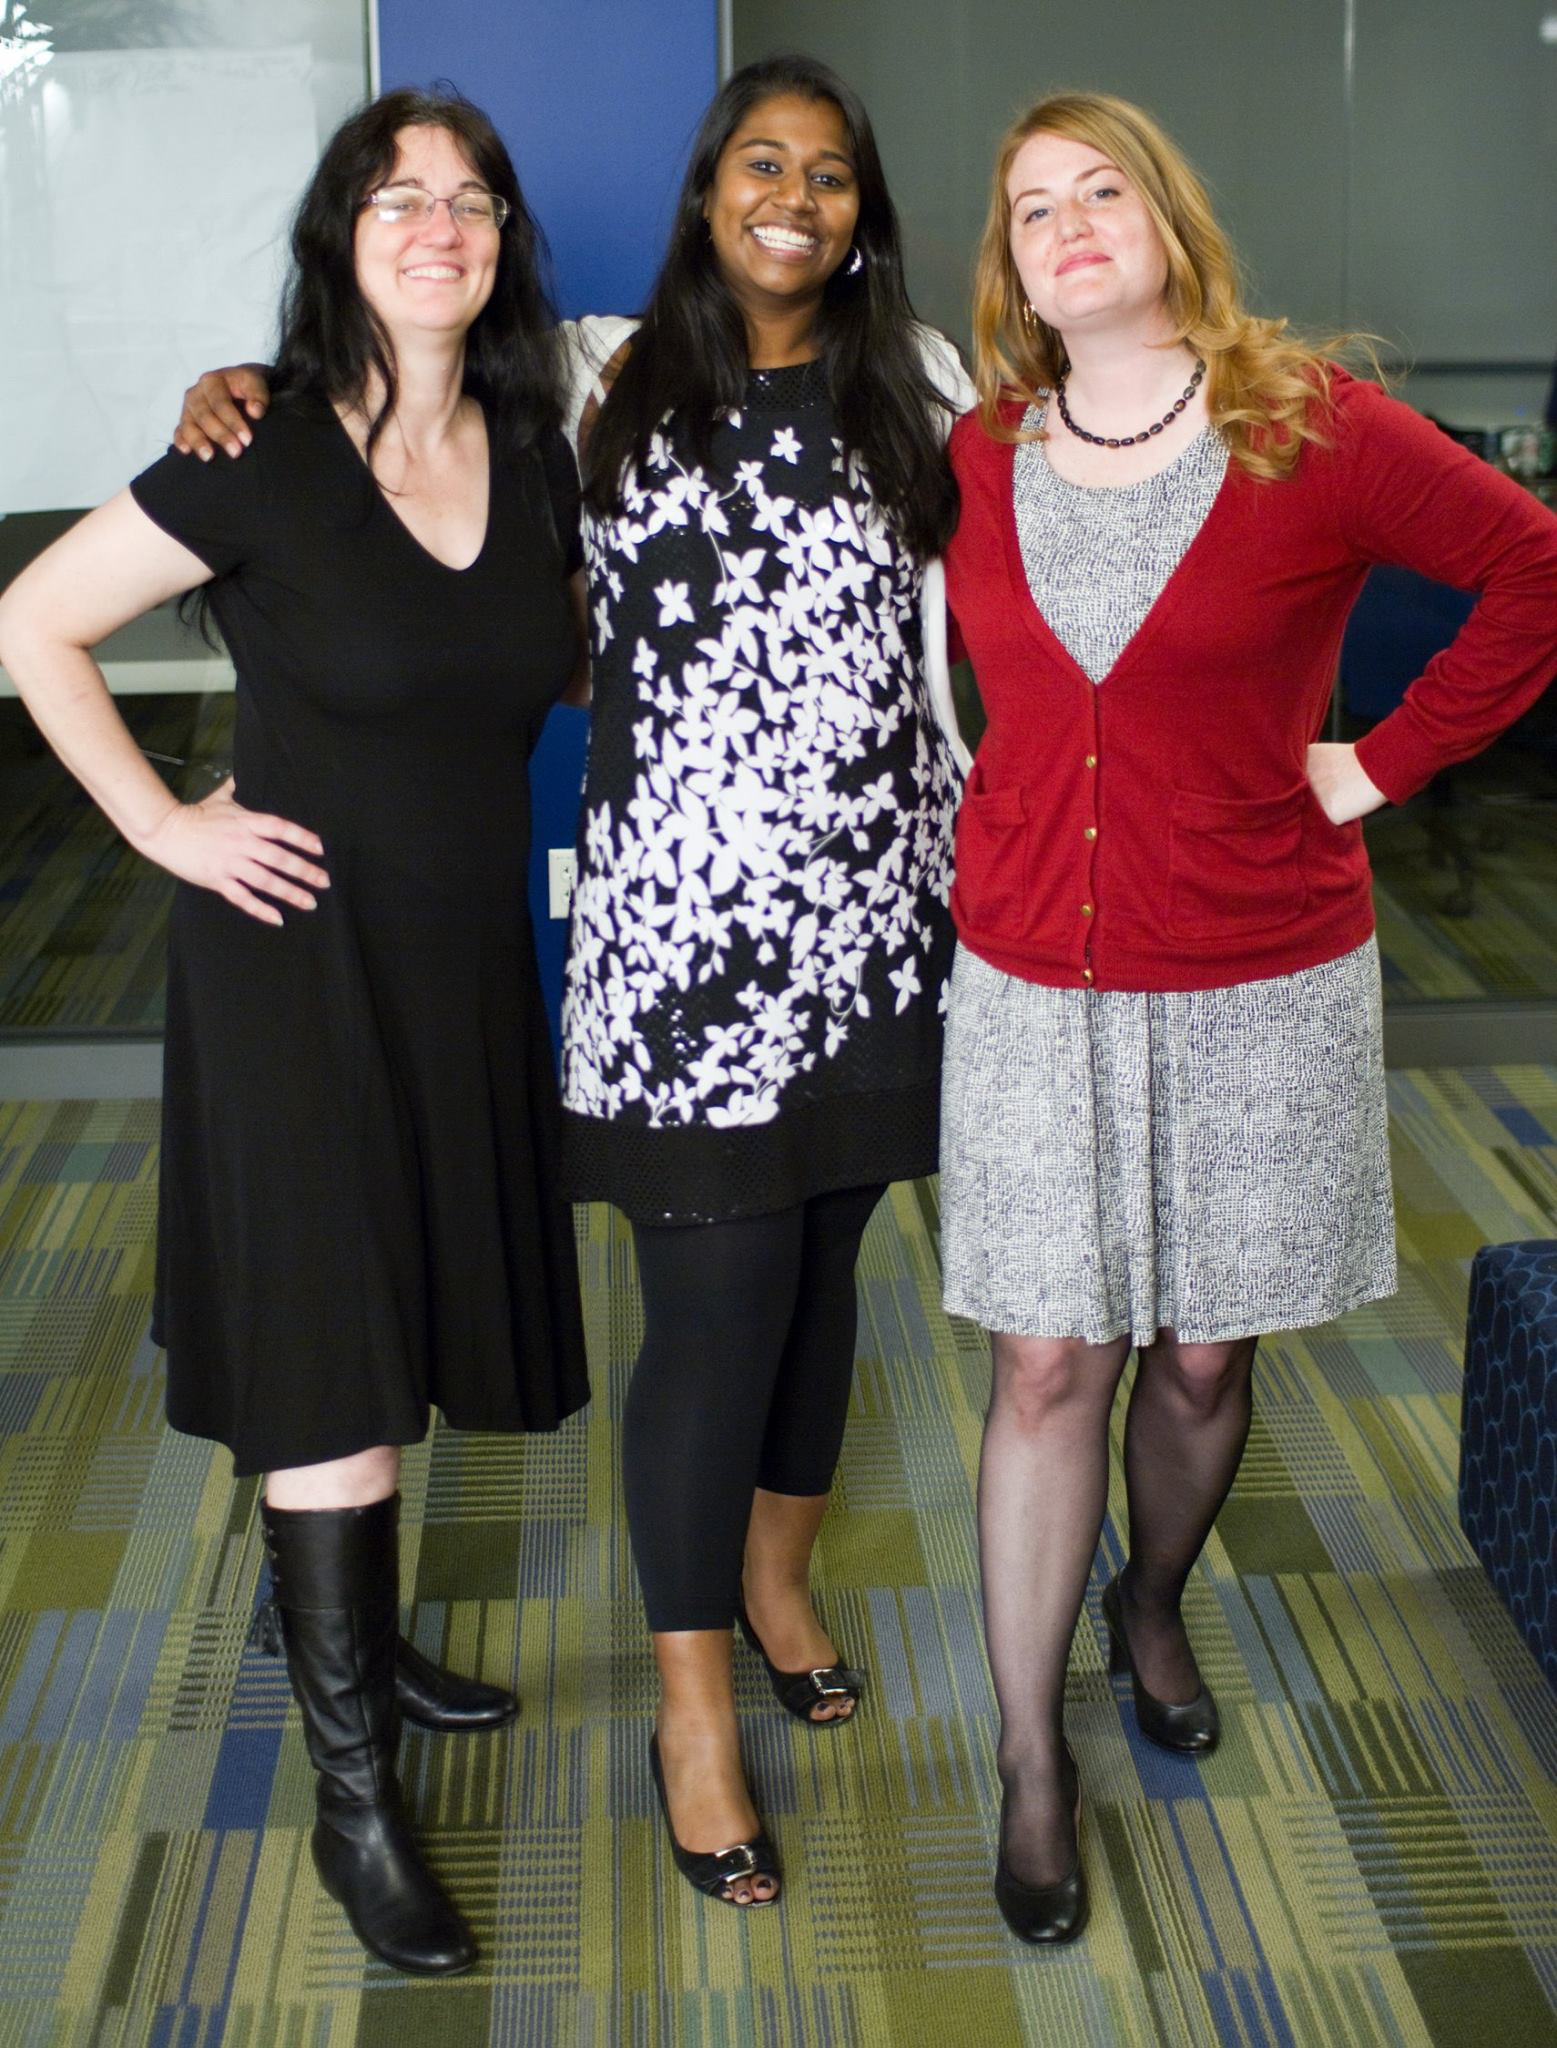
There was that one time we all got dressed up, just because. It was kind of an inverse Casual Friday. To start off, here’s some great group photos of Lee Ann on Fusion Engineering, Roshini on Fusion Performance, and Jessica on Docs.


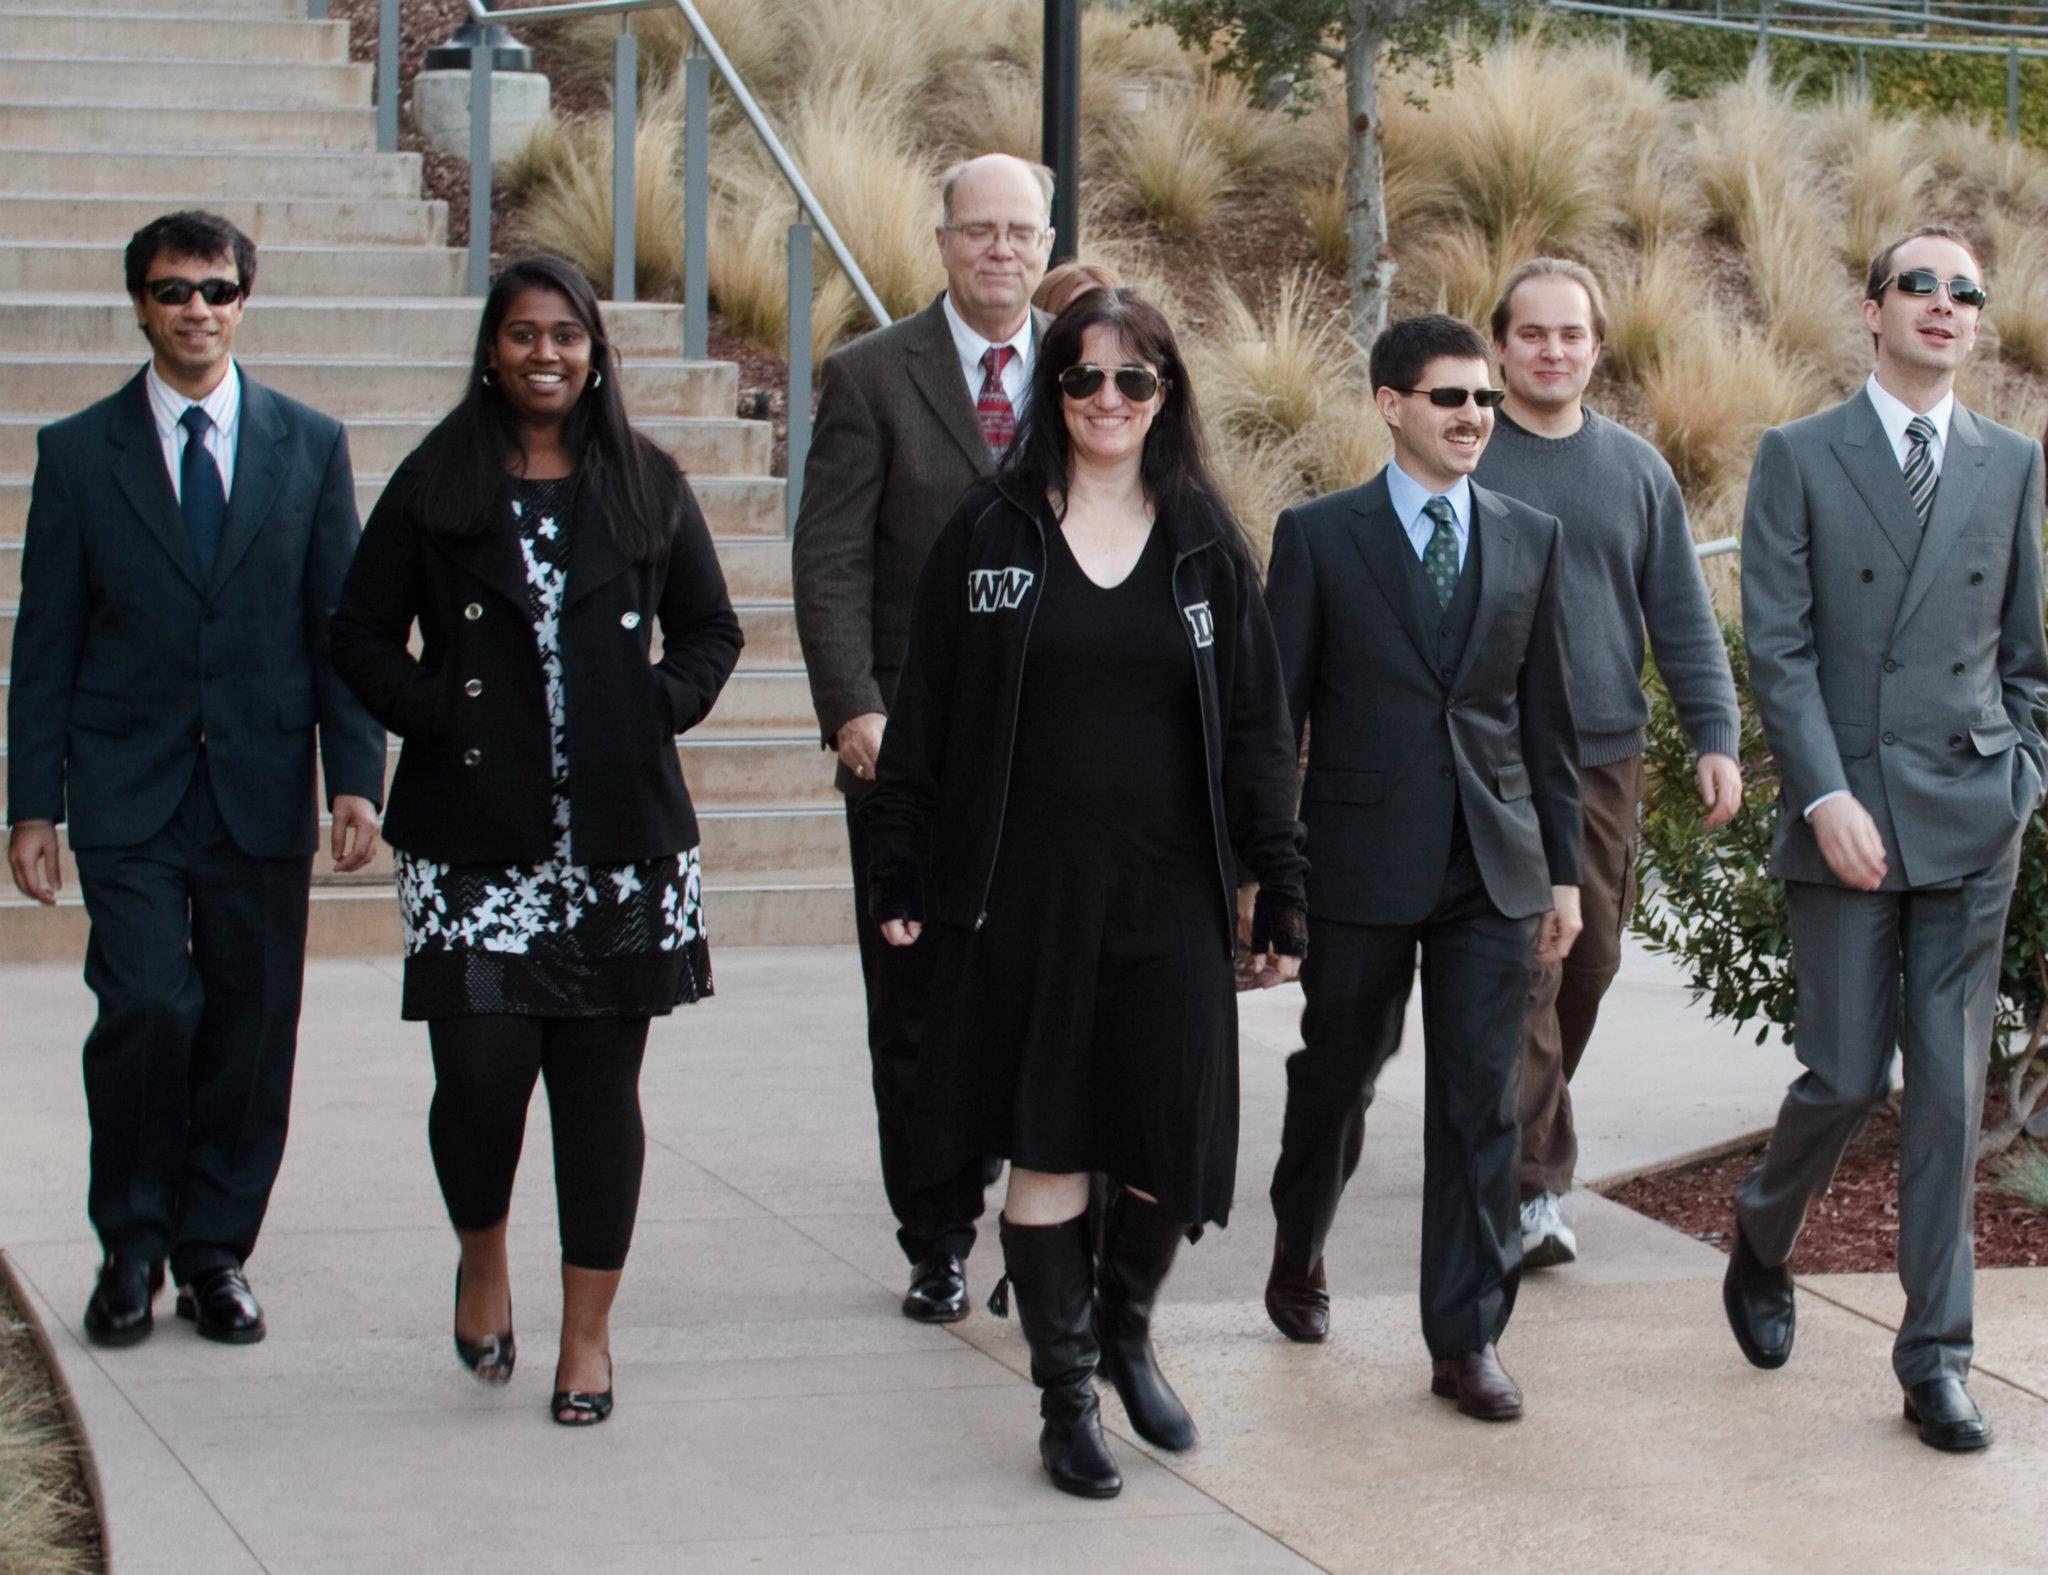
In order from left to right: Surendra, Roshini, Steve, Lee Ann, David, Michael, and James. (Shame we didn’t have the whole team in this shot.)

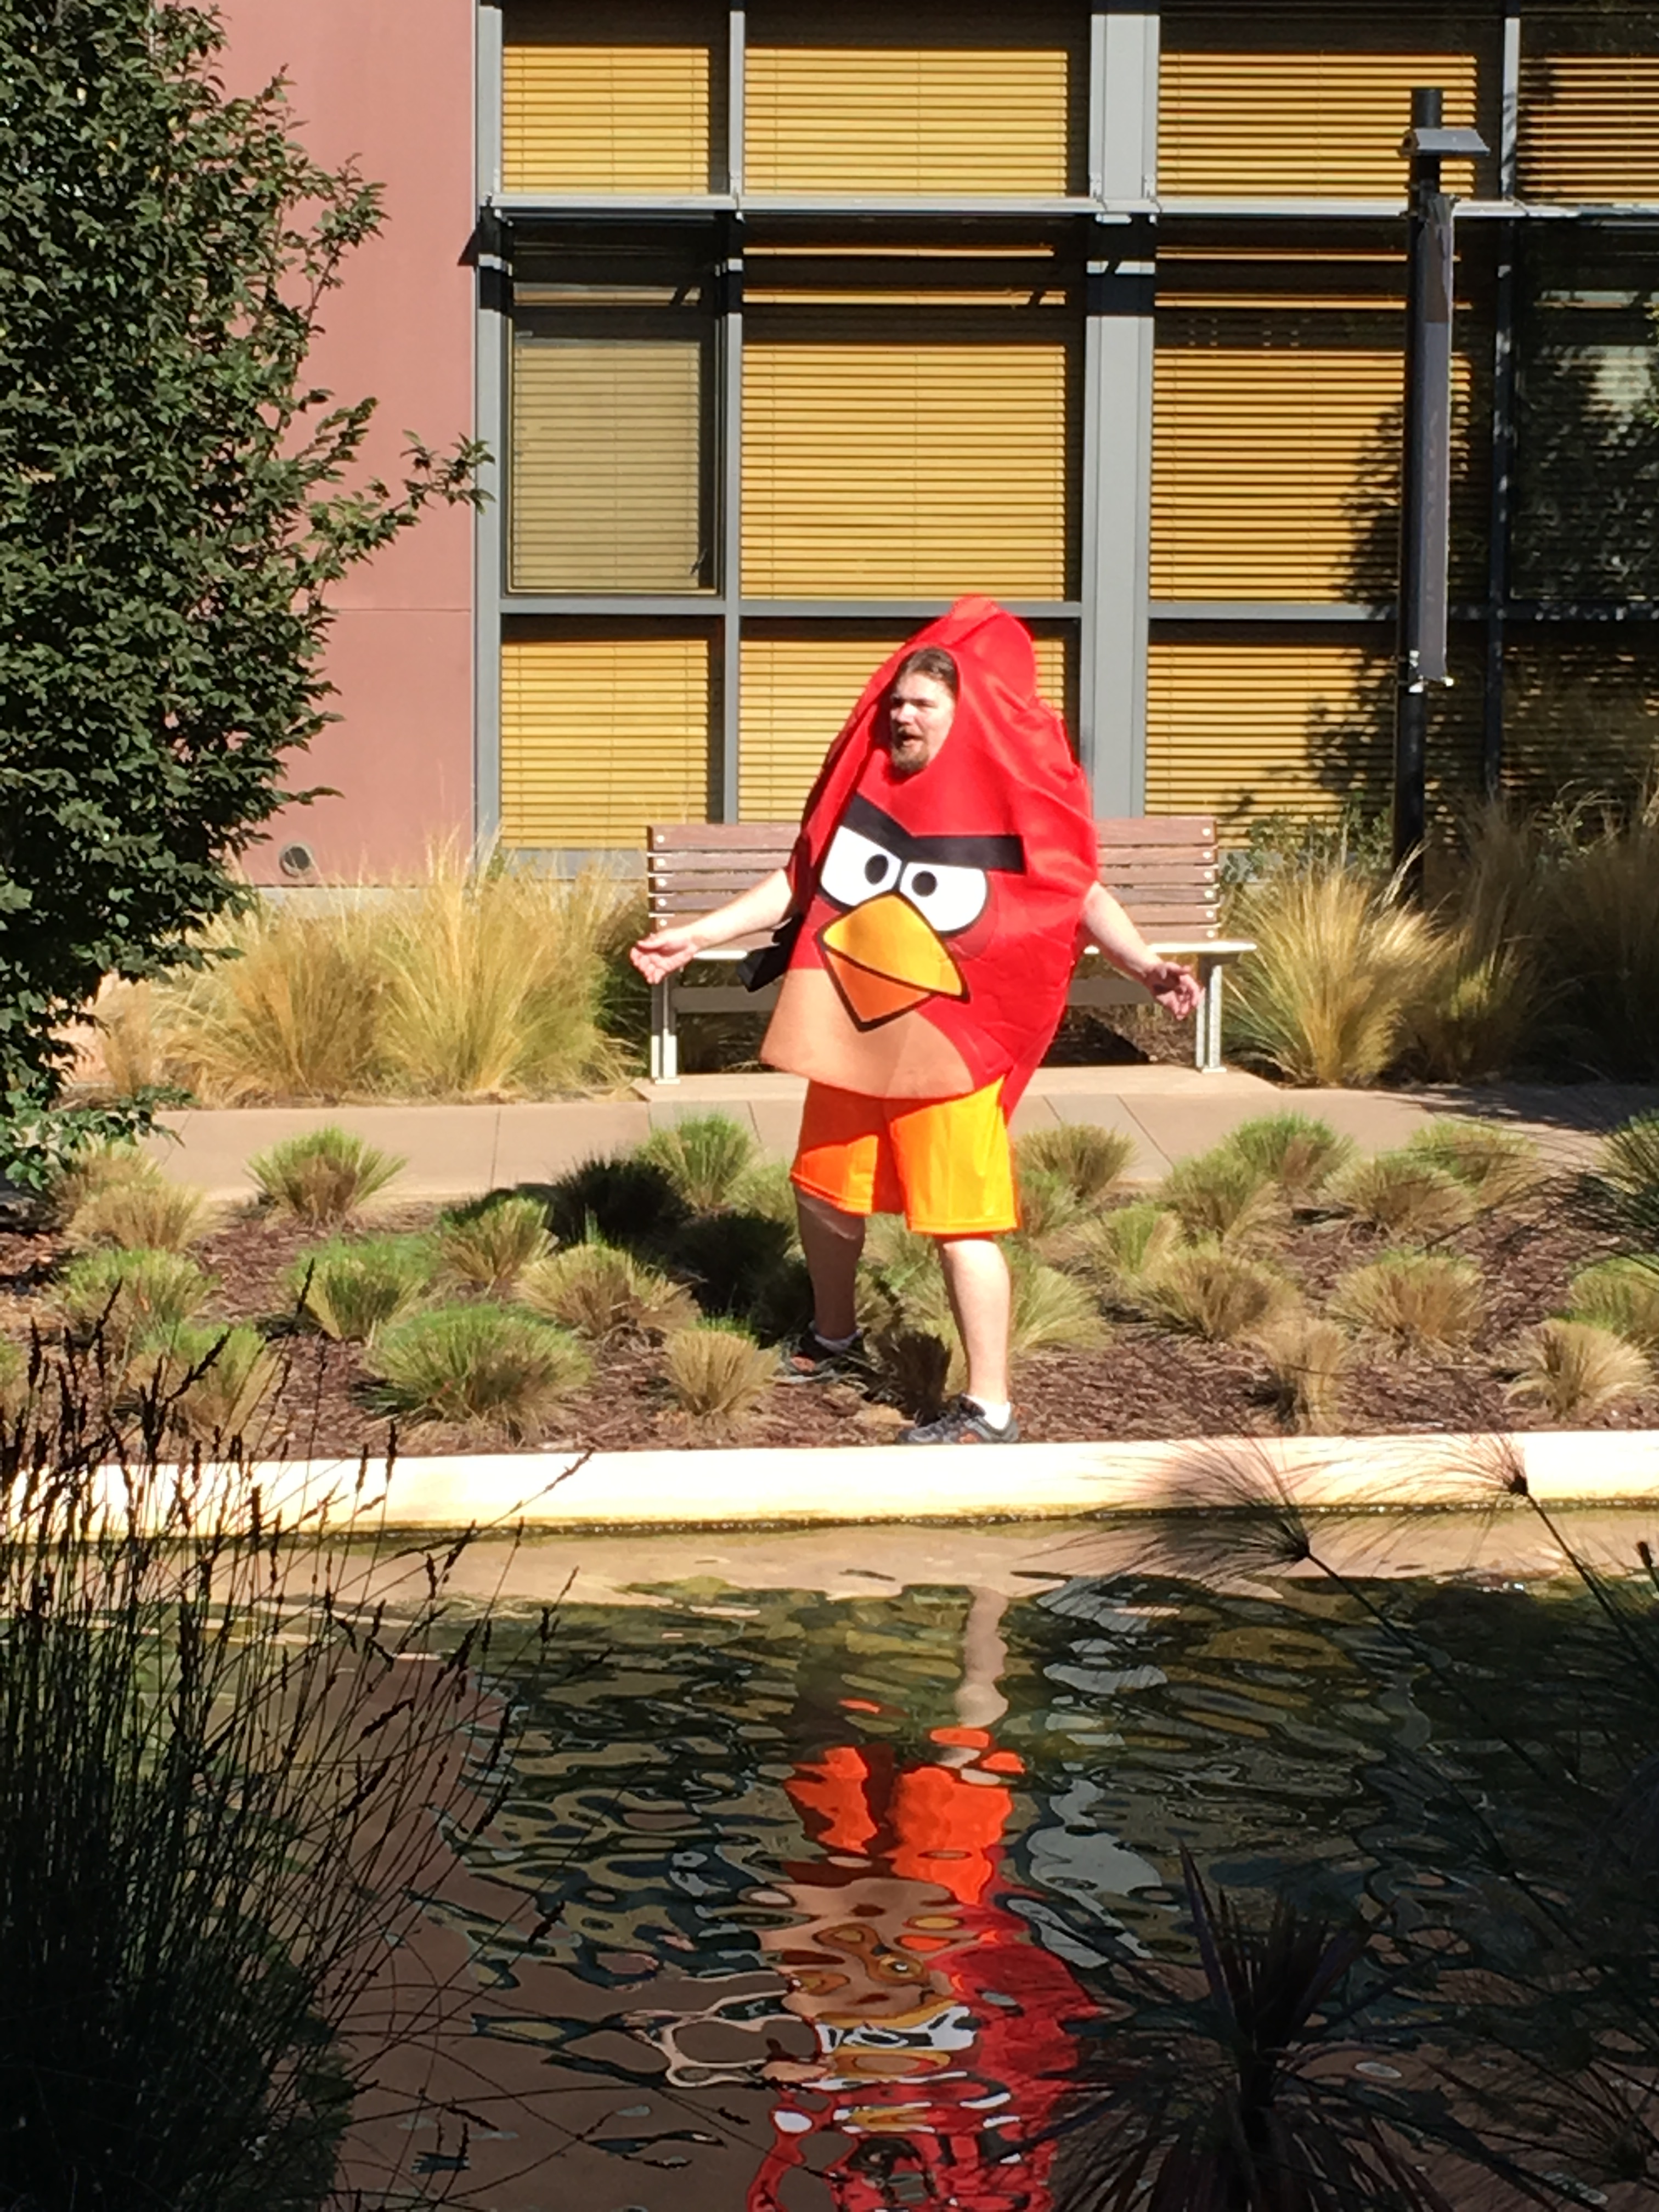
Okay, terrible pun alert, straight from the Facebook post: “At VMware, our managers go APE for new releases!” (Another awesome win from Dave & Busters!)

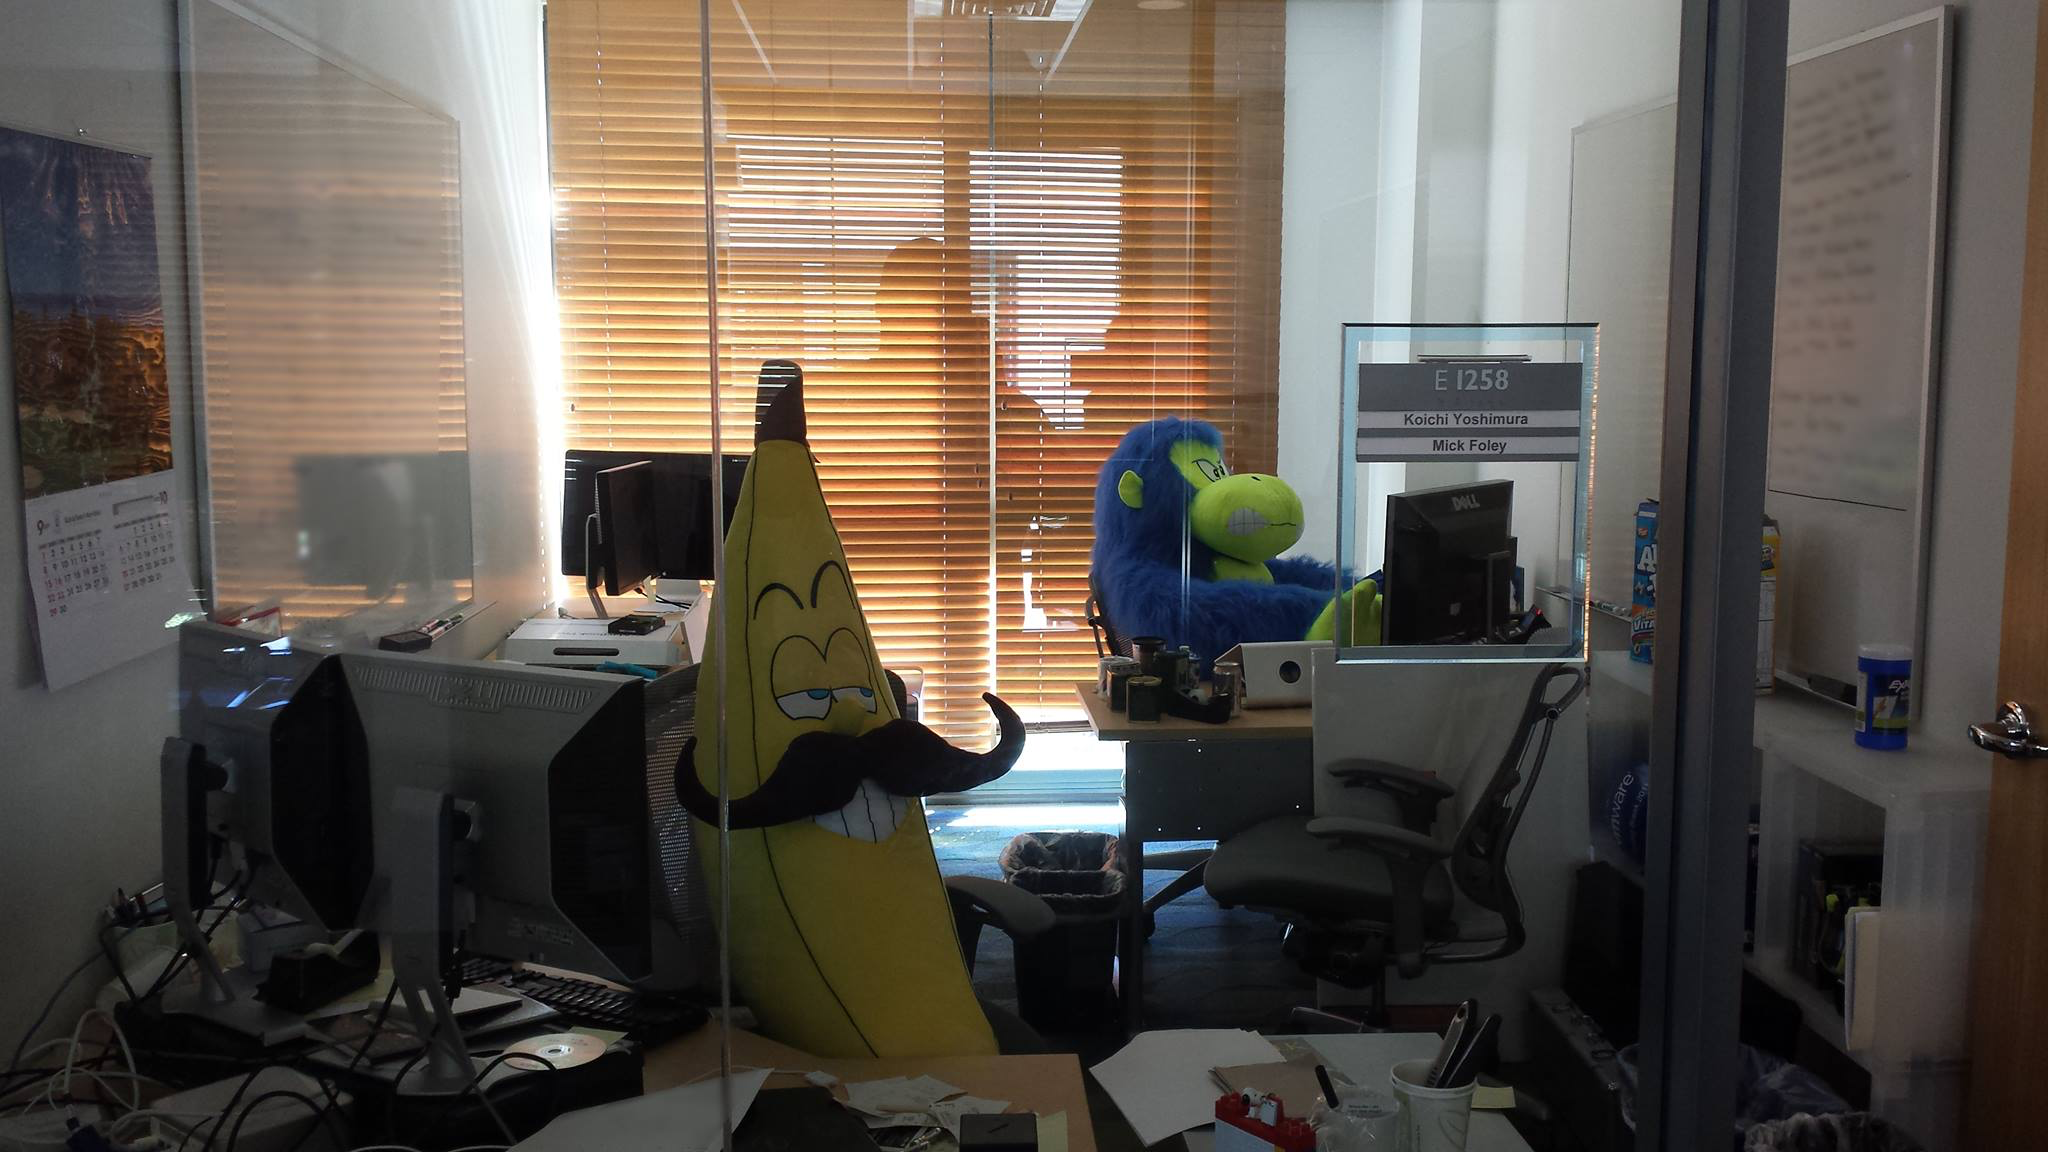
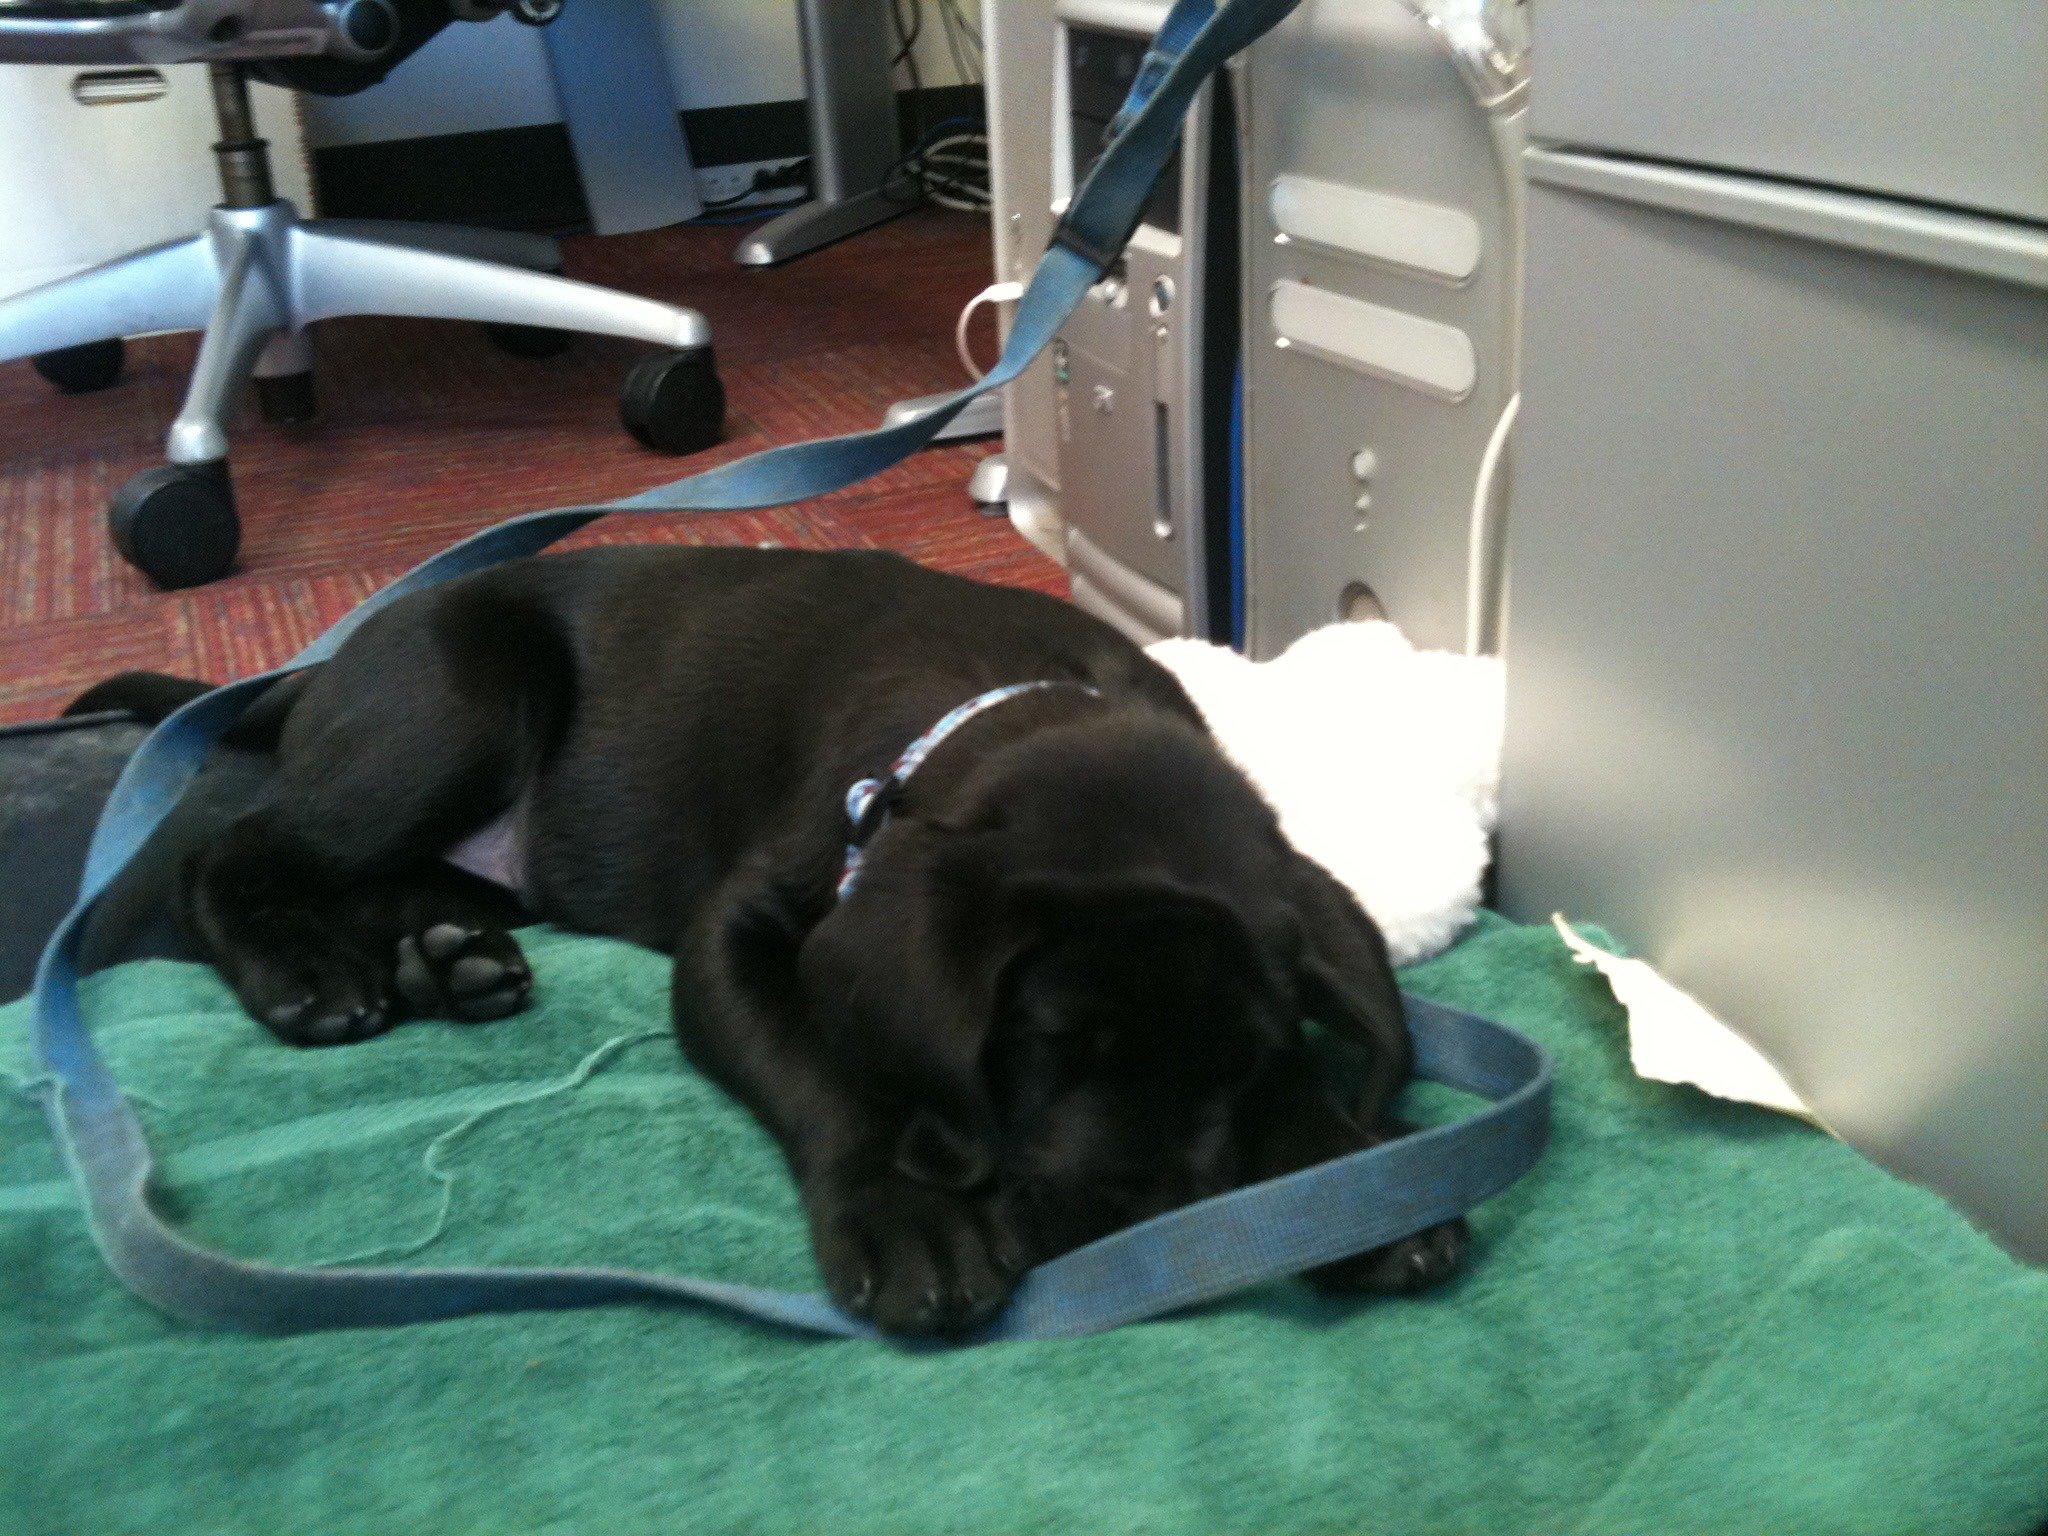
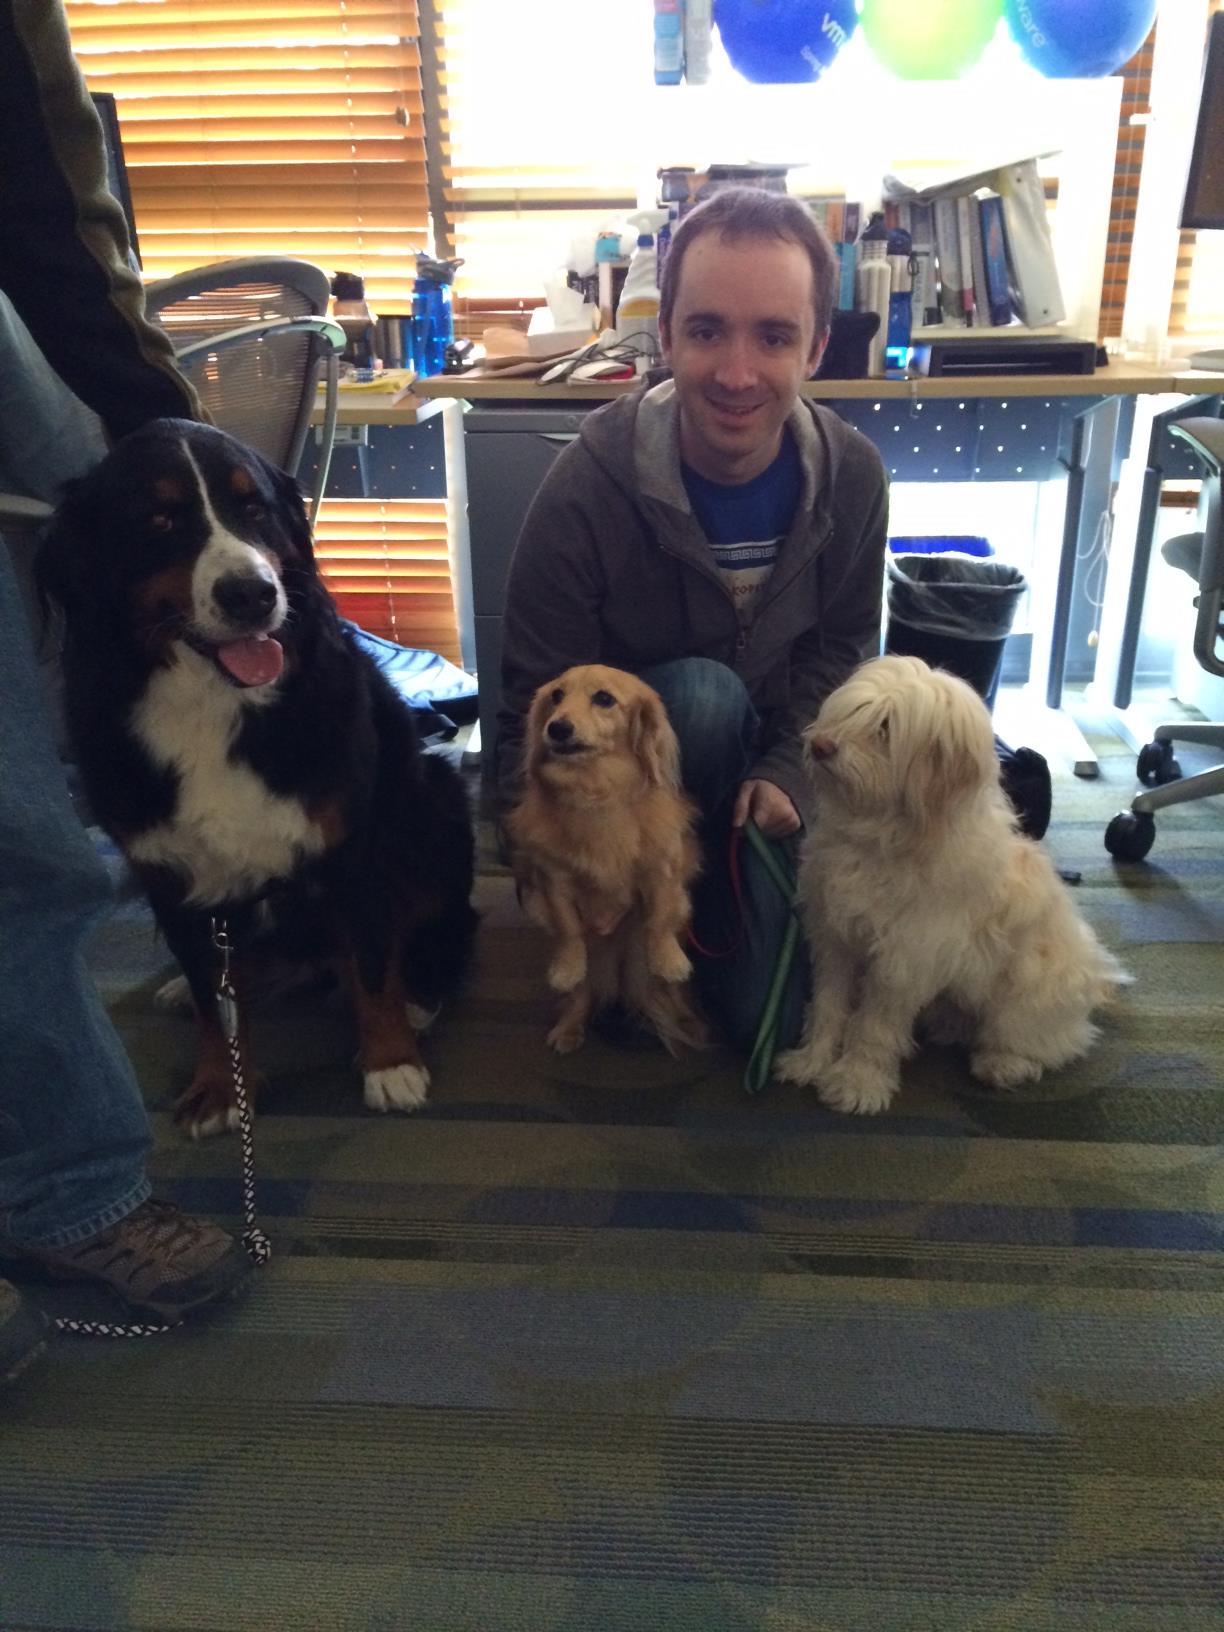
Pets were always welcome in our office. This is Bodie (as a puppy — it’s been a while). We had other dogs, sometimes cats. A duck followed me into the building one day.


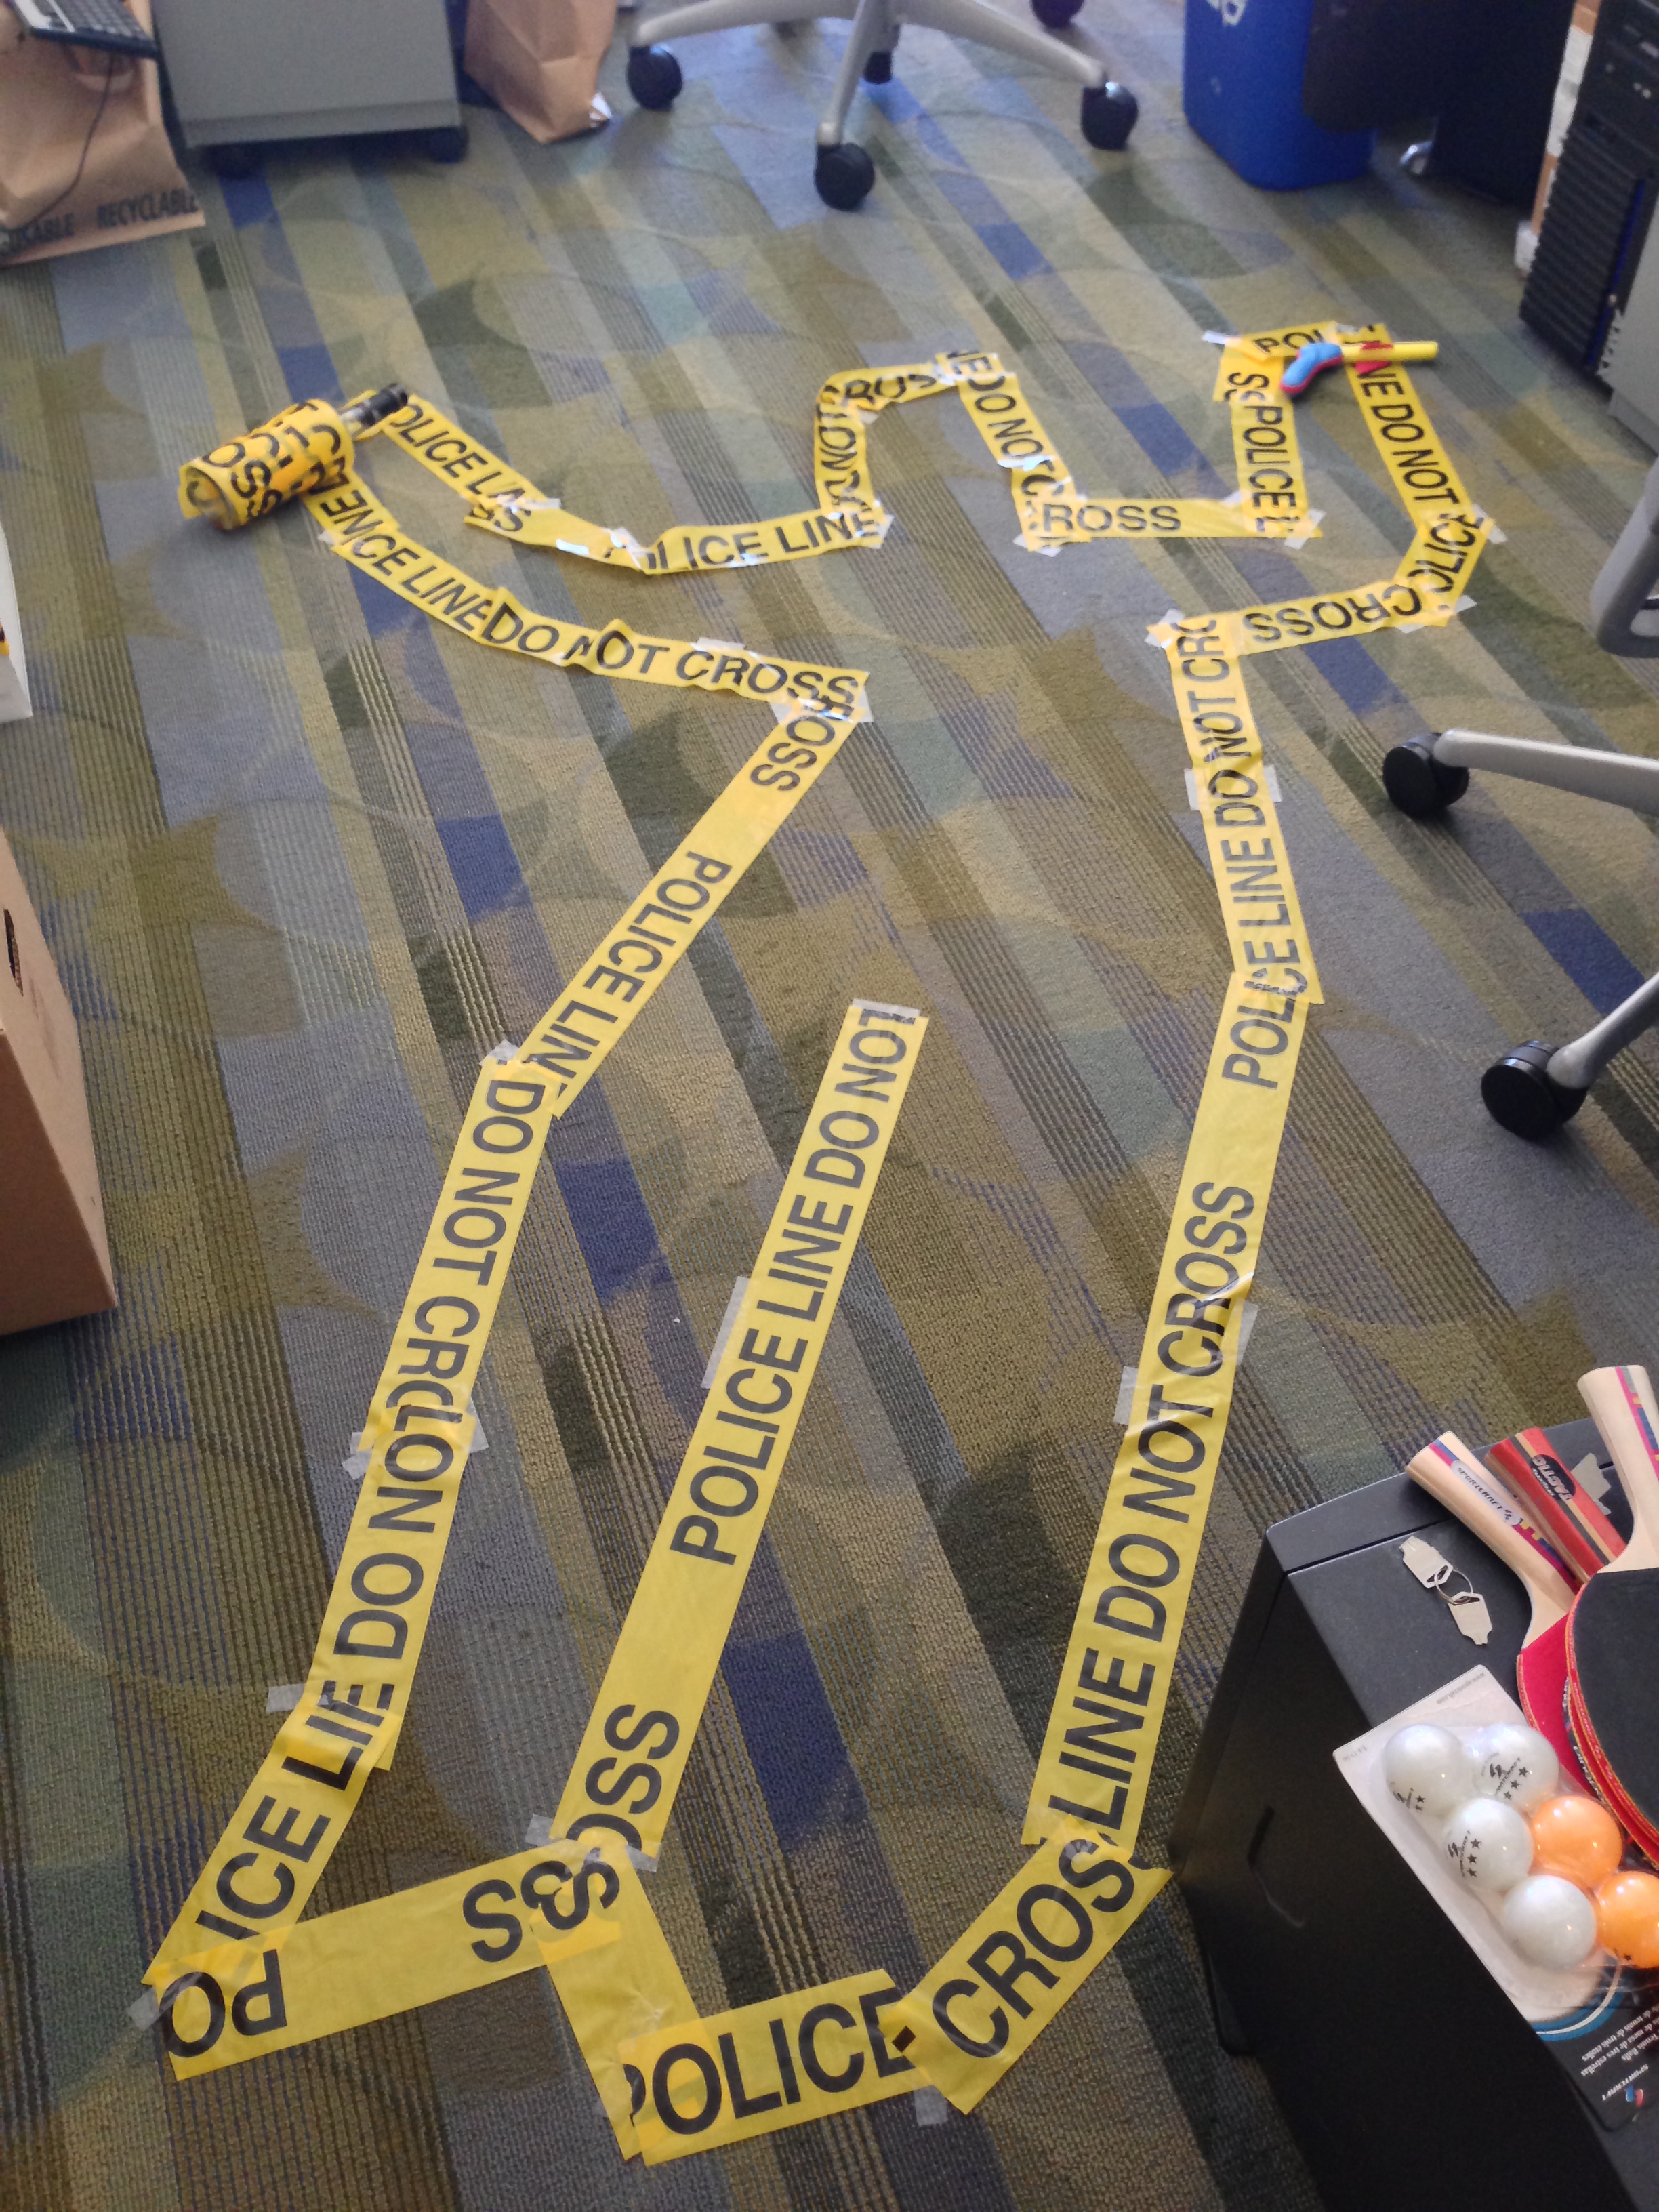
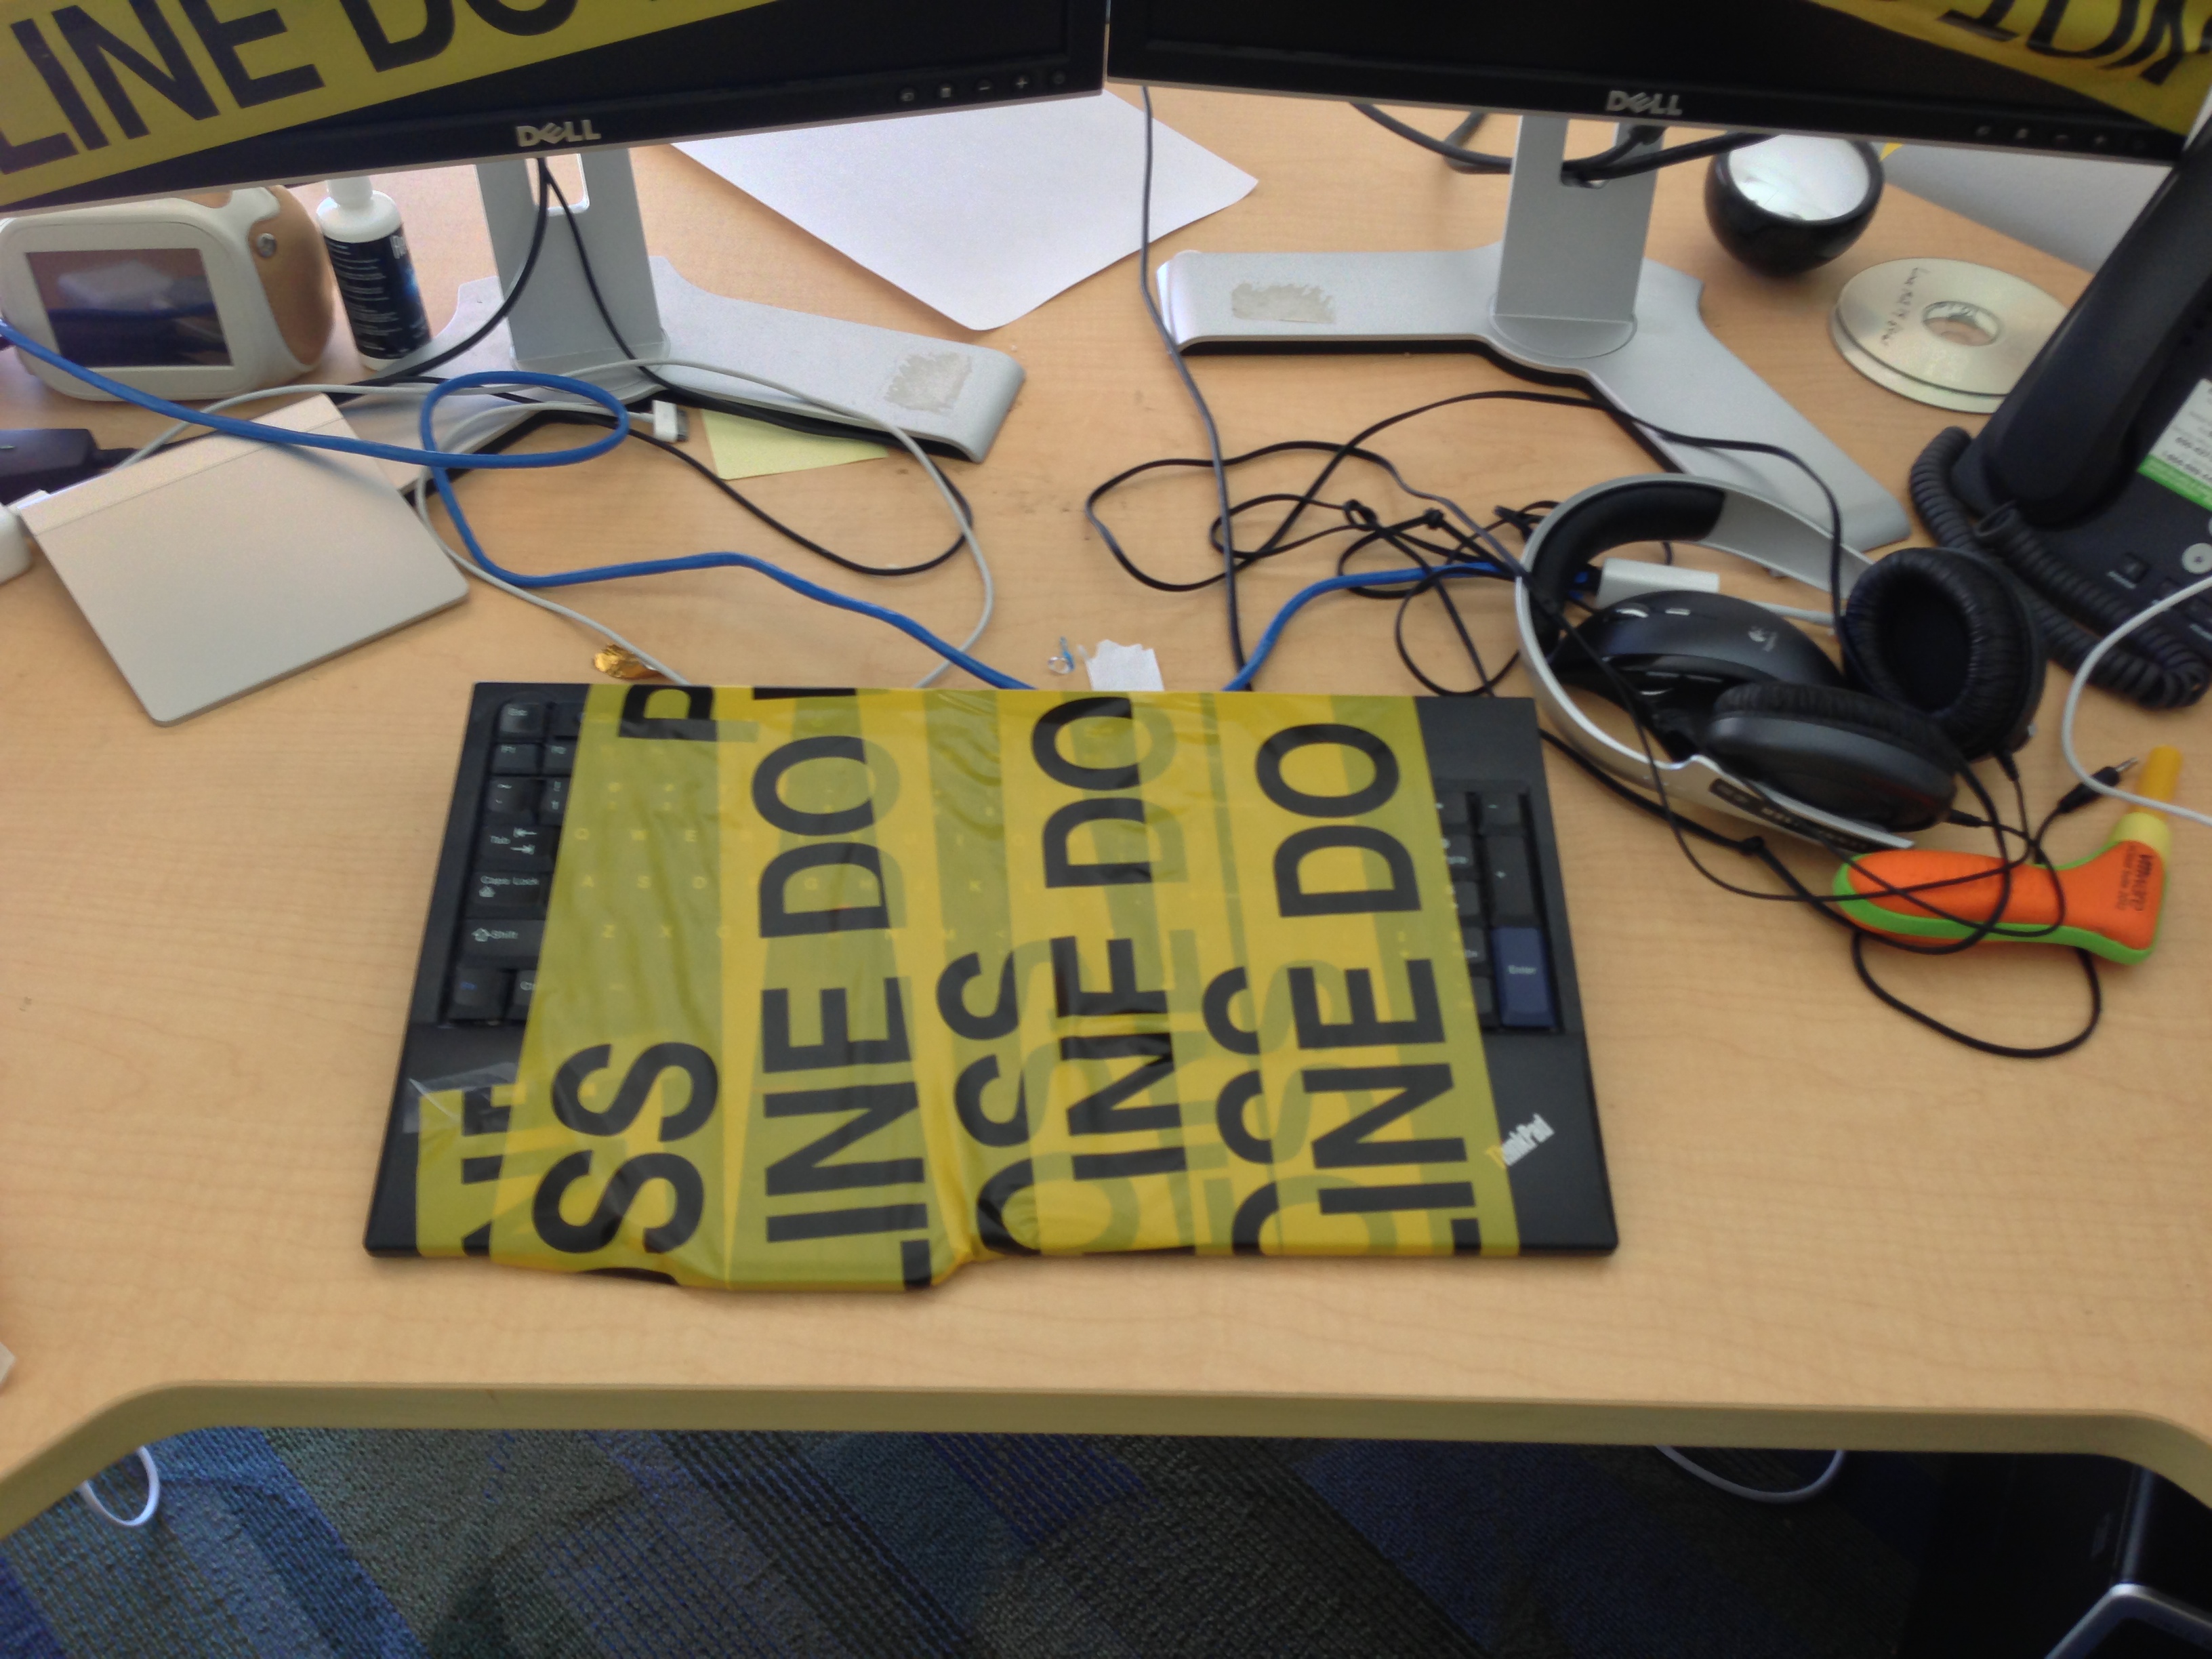
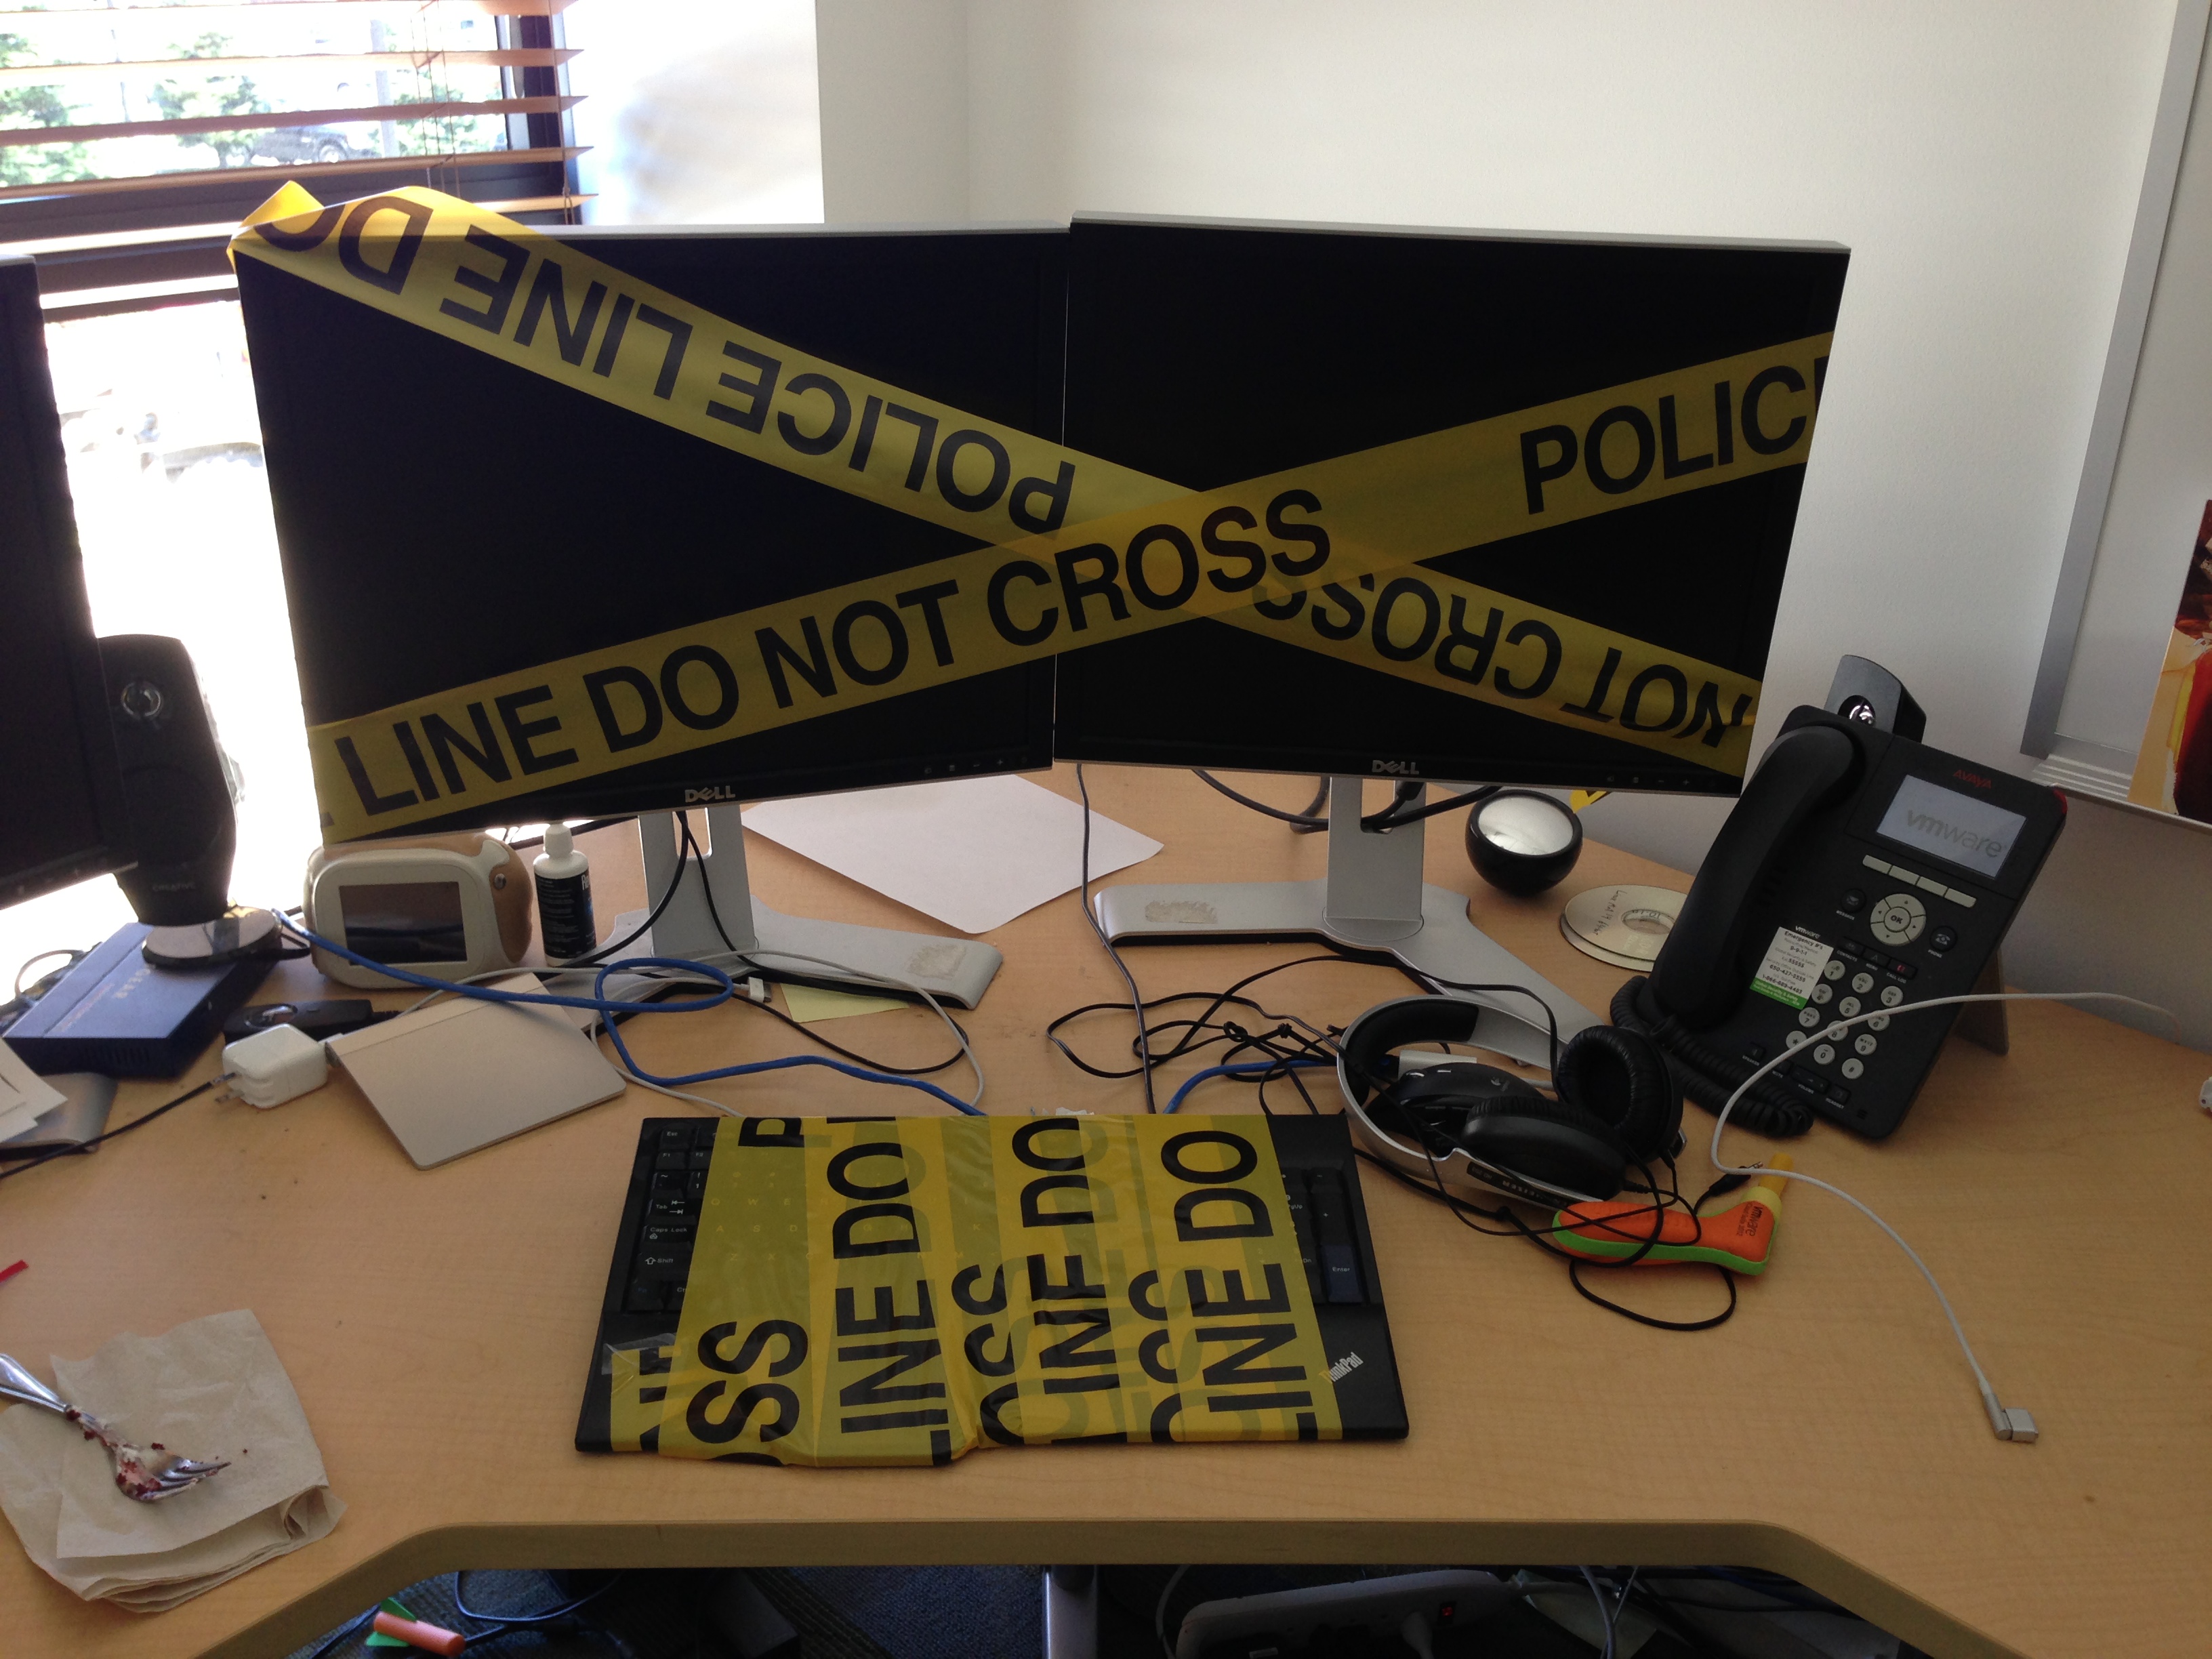
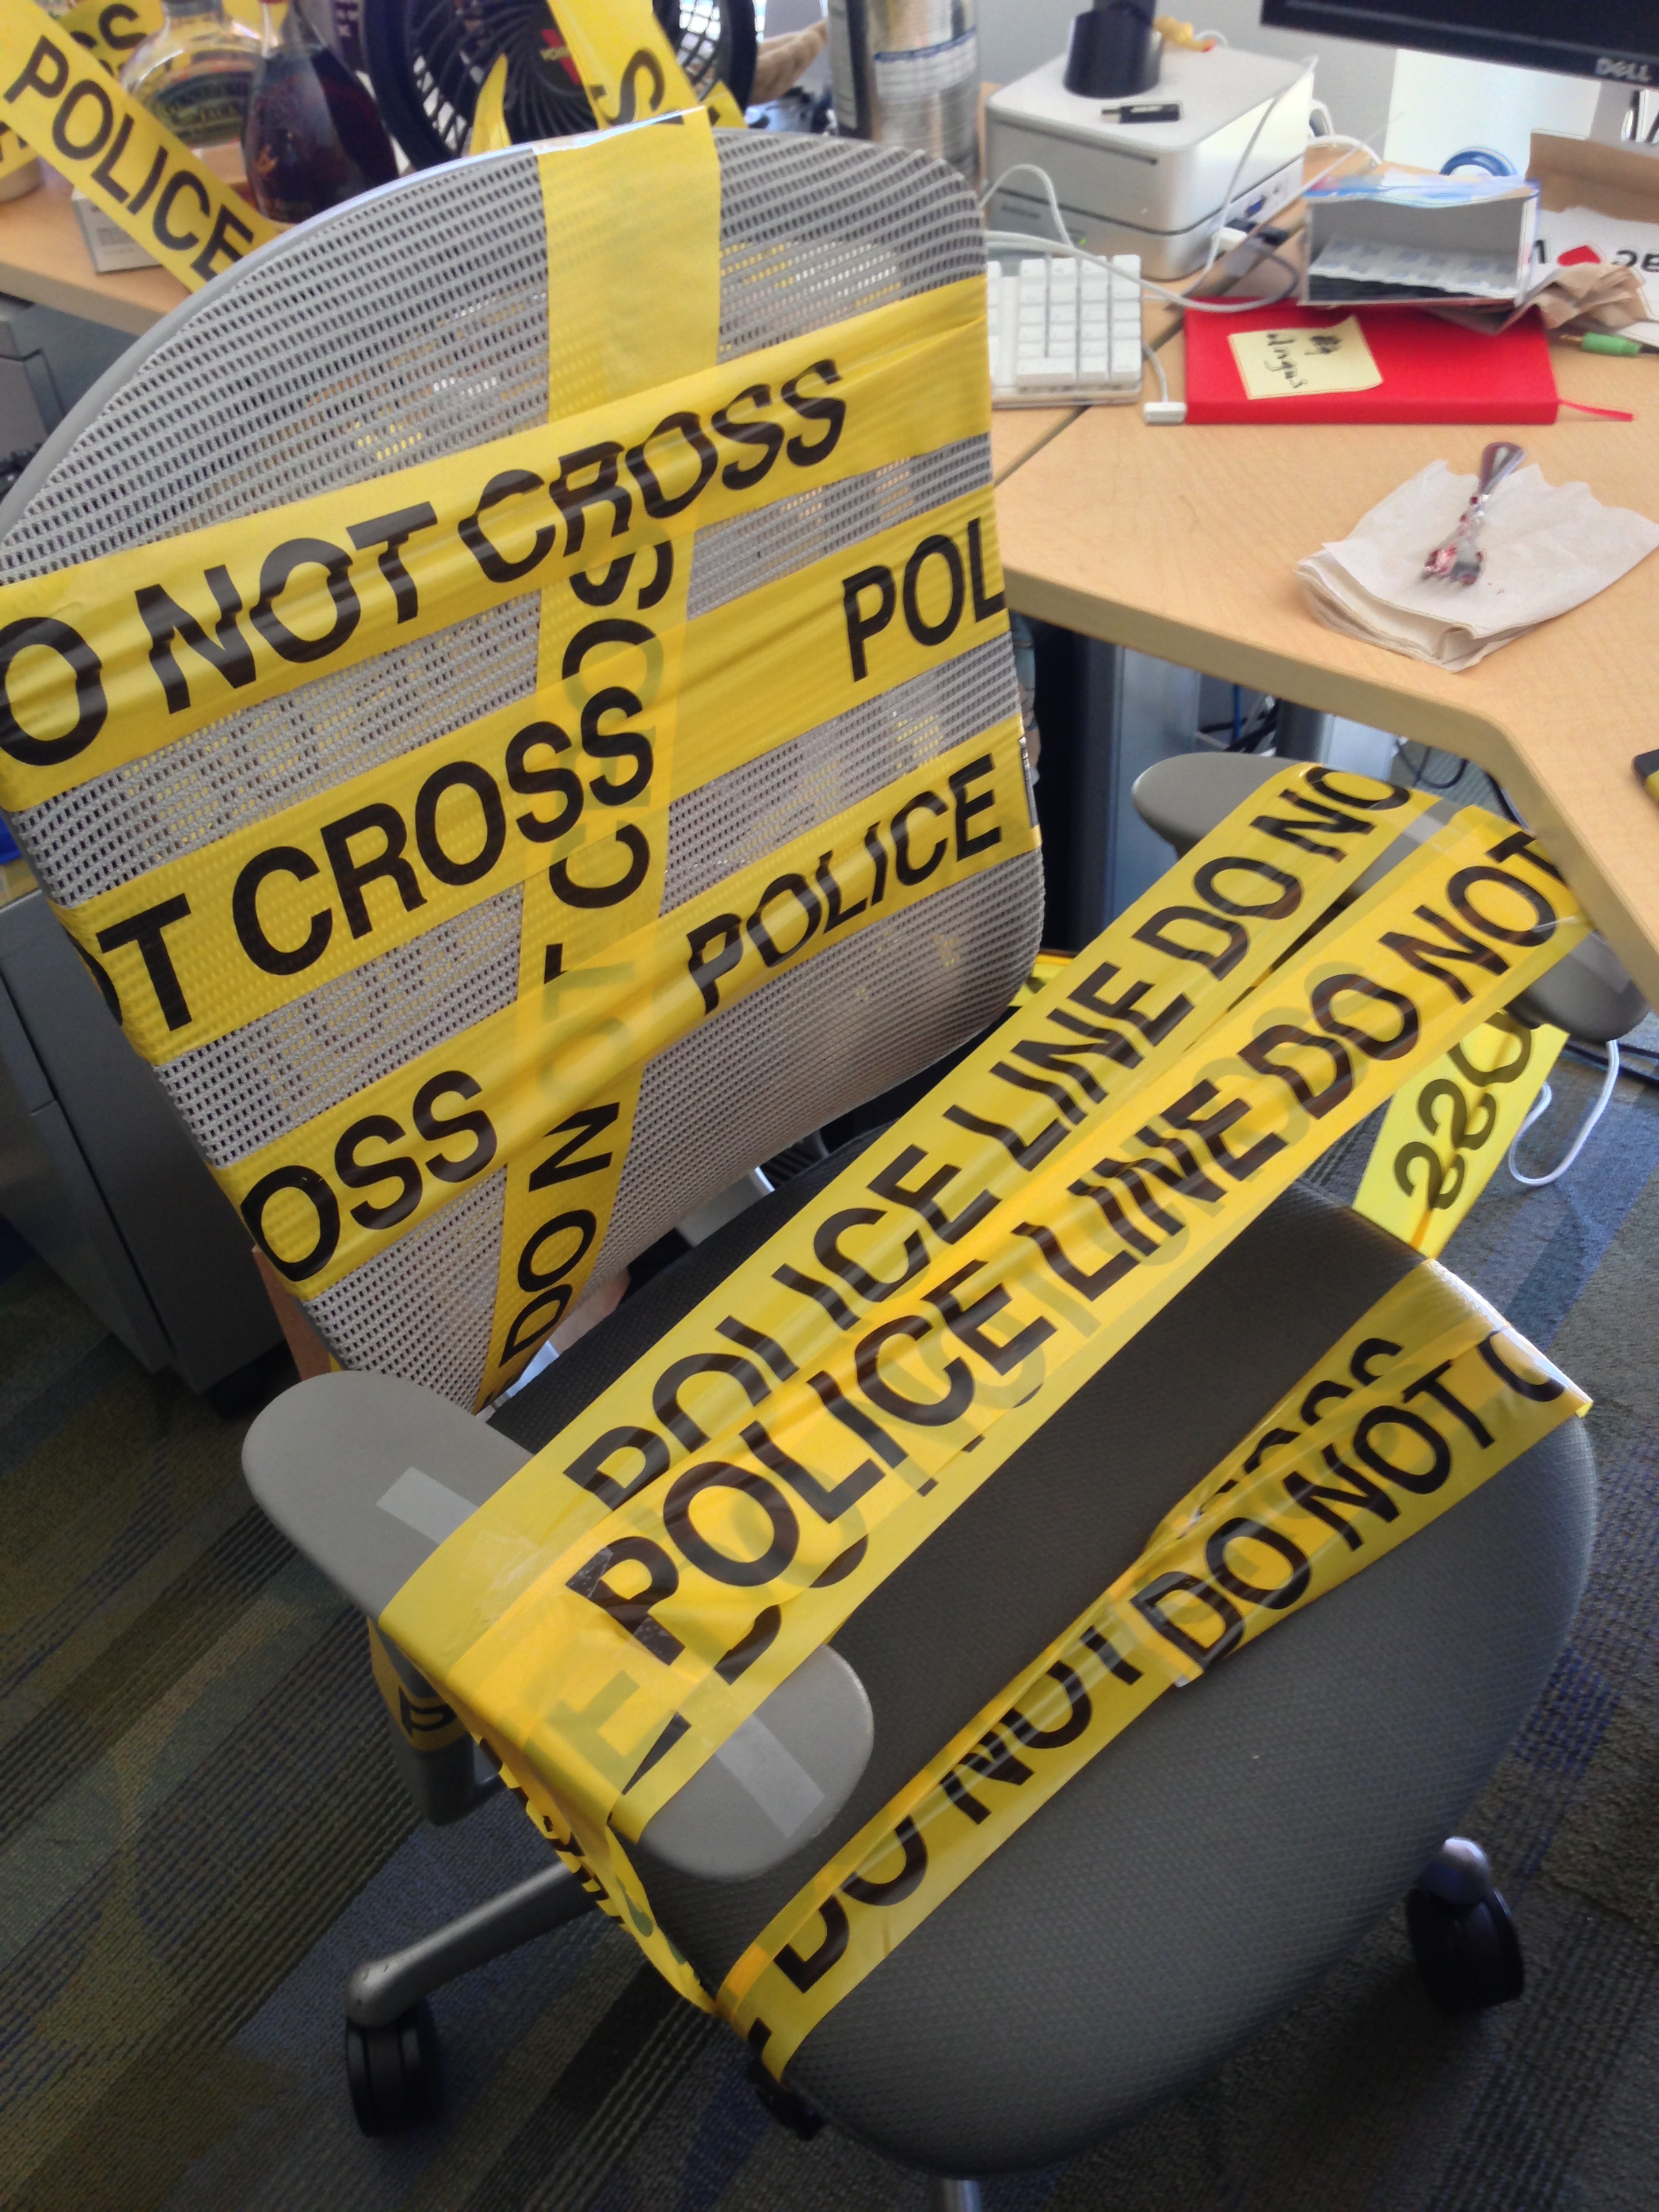
Can you ever truly leave the team? Might come at a price… DUN DUN DUN. (I found my entire office covered in this stuff, shortly before my last day at VMware.)
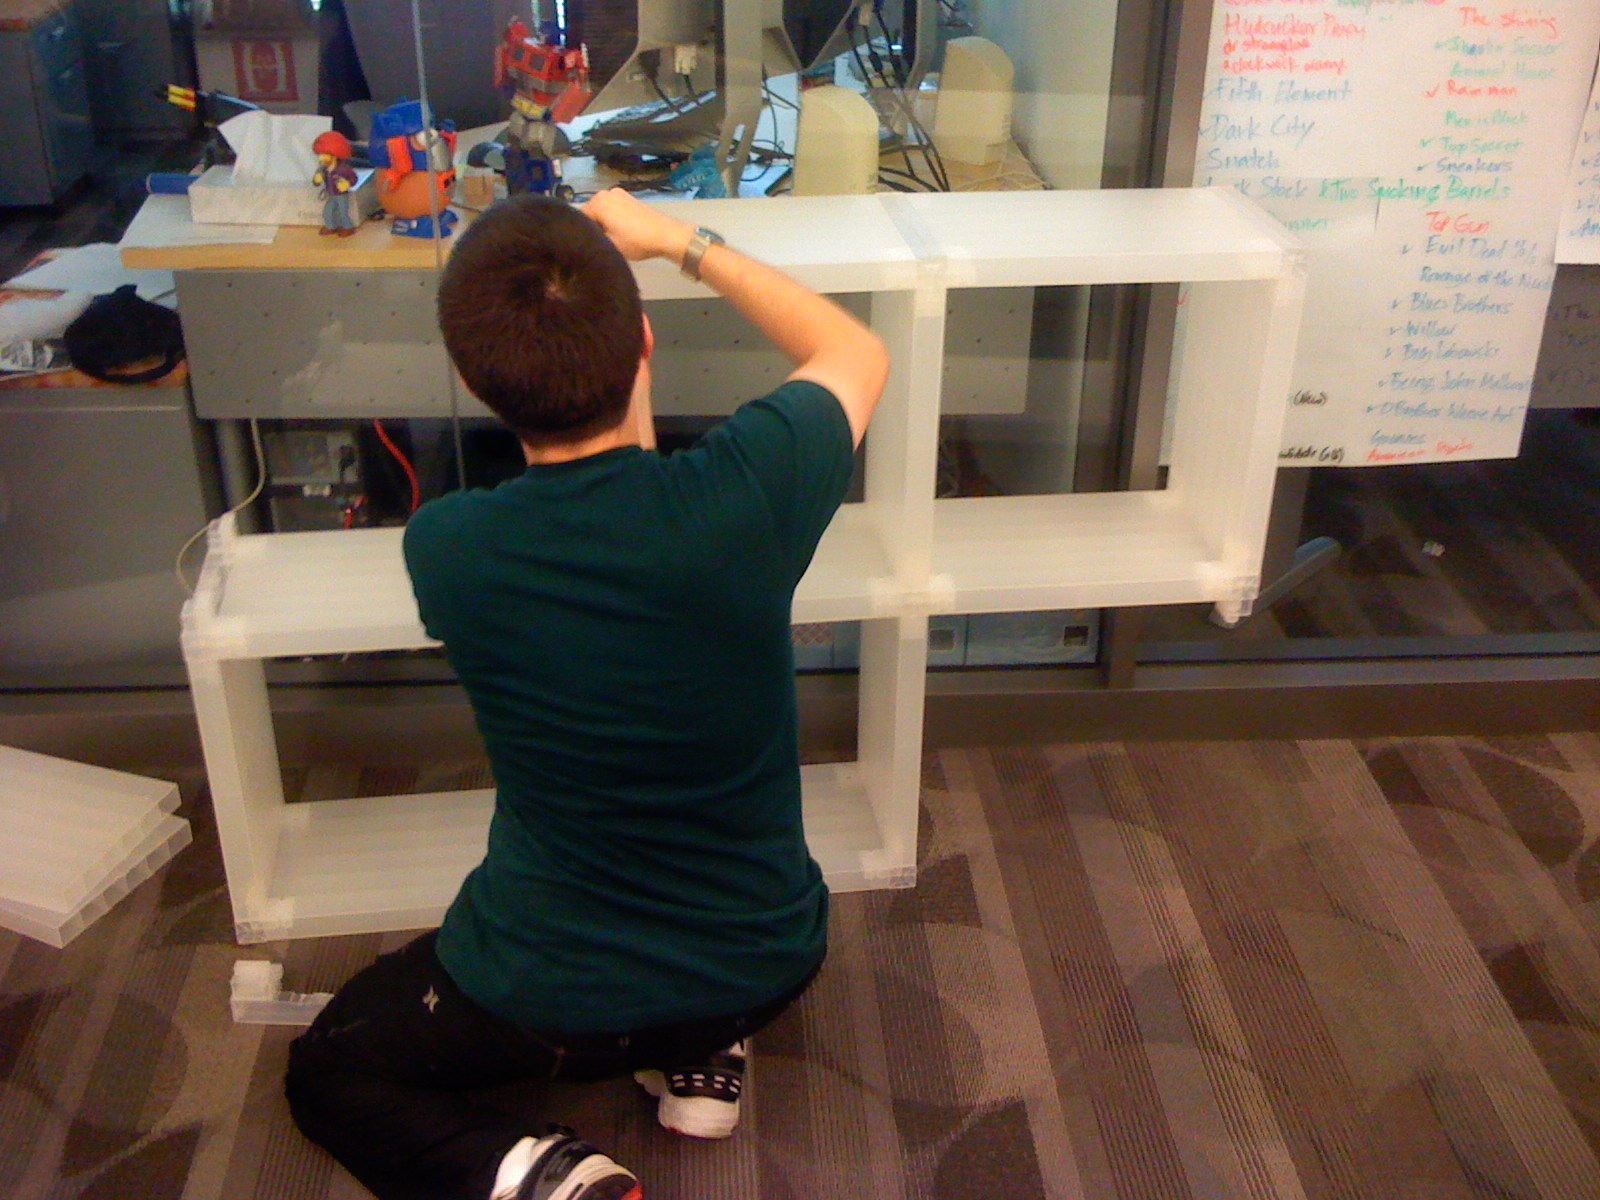
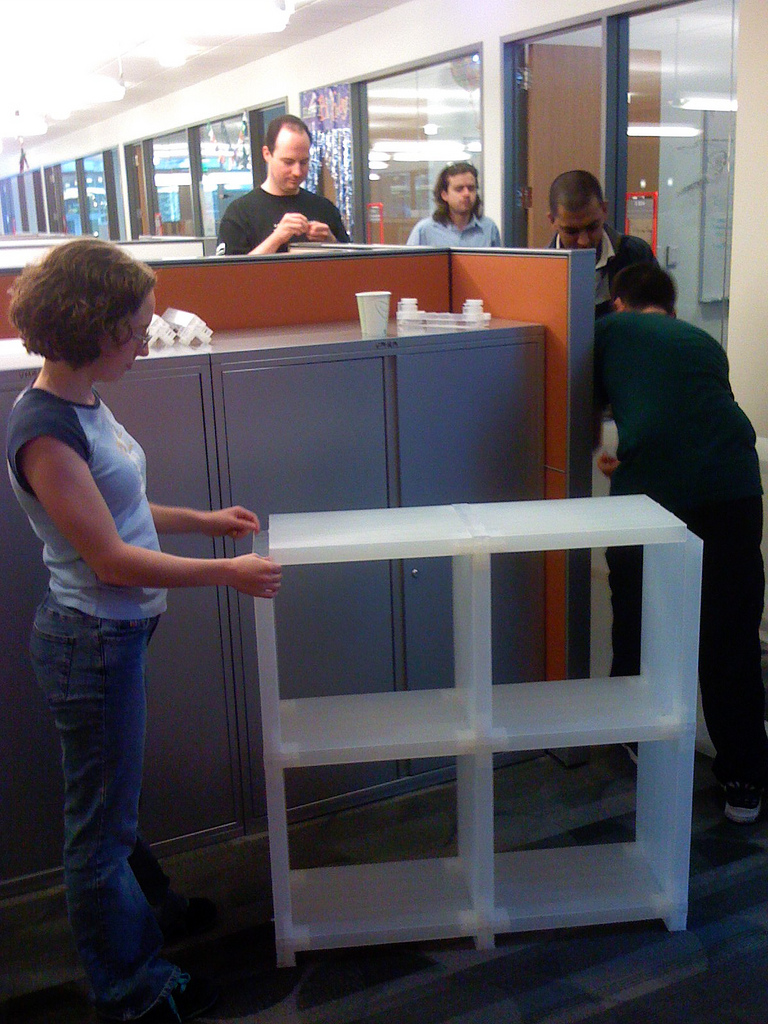
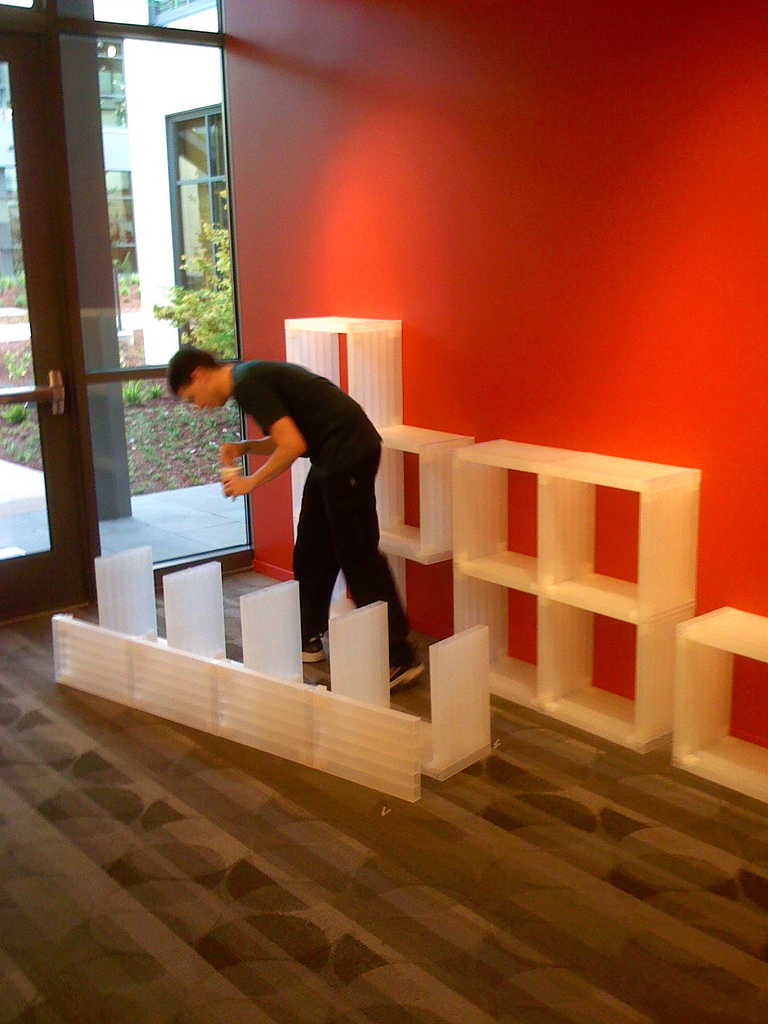
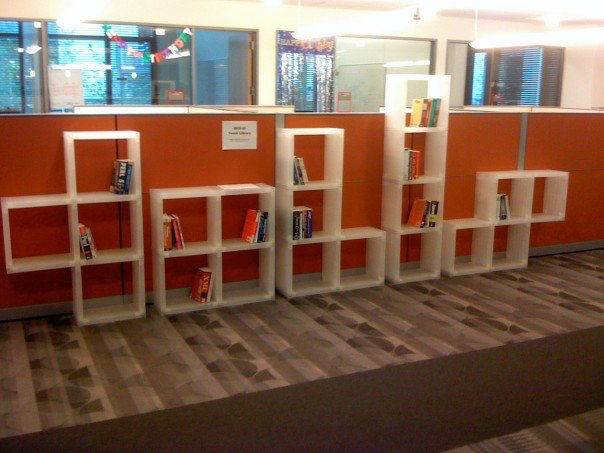
We once got these plasticy bookshelf things made from I think recycled milk jugs? Someone realized that they could be disassembled and reassembled, so our team, always eager to end the day on a productive note, set off to build Tetris bookshelves.
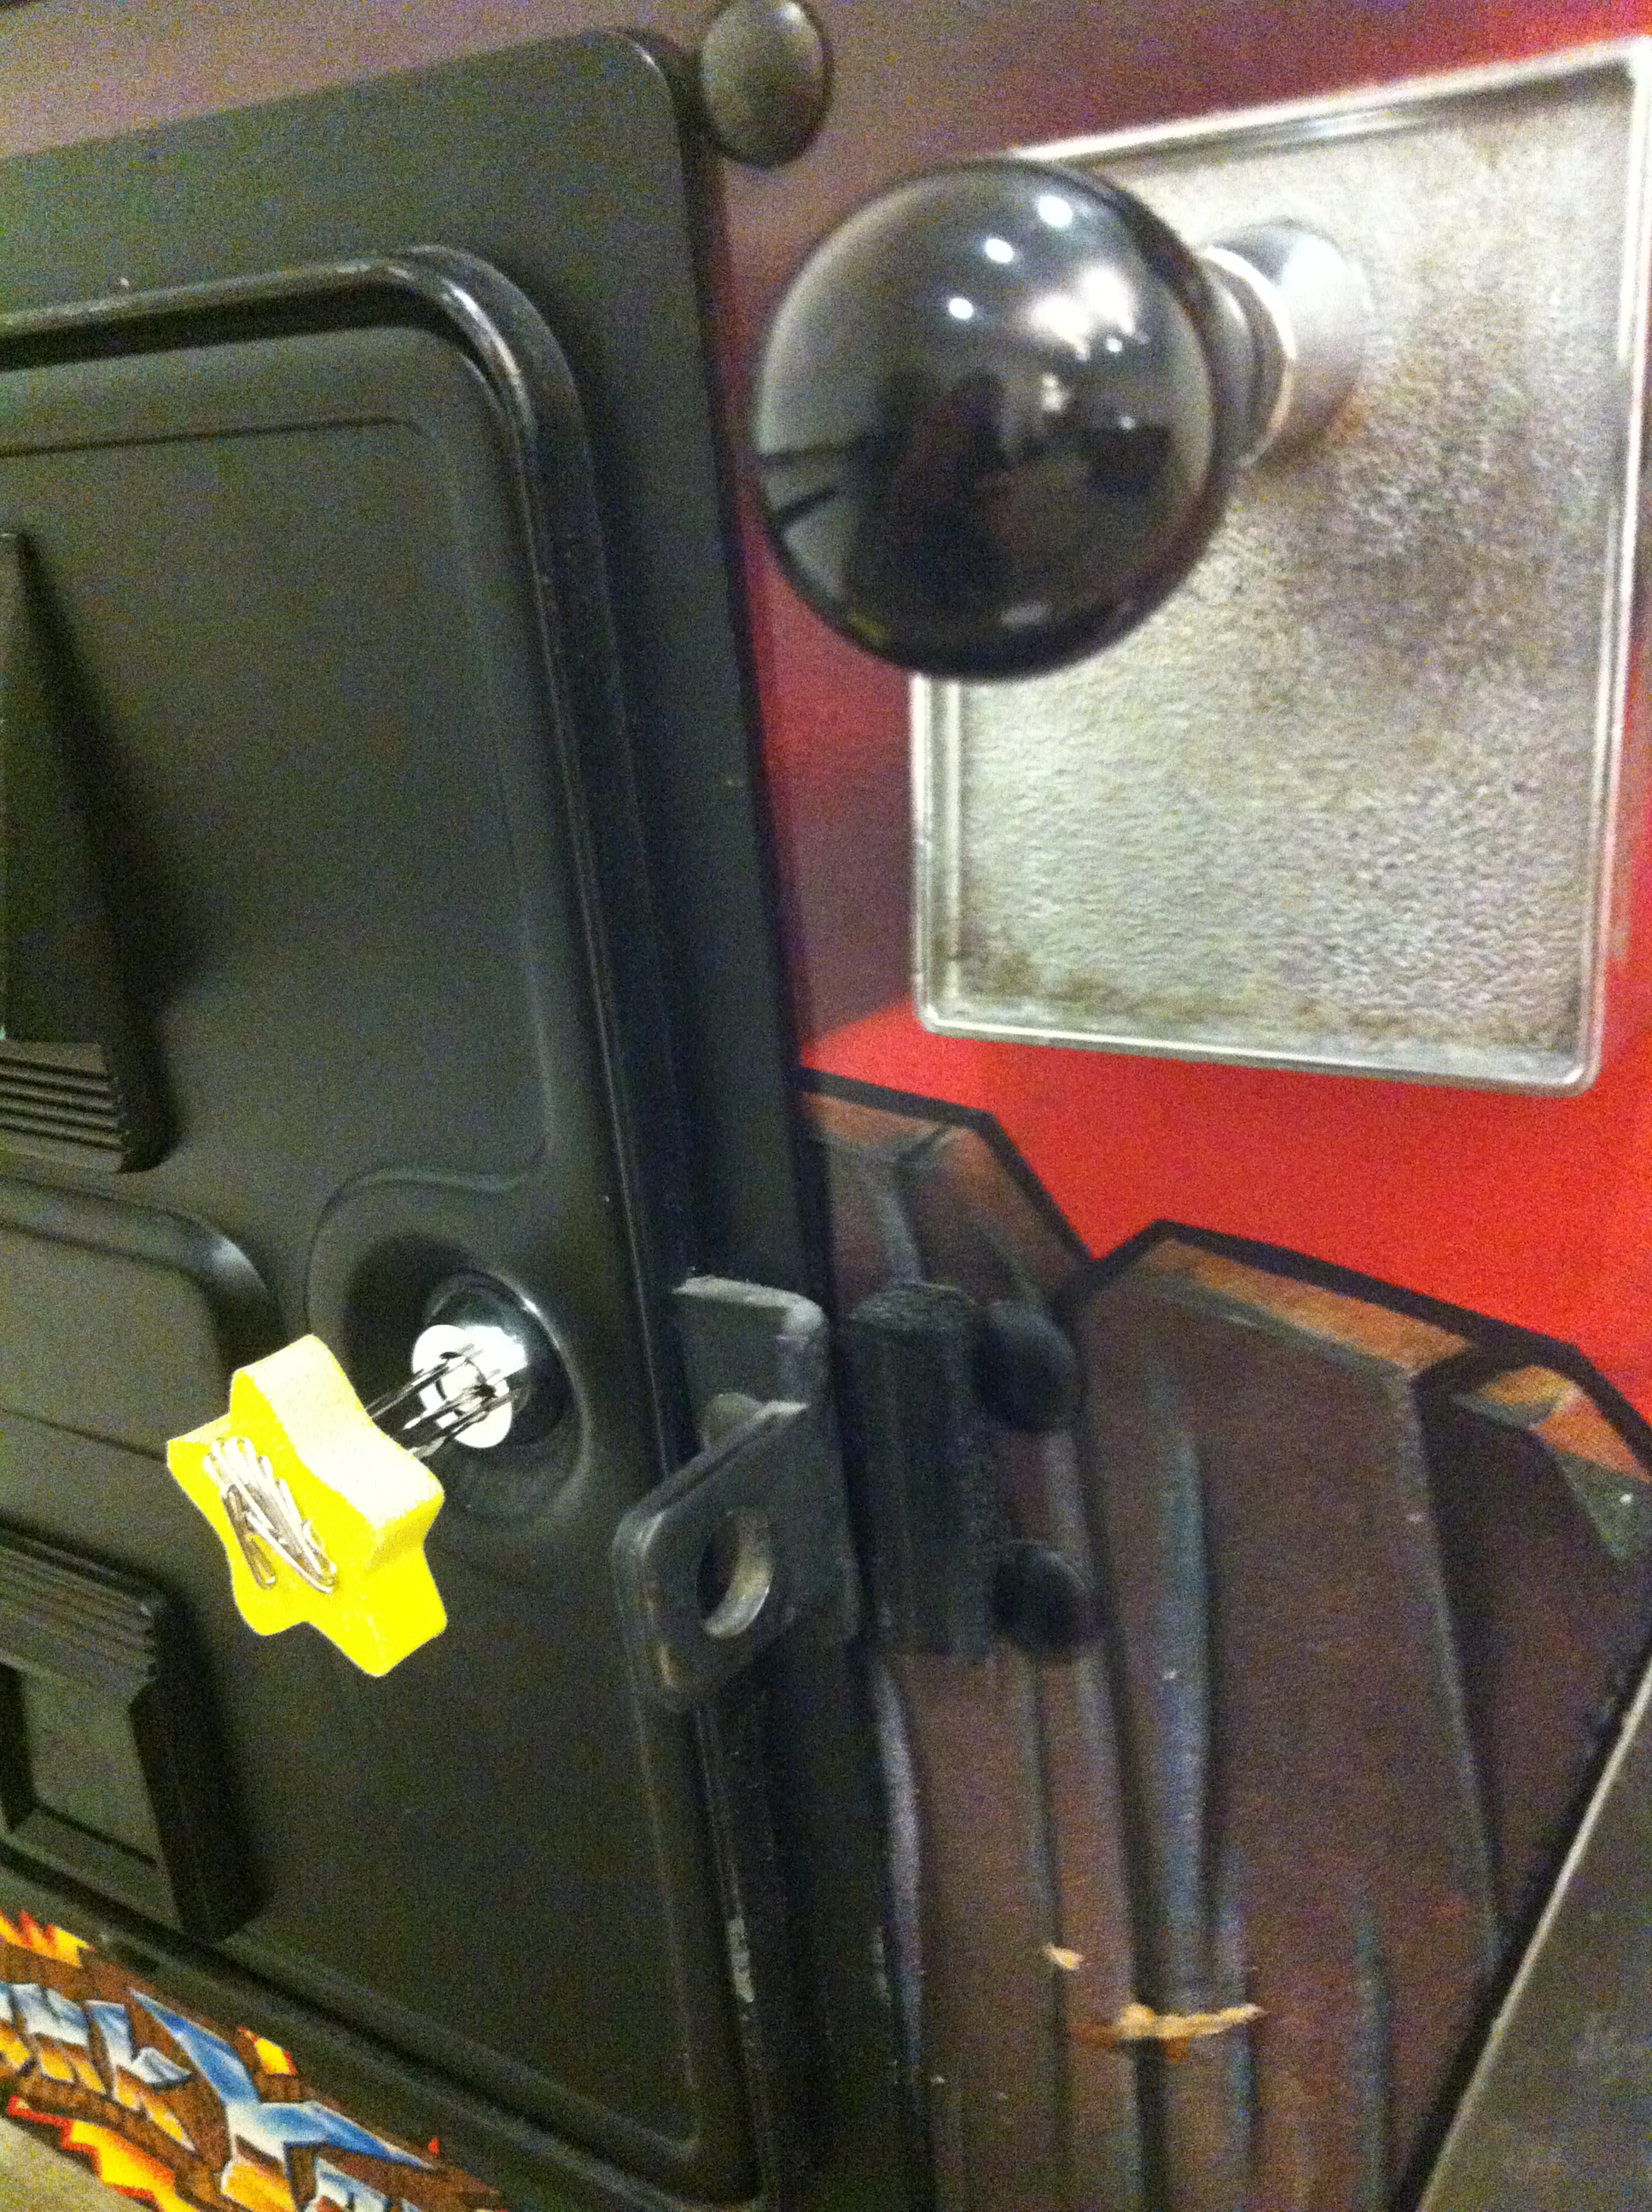
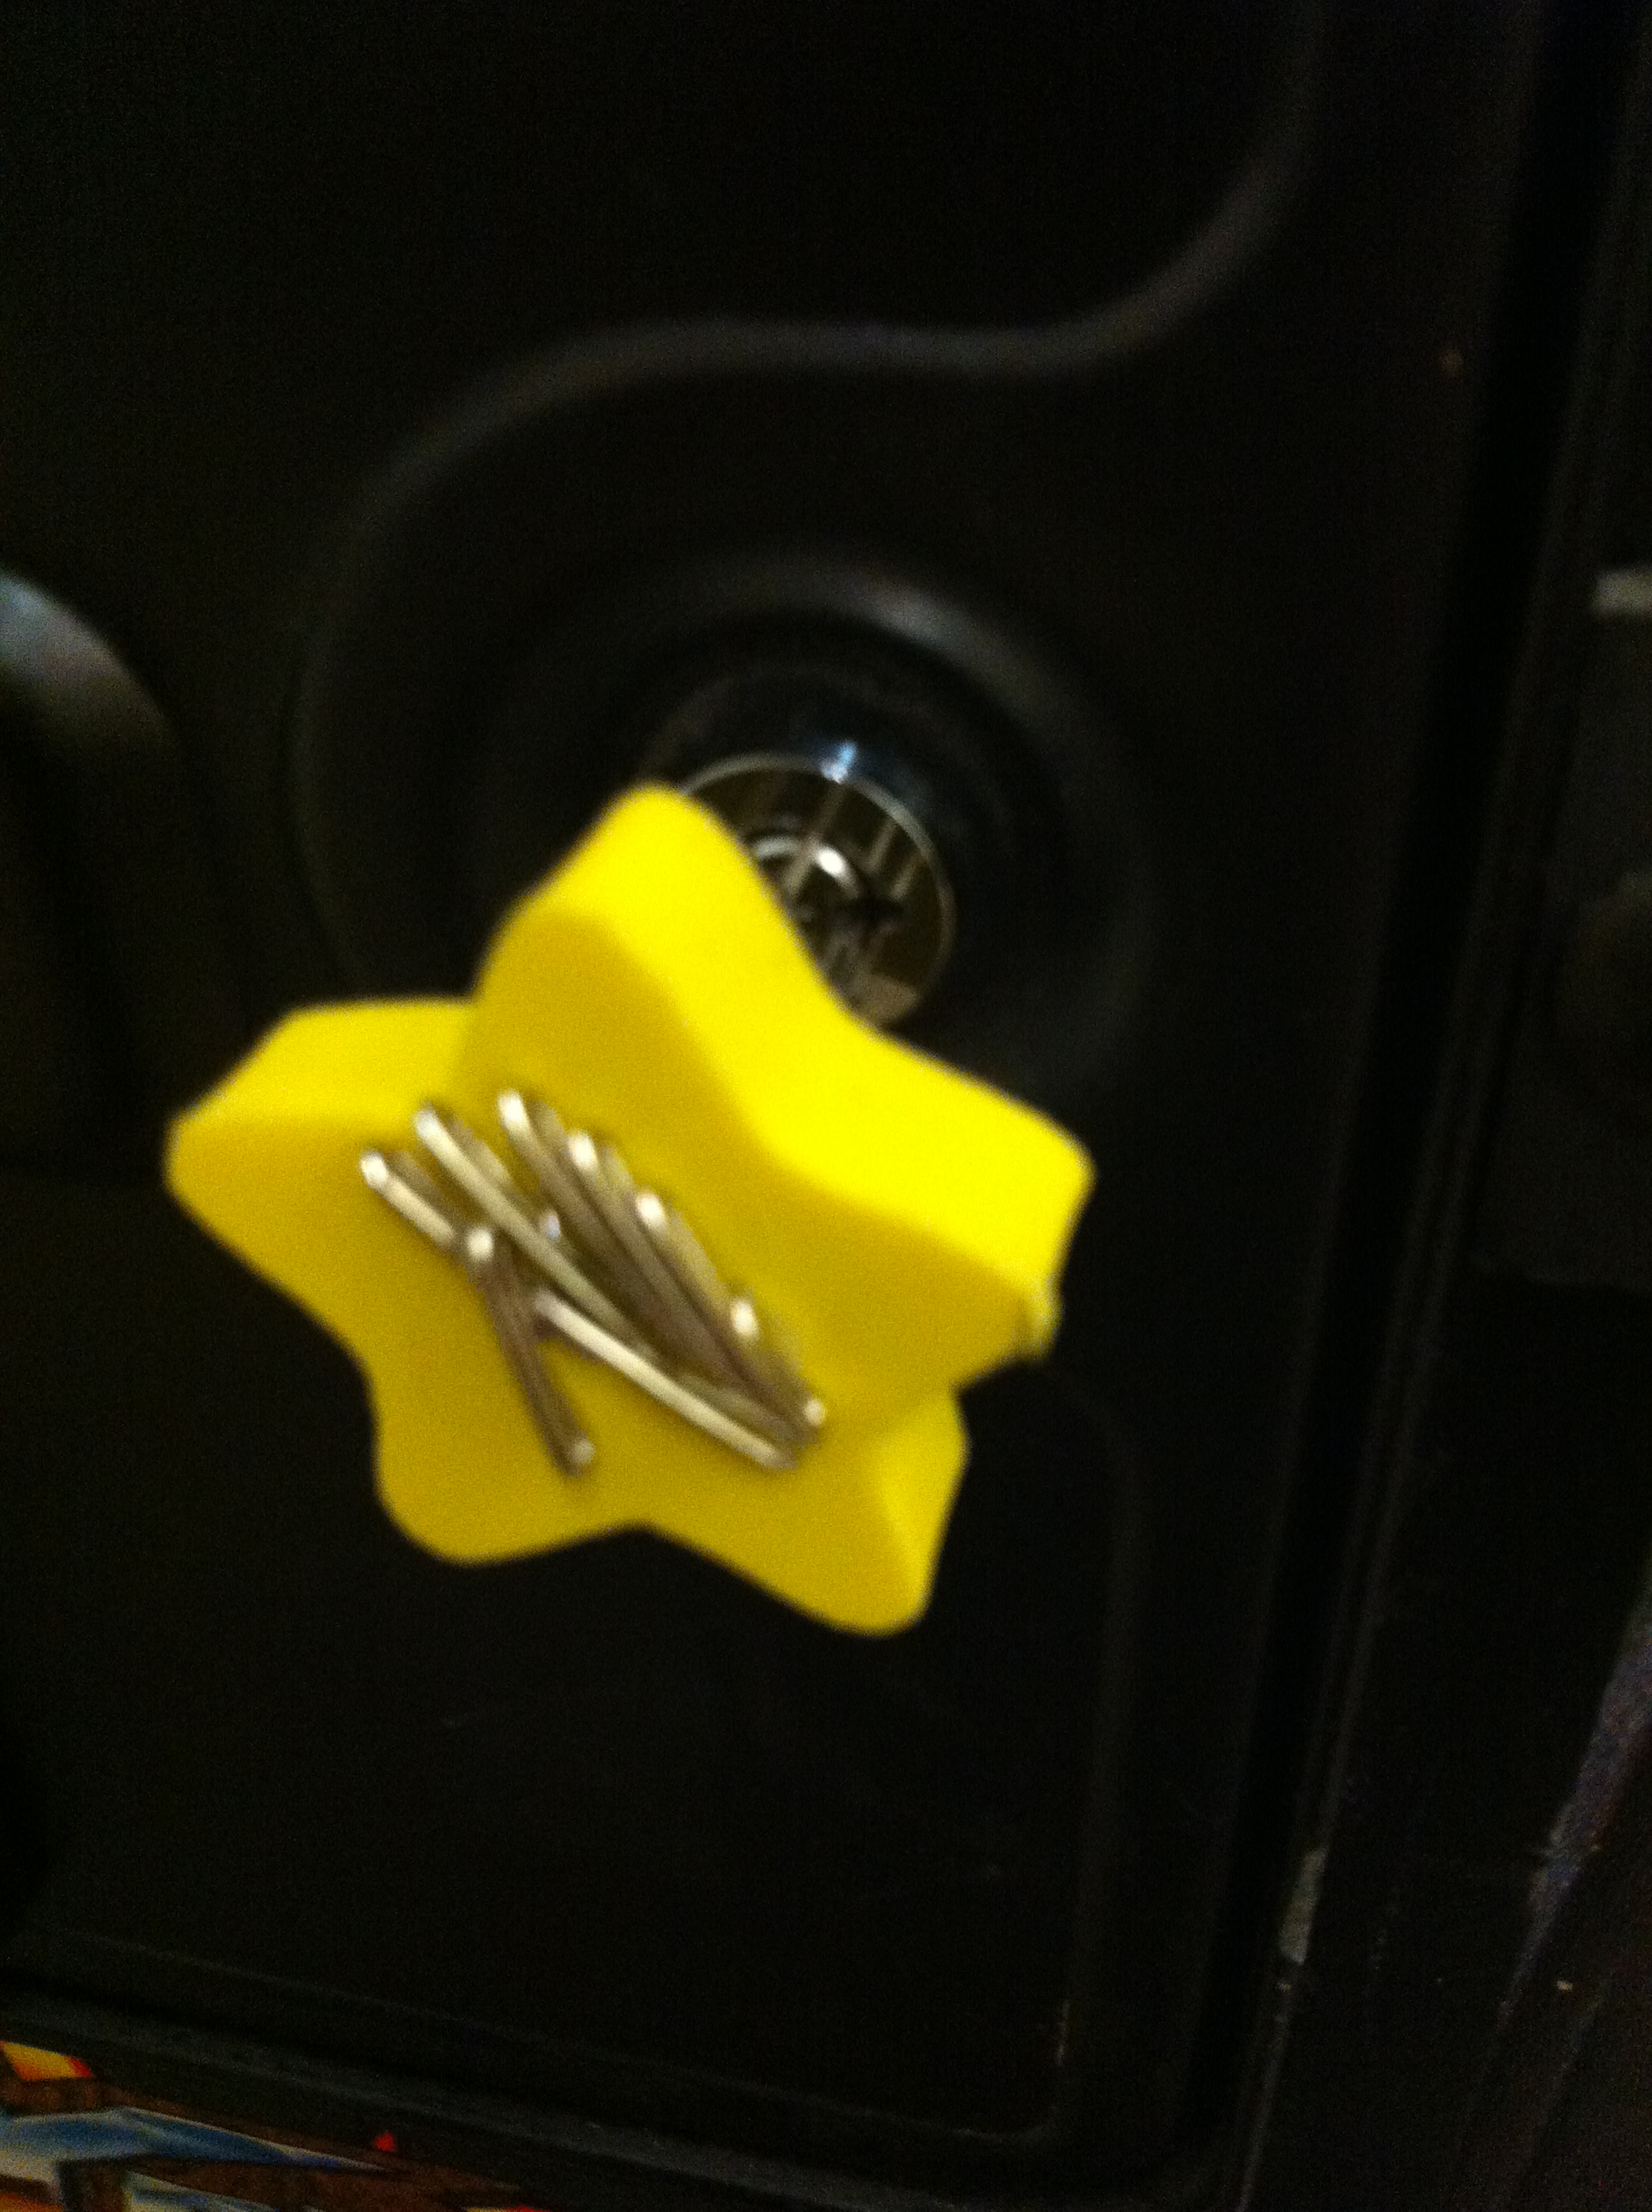
There was that time when we were trying to get into a company-owned pinball machine that accidentally got reset from free mode to pay mode. We weren’t about to pay $0.25! So, we spent about 3 or 4 hours trying to pick the lock with instructions from the Internet and good ol’ Hosted UI ingenuity! With the lights off. Using flashlights. Inside an office room. I swear, we’re usually smart people :/ (P.S., it did not work. We gave up and went home after 1AM. The following contraption is what we built to try to pick the lock.)

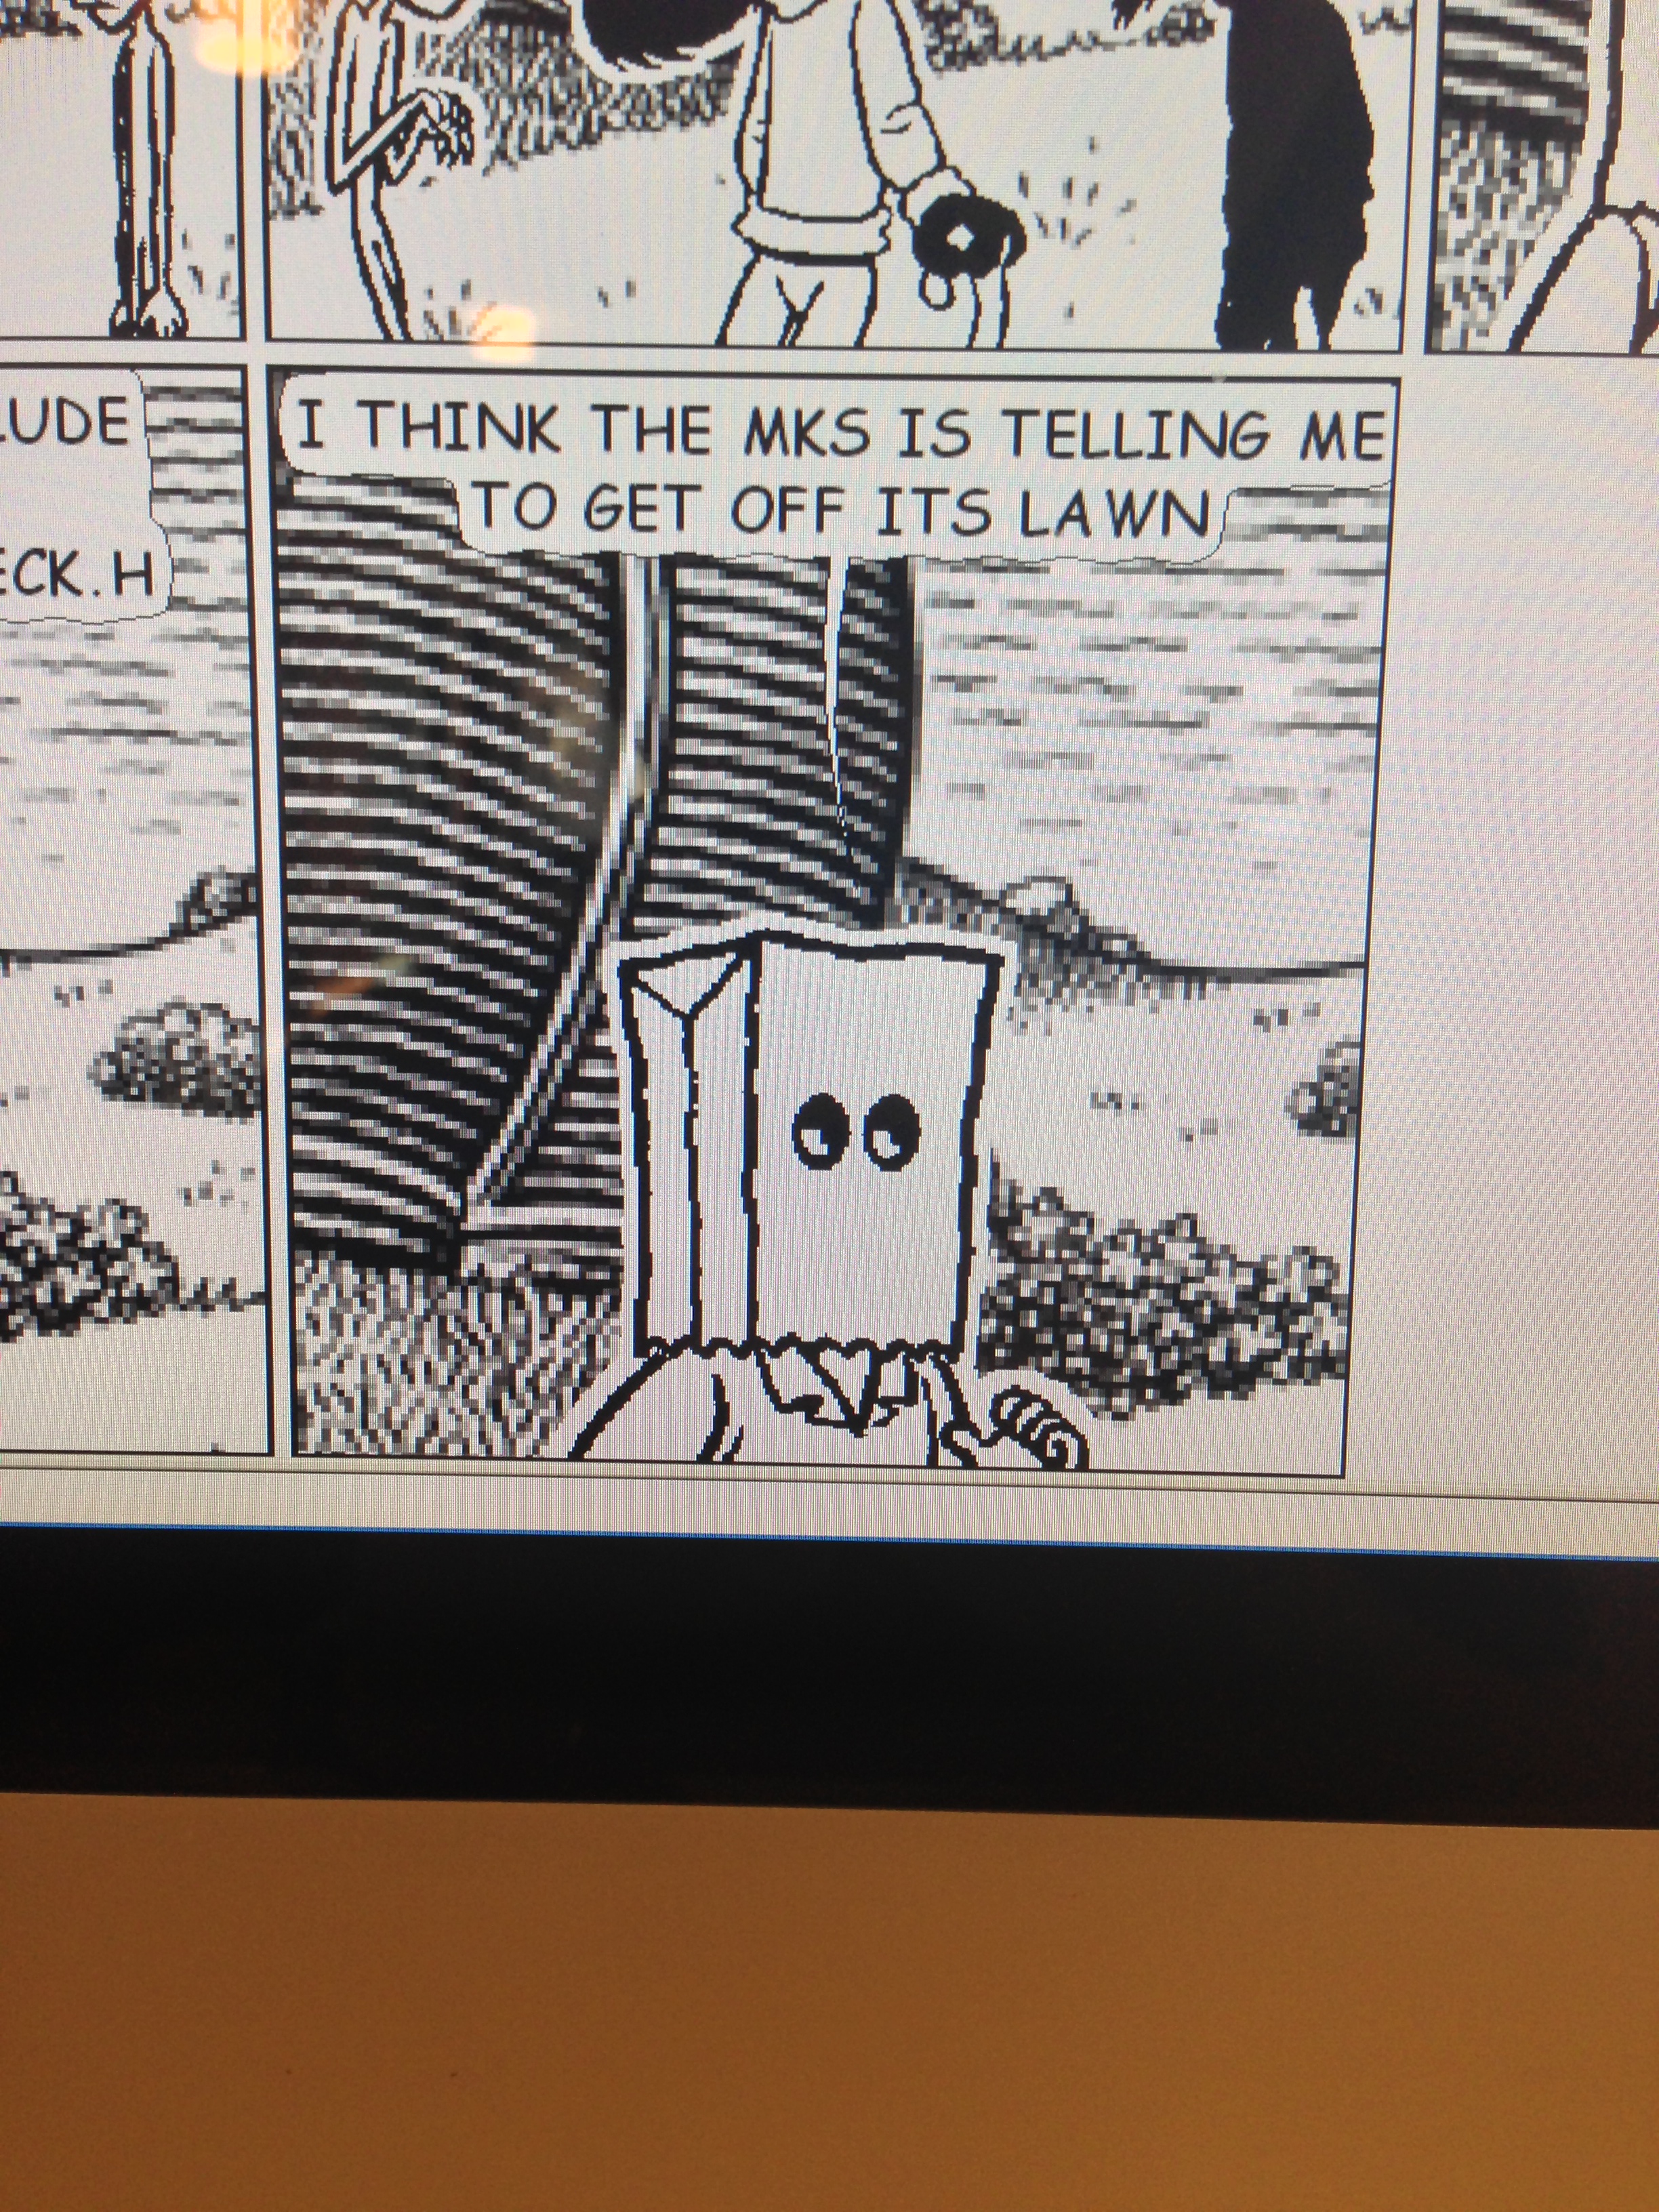
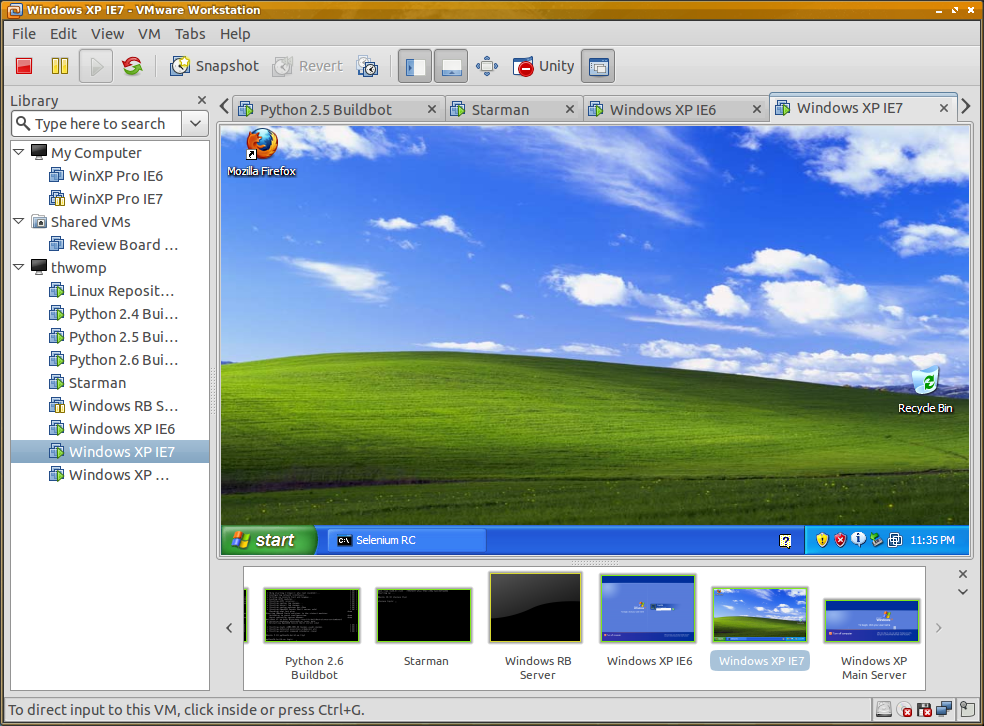
Oh, and that time we decided our IRC channel could really benefit from Microsoft Comic Chat. We had this up and running on a dedicated screen 24/7.

I’ll probably update this over time with more thoughts and pictures as we find them.
Thanks for walking down memory lane with me, and for all the support you’ve shown Hosted UI over the past week. 🙂